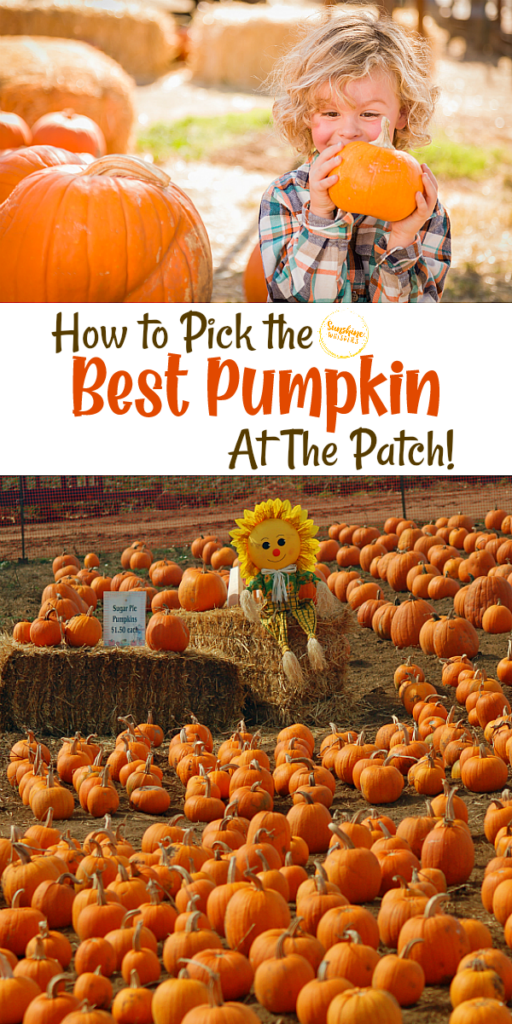
How To Pick The Best Pumpkin At The Patch
How to Pick the Best Pumpkin at the Patch
If you are going to a pumpkin patch this fall, check out these great tips to pick the best pumpkin at the patch!
Heading to the pumpkin patch to pick out a pumpkin is a classic fall tradition. And if you have picking a pumpkin on your fall bucket list, you want to make sure you do it right! There’s an art to picking a great pumpkin to ensure it lasts all season long. Follow these easy tips for picking the best pumpkin at the pumpkin patch this year.
Sunshine Whispers participates in the Amazon Associates and Amazon Influencer Programs. As an Amazon Associate we earn from qualifying purchases. We may earn money or products from the companies mentioned on this site and in this post.
How to Pick the Best Pumpkin for Carving
If you plan on carving your pumpkin once you get it home, there are a few things you should look for when picking out a pumpkin. When looking for a great carving pumpkin follow these easy steps:
1. Tap on it.
The best carving pumpkins will sound hollow inside, so tapping on the outside of your pumpkin will help you determine if the one you’re looking at is a good carving pumpkin. Hold the pumpkin near your ear and tap on it to see if it sounds hollow.
2. Feel the weight.
Your carving pumpkin should be heavy and sturdy. When holding the pumpkin make sure it has heft and weight to it to ensure your carved pumpkin lasts throughout the Halloween season.
3. Check for bad spots.
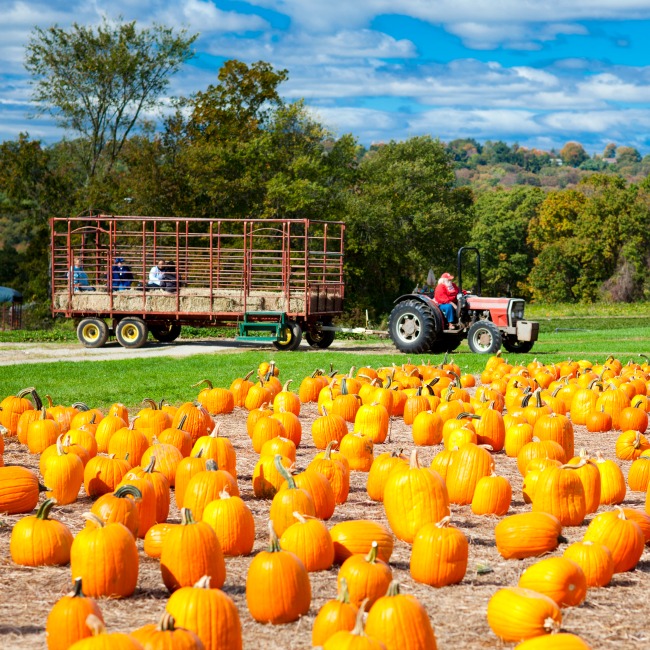
Make sure your pumpkin is free from scratches, bruises, or other dark spots that may indicate it is beginning to rot.
4. Look at the coloring.
Carving pumpkins should have a uniform orange color all around. Skip any pumpkins that have yellow or green patches on them when you’re searching for a great pumpkin.

5. Put pressure on the bottom.
The bottom of the pumpkin is often the first place it will start to rot. To make sure your pumpkin is fresh, press your fingers into the bottom of the pumpkin. If it’s not stiff and sturdy, the pumpkin may already be too ripe for carving.
6. Look at the shape.
Think about how you’ll be decorating your pumpkin, then consider the shape of the pumpkin you’ll need. Round or oval pumpkins are great for carving faces because they give you a bigger canvas on which to work as you carve.
7. Set it on a flat surface.
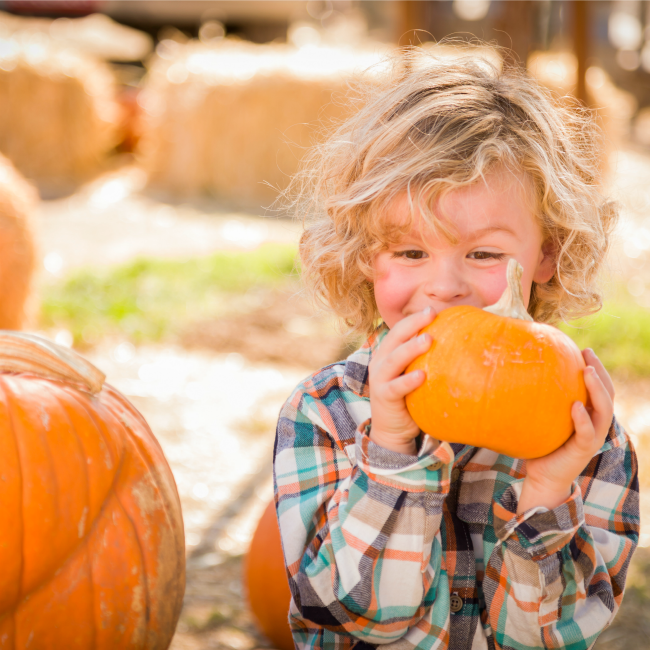
Make sure your jack o lantern will sit flat on your porch by testing the flatness of the bottom before you buy your pumpkin. Check to see if the pumpkin sits flat and level on the ground before you buy it.
8. Do a stem check.
A great pumpkin will always have a strong and sturdy green stem. Skip the pumpkins with broken or cracked stems and instead look for ones with long, strong stems. An in-tact stem is a great way to make sure your pumpkin is in prime condition before you purchase it.
9. Carry it carefully.
Always carry your pumpkin from the bottom. Avoid holding the pumpkin by the stem to keep from damaging the pumpkin before you get it home.
Make Your Pumpkin Last Longer
Once you have your perfect pumpkin home, you want to make sure it lasts all season! These simple tips will help you keep your pumpkin looking amazing throughout the fall season.
Remove all seeds from the inside.
Before you start carving your pumpkin, make sure you have completely removed all the seeds and guts. Then, let the inside of the pumpkin dry out before you start adding your design.
Keep your pumpkins dry.
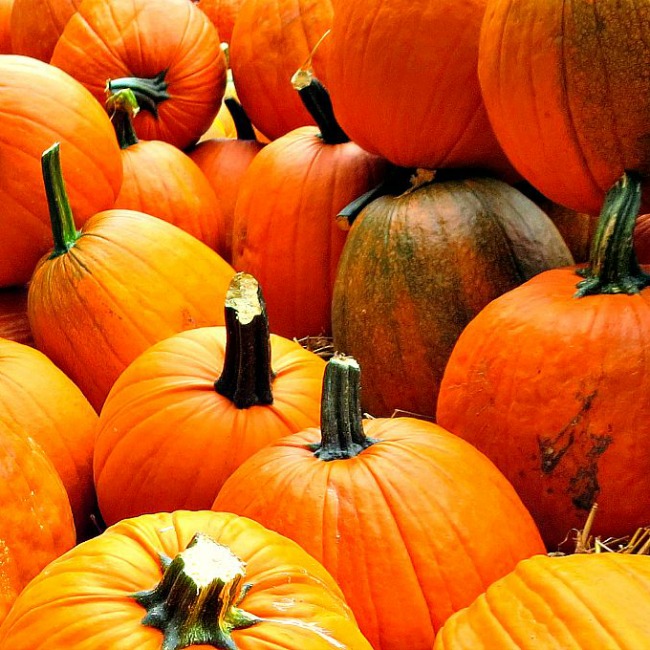
To keep your pumpkins from rotting, store or display them in a cool, dry spot. Excess water on your pumpkins will increase the chances of rot as the season goes on.
Protect them from freeze.
If your pumpkins freeze and thaw, they’re more likely to decay quickly. To keep your pumpkins from freezing, be sure to bring them inside on evenings when frost is forecasted.
Put them in the shade.
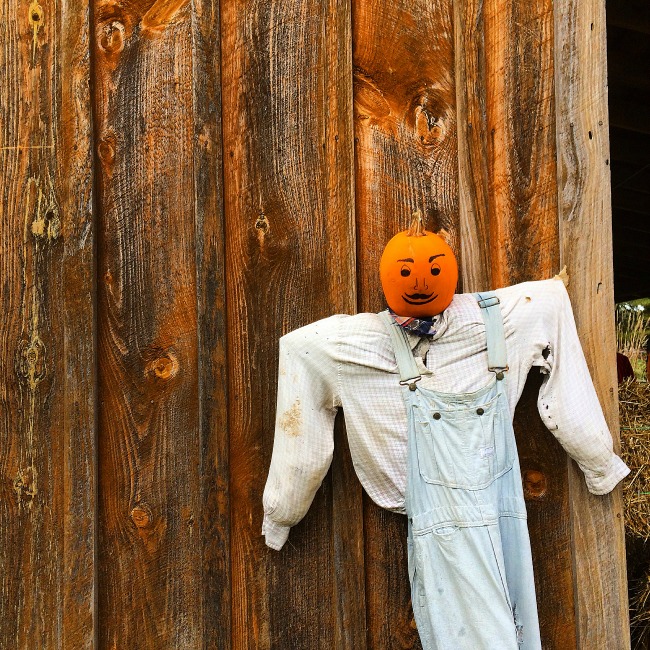
Just as pumpkins don’t like too much water, they also don’t need much sun. Sitting in the hot sun all day will speed up the decaying process, so it’s a good idea to keep your pumpkins displayed in a shady spot outside.
Keep them clean.
To avoid mold and mildew inside your pumpkins, take the time to clean them occasionally throughout the fall season. Create a solution of one-part bleach to 10 parts water and dip your pumpkin inside. Hold the pumpkin in the bleach solution for around two minutes, then let it dry completely before putting it back outside.
Hold off on carving.
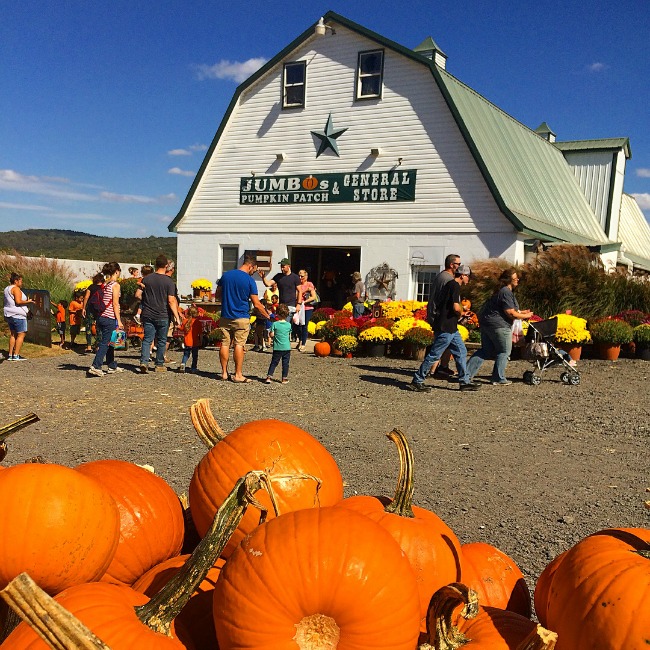
To ensure your jack o lantern makes it all the way to Halloween, it’s best to wait to carve your pumpkin. After carving your pumpkin, you’ll be speeding up the decaying process by allowing excess air and moisture inside.
Skip the candles.
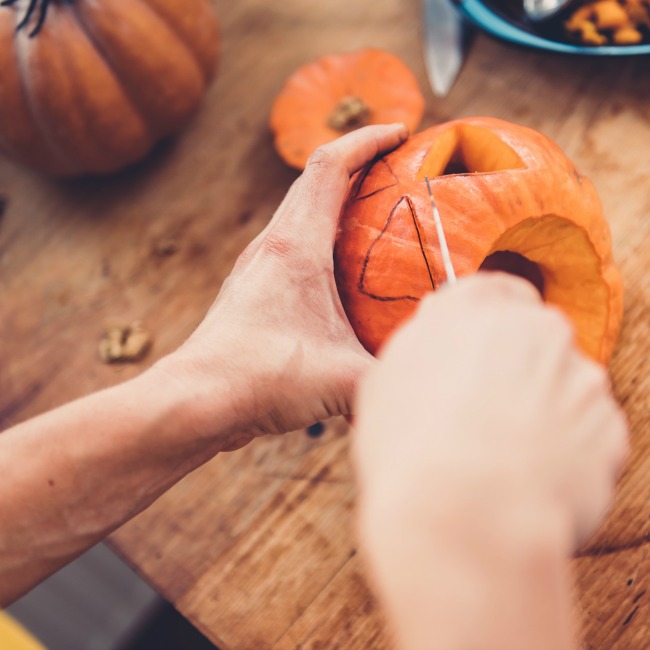
Placing real candles inside your pumpkins isn’t just a fire hazard. It can also cause the interior of the pumpkin to dry out and rot faster. Instead, use flameless candles to light up your pumpkins to illuminate them safely and avoid damaging your pumpkins.
Check Out These Ideas For More Ideas To Enjoy Fall!
- Enjoy the fall season with your family
- Black Glue Pumpkin Craft For Kids
- Fall family fun bucket list!
- DIY Apple Scented Slime
- Play this game of Autumn Charades!
- Make Pumpkin Spice Slime!
- Fall Leaf Play Dough Activity for Kids
- Black Glue Fall Tree Craft For Kids
- Nature Crafts For Fall Your Kids Will Love
- Marble Leaf Painting For Kids
- Fall Tree Cork Painting Craft for Kids
- Marbled Paper Fall Leaf Craft for Kids
- Fall Color Stained Glass Craft for Kids
- Best Pumpkin Carving Tips For An Awesome Halloween
- 15 Family Friendly Halloween Movies
- 10 Fun Halloween Traditions To Start With Your Family
- Dollar Store Pumpkin Craft
- Pumpkin Paper Bag Craft for Kids
- Apple Paper Bag Craft for Kids
- Melted Beads Fall Leaf Suncatchers


