Marbled Paper Fall Leaf Crafts for Kids
Marbled paper has got to be one of the easiest and prettiest crafts for kids you just have to try. Recently, Sweet Pea and I made marbled paper for the first time so that we could create these gorgeous fall leaves. Read on to see just how easy this craft is. You don’t have to wait for the leaves to change colors. You can make your own fall leaf crafts for kids now!
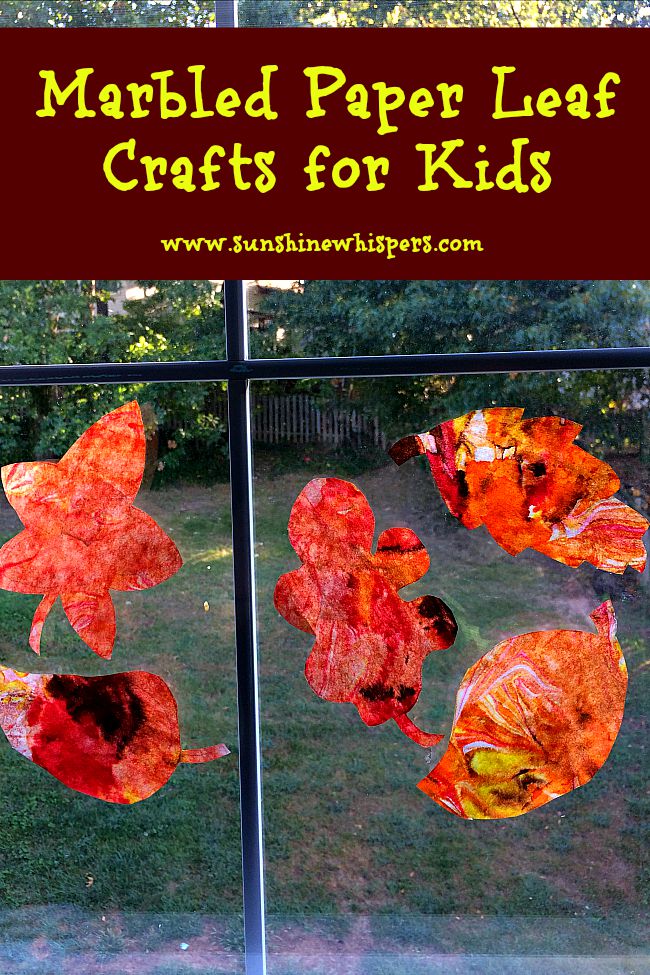
Marbled Paper Fall Leaf Crafts for Kids
Affiliate links included for your convenience.
Materials Needed:
- Regular foam shaving cream (like Barbisol)
- Liquid watercolors
in fall colors. We used orange, red, yellow, and brown.
- 4 eyedroppers
— 1 for each color
- Pie plate, Pyrex dish, or any baking dish that can hold the shaving cream
- Spatula or spoon to spread the shaving cream
- Egg carton or other container to hold the liquid watercolors
- wooden dowel to stir shaving cream paint (or you could just use the eyedropper)
- Watercolor paper
- Scissors
- Piece of cardboard
- Smock
- Cookie Sheet
- Bowl of water and paper towels for easy clean up
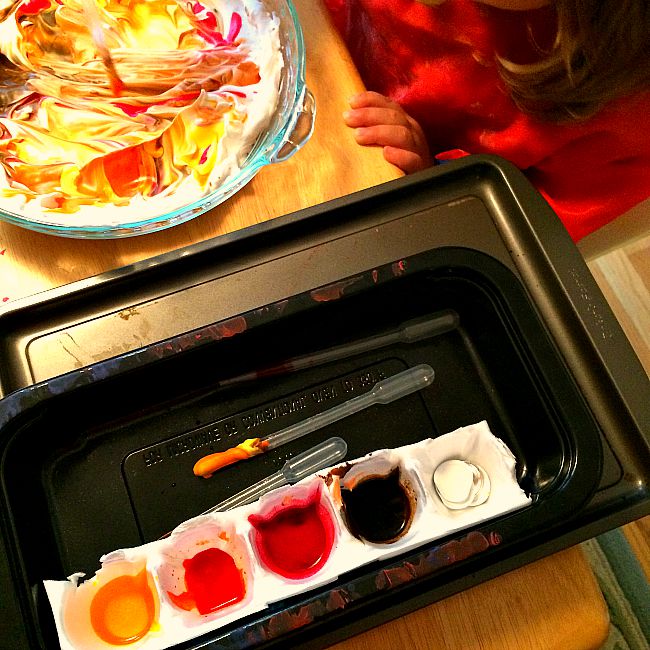
How to Make Marbled Paper Fall Leaves
- You will definitely want to set this craft up before involving your kids, especially if your kids are young. You won’t need a lot of liquid watercolor paint, but you will want enough to create multiple layers of shaving cream paint. I filled up an egg carton compartment 3/4 of the way full and that seemed like enough paint for this project.
- Cut a few sheets of watercolor paper into quarters. For this particular project, I would recommend watercolor paper over cardstock. If you wanted to make marbled paper by itself, cardstock is definitely sturdier.
- Once everything is assembled, you start by spraying a nice layer of shaving cream into the pie plate or baking dish. Use the spatula or spoon to spread the shaving cream so that it is in a relatively smooth layer.
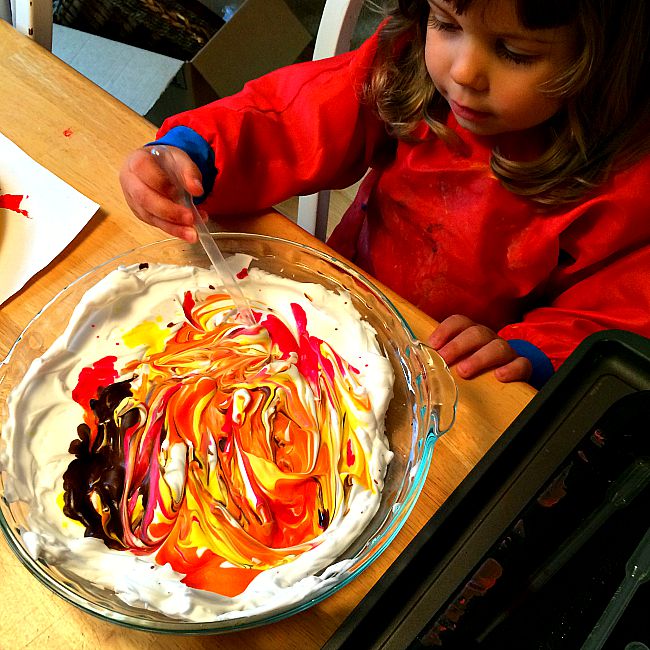
- Use the eyedroppers to dot the shaving cream with different colors. Younger kids will just love the challenge of operating the eyedropper.. as well as the sensory experience of making paint. Older kids can get really creative with designs and patterns in the shaving cream.
- Use the eyedropper or a stick to swirl the watercolor into the shaving cream, creating a pattern as desired.
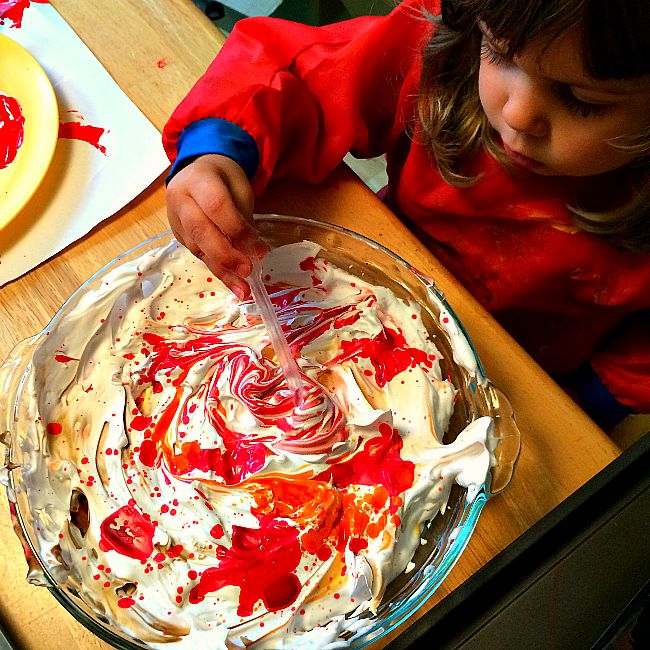
- Take one sheet (at a time) of the cut watercolor paper and place it on top of the shaving cream paint. Gently press down long enough to ensure the entire sheet of paper touched the paint, but not long enough to soak the paper. In other words, press down gently and then pull the paper off of the shaving cream.
- Immediately place the watercolor paper on the cookie sheet and use the cardboard piece to scrape the excess shaving cream paint off of the paper.
- Transfer the sheet of painted paper to a place where it can dry.
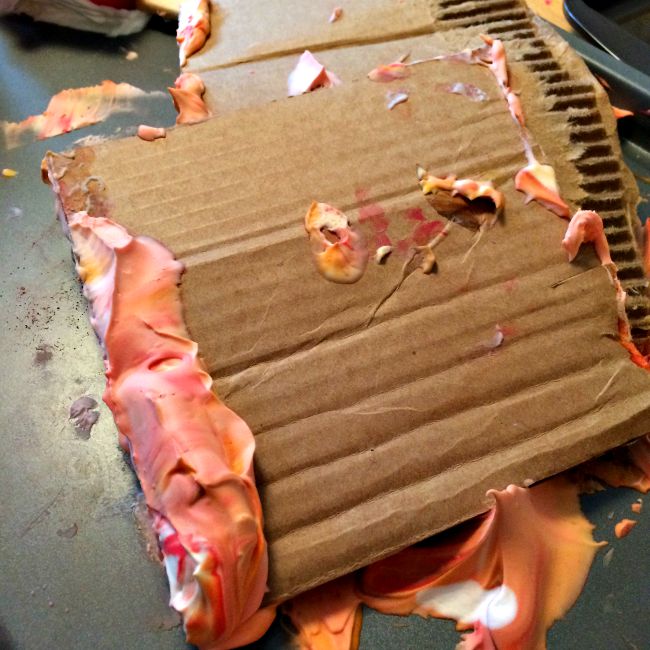
- You can probably make 3-4 sheets of painted paper per each layer of shaving cream paint. When you want to experiment with additional colors or patterns, just spray more shaving cream into the dish, apply more liquid watercolors, swirl, and make more paper!
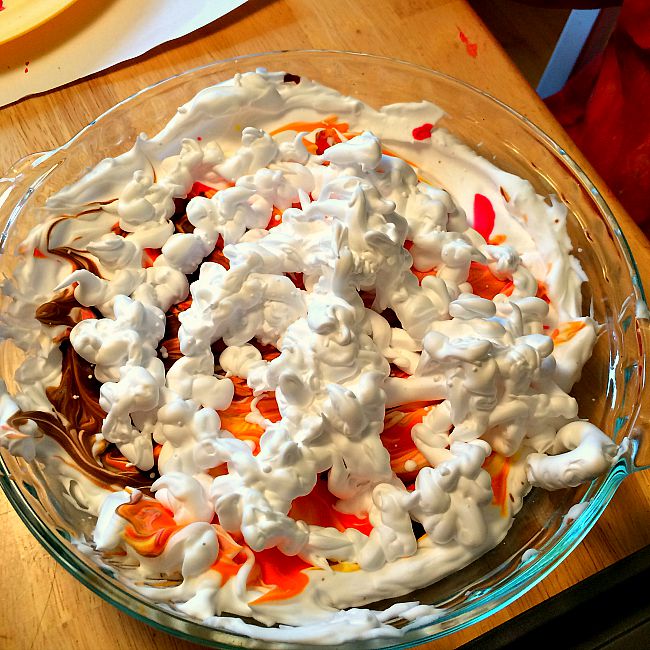
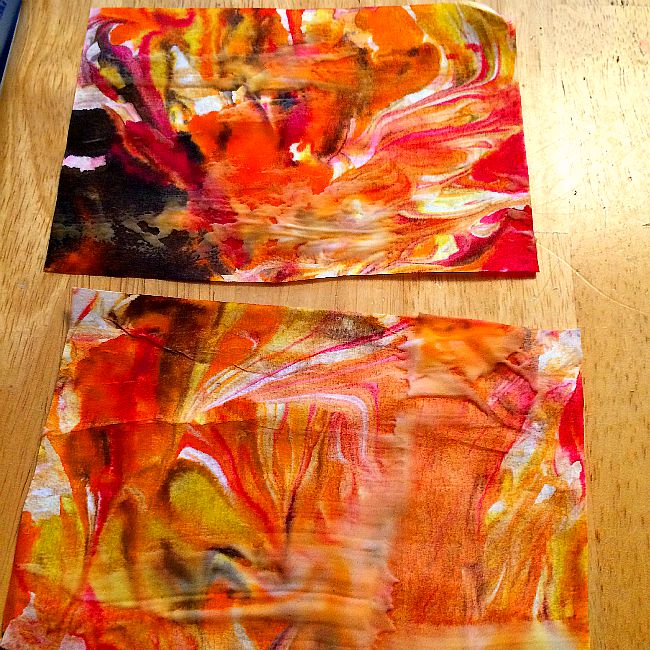
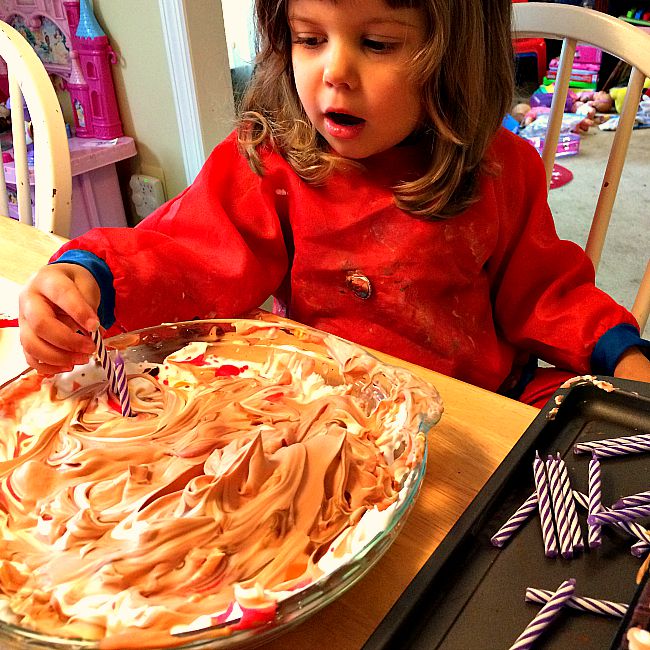
- Sweet Pea loved this activity. I will say that at 3 years old, she was really into swirling the paint but I made the actual paper. Still, she really really loved playing with the shaving cream paint.
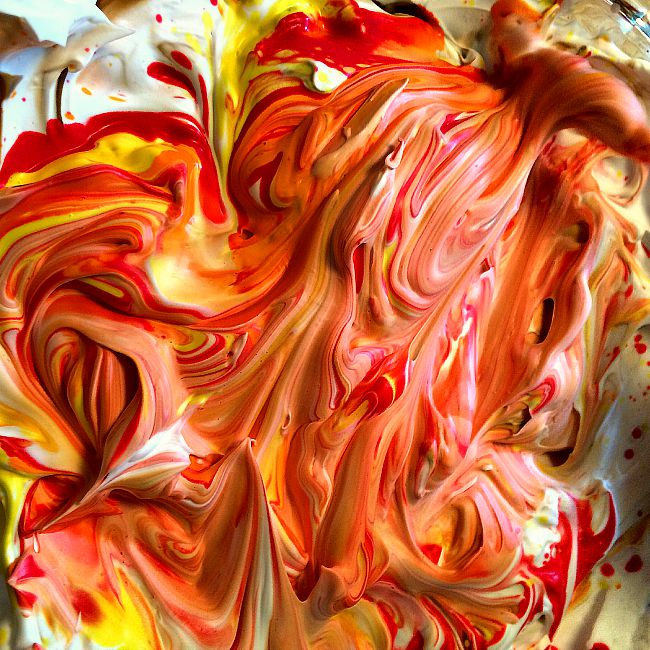
- It didn’t take long before she decided the shaving cream pie was a birthday cake for one of her favorite puppies. So, of course I had to scrape up some birthday candles to make her pretend play complete!
- Once the painted paper has dried, you are ready to cut out the actual fall leaves. I drew these leaves free hand but got some great ideas by searching online for ‘leaf coloring pages.’ Many of the leaves I ‘recreated’ came from Crayola, but there are lots of great ideas online.
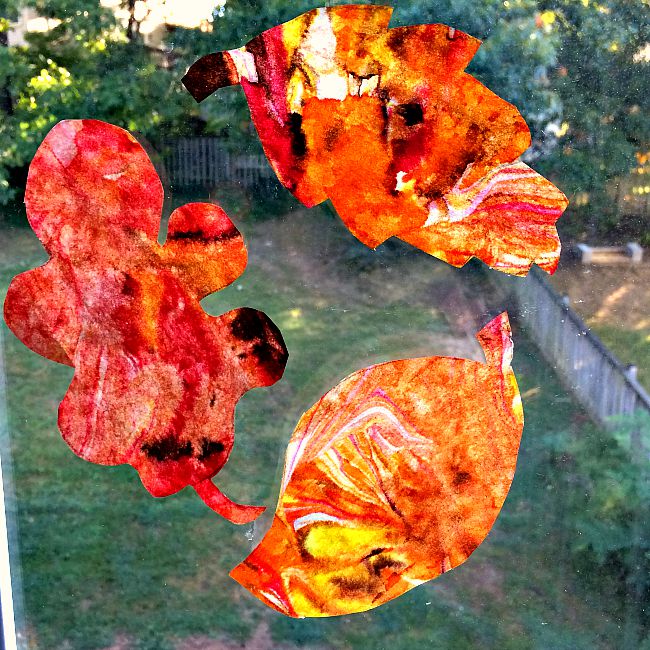
That is pretty much it. I really loved how pretty these leaves turned out. Now, I can’t wait to make more marbled paper for other reasons!
I hope you try to make marbled paper yourself, and I hope you have as much fun as we did!
Thanks for reading!
Sara

One Comment