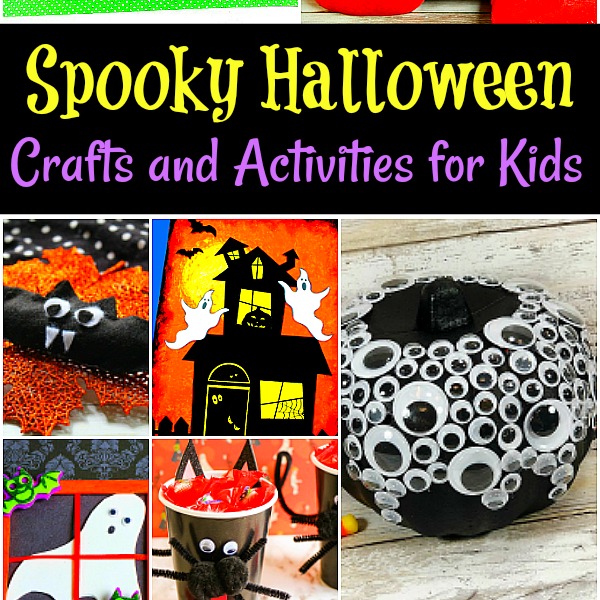
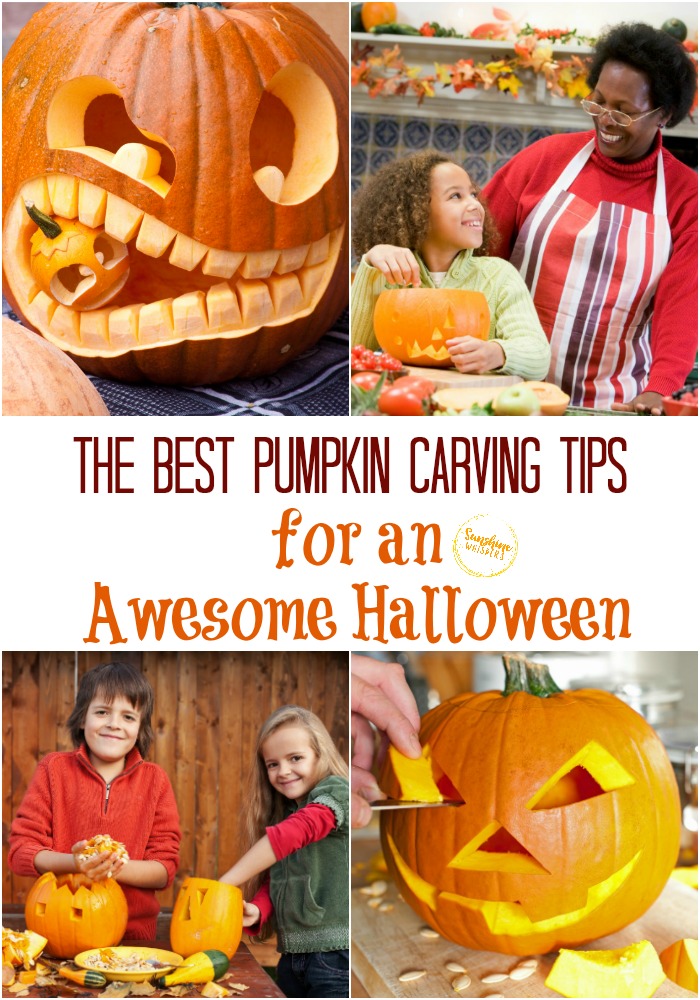
The Best Pumpkin Carving Tips for an Awesome Halloween
The Best Pumpkin Carving Tips for an Awesome Halloween
Carving pumpkins isn’t as easy as it sounds. There is a lot of work that goes into getting all of the guts out of the pumpkin and then creating a perfect design.
After all that work, you could end up with a rotting pumpkin after just a few days! If you are looking for a few tips that will make your pumpkins last longer, and look WAY better this year, here are the best pumpkin carving tips for an awesome Halloween.
Make sure you pick a good pumpkin
A good pumpkin is the first step into ensuring that your pumpkins not only last but will be good for carving. Think about the kind of design you want for your pumpkin. Sometimes the taller ones will work better for carving instead of the traditional wider pumpkins. Make sure that you go for a pumpkin that has a stem, is light-colored, and has no soft spots. These will be much better carving pumpkins.
Spray your pumpkin with water to keep it from losing too much moisture
As soon as you carve into your pumpkin and remove the pulp, you will notice that your pumpkin will start to dry out. To avoid losing too much moisture, spray your pumpkin with a little bit of water. This will keep it from rotting quickly, and help it retain some of the moisture. This will also make the pumpkin easier to carve.
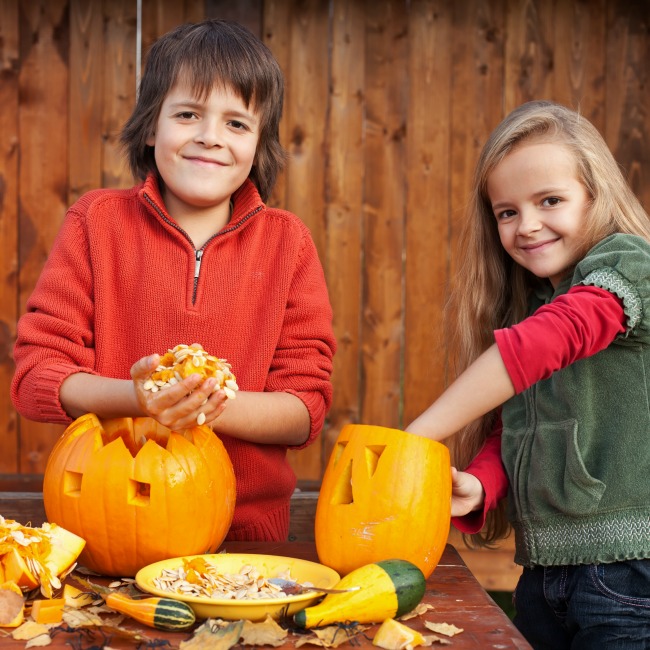
Get all the pulp out of your pumpkin
The difference between a really great pumpkin and one that looks okay is usually how much pulp was left in the pumpkin. When you are going to carve a pumpkin, make sure that you get ALL of the pulp out of it. Use spoons to scrape the sides well and even consider getting a pumpkin carving kit if you need to.
Wrap your pumpkin in plastic wrap and refrigerate
One of the downfalls of the hard work of carving a pumpkin is having them rot after just a few days. If you want your pumpkins to last much longer, wrap the pumpkin in plastic wrap. Next, keep it in your fridge for a few hours. This will extend the life of your pumpkin by weeks! If it gets cold enough where you live during the fall, you can move your pumpkin to the garage instead of leaving it in your fridge.
Draw your design on paper first
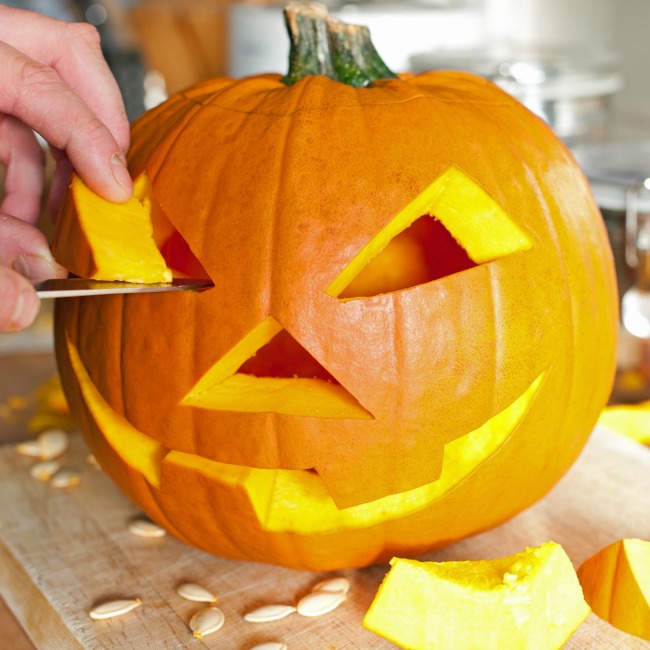
The final tip I have for you comes to the actual carving of your pumpkin. You may be tempted to freehand or just draw directly on your pumpkin. Resist the urge and do this instead! When you are going to design your pumpkin carving, draw on a sheet of paper first. If you aren’t artistic, consider printing off a design instead. Next, tape your design EXTREMELY well to the pumpkin using duct tape. Punch holes in the pumpkin first. This will create an outline for you to follow on the pumpkin. Next, carve the pumpkin based on the outlines you put into the pumpkin! You’ll have a beautiful pumpkin every year with these tricks!
I hope that these tips have helped you make your pumpkins look even better this year! While these tips are mostly going to help people carving their pumpkins, you can still use a few of these tips if you’re decorating them instead.
Check out the rest of these fun Halloween Ideas!
- Disney Princess Costume Ideas
- Book Character Costume Ideas
- Fun Halloween Traditions To Start With Your Family
- Fantastically Spooky Family Friendly Halloween Movies