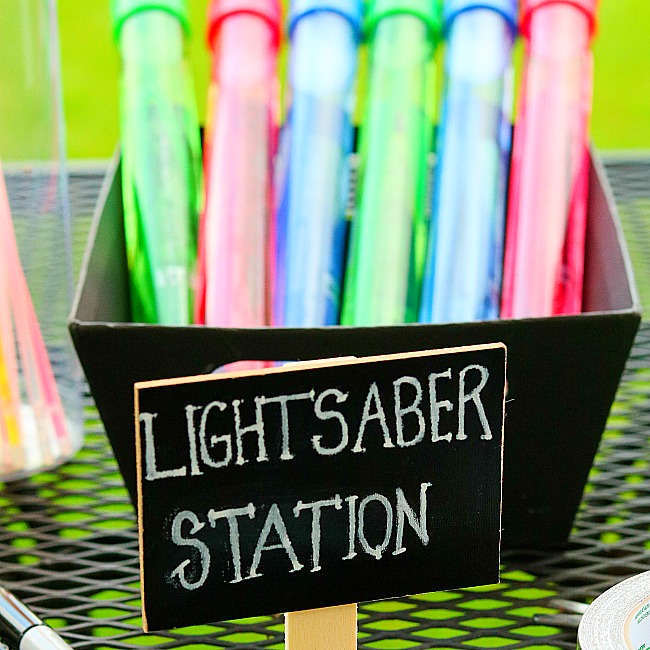
DIY Glow In The Dark Lightsaber Craft For Kids
DIY Glow In The Dark Lightsaber Craft For Kids
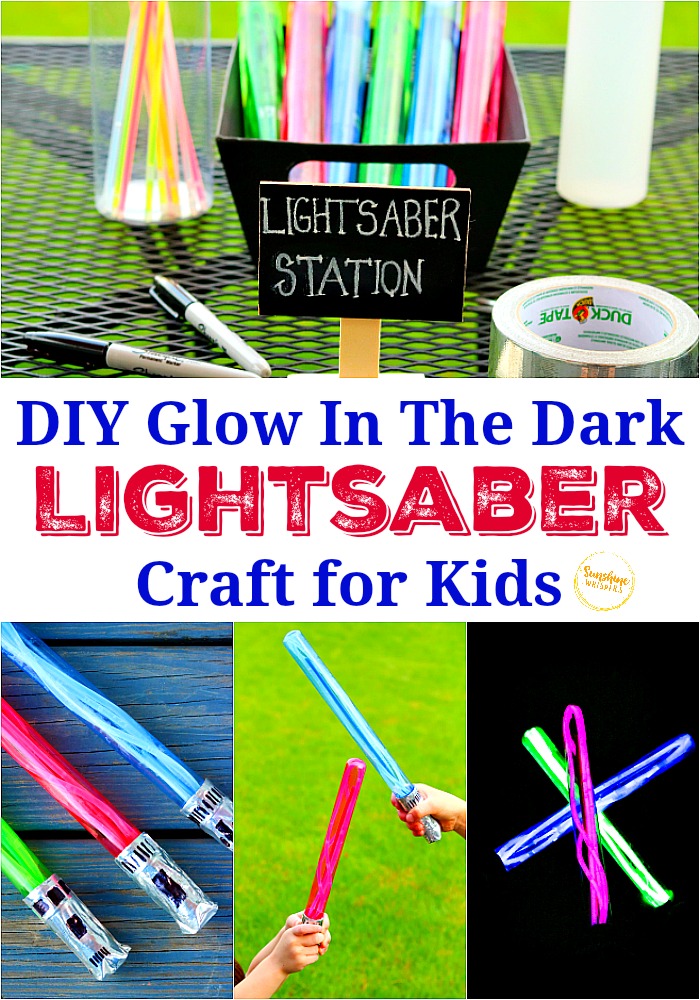
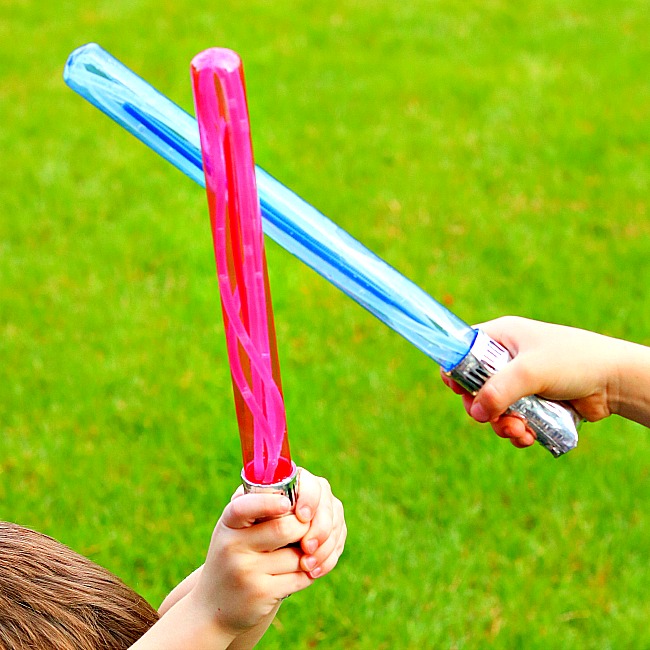
This is the cutest DIY Glow in the Dark Lightsaber Craft for Kids. If you have a Star Wars fan in your house, this would be the perfect craft to make with them!
Do you have a Star Wars fan in your house? I absolutely love Star Wars and hope I can convince my daughter to love it too! One of the most iconic things about Star Wars is, of course, all the lightsaber fight scenes! From the first time Luke Skywalker turned on his lightsaber and Obi Wan Kenobi explained how it was more elegant than a blaster… I was hooked.
Forget sword fights… as a kid I wanted to fight with a lightsaber.
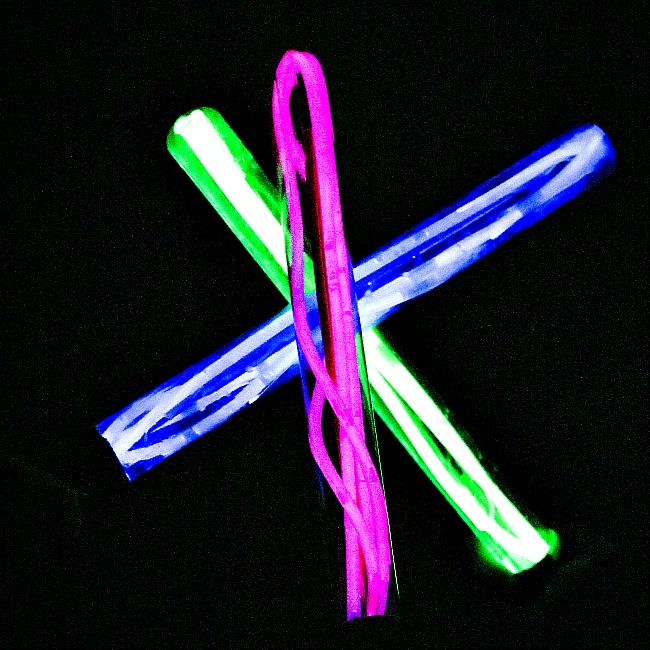
This super fun craft is incredibly easy to make and your kids will love that the lightsabers will actually glow in the dark! How fun is that? This would be an excellent idea for a Star Wars-themed birthday party, May the 4th celebrations, or just because your kids love Star Wars!
Sunshine Whispers participates in the Amazon Associates and Amazon Influencer Programs. As an Amazon Associate we earn from qualifying purchases. We may earn money or products from the companies mentioned on this site and in this post.
These instructions will make 6 glow in the dark lightsabers. May the force be with you!
What you need to make these lightsabers:
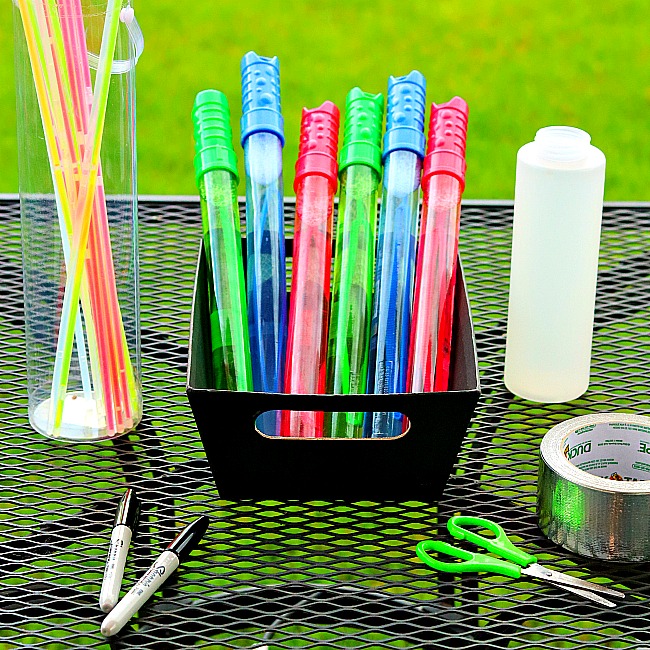
- 6 Bubble Wands
- 1 empty container
- A roll of silver or grey duct tape
- Black permanent marker
- 6 glow in the dark necklaces
How to make glow in the dark lightsabers
- Open the bubble wands and pour bubble solution into the empty container for later use OR have some fun blowing bubbles while you wait for the sun to set!
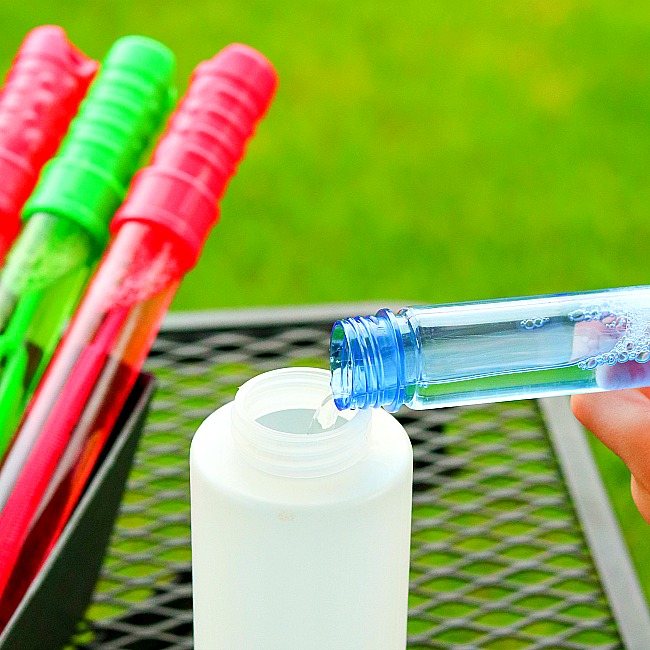
2. Rinse out the empty container and make sure the bubble wand handle is clean and dry.
Pro-tip #1: Make sure the handle is clean and dry before you apply your tape! If it has any residual bubble solution on it, it won’t stick as well.
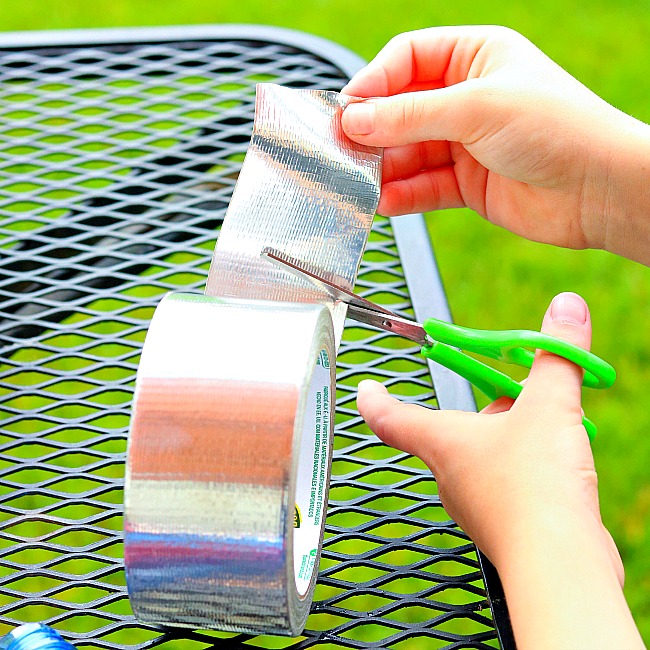
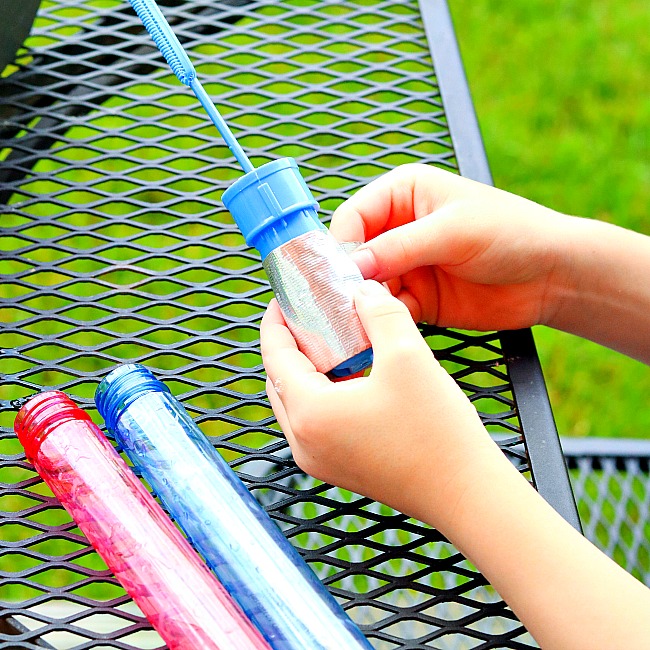
3. Using silver or grey duct tape, wrap the handle of the bubble wand.
Pro-tip #2: Have some fun with the texture of the handle! You can roll up some tape in strips, and place it in layers to add dimension and unique character!
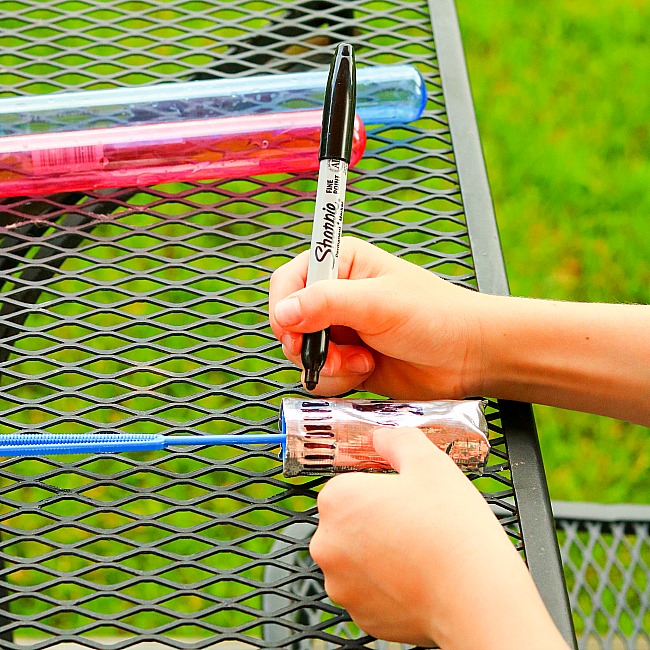
4. Use the permanent marker to design the handle of the lightsaber.

5. Open and activate your glow necklace.
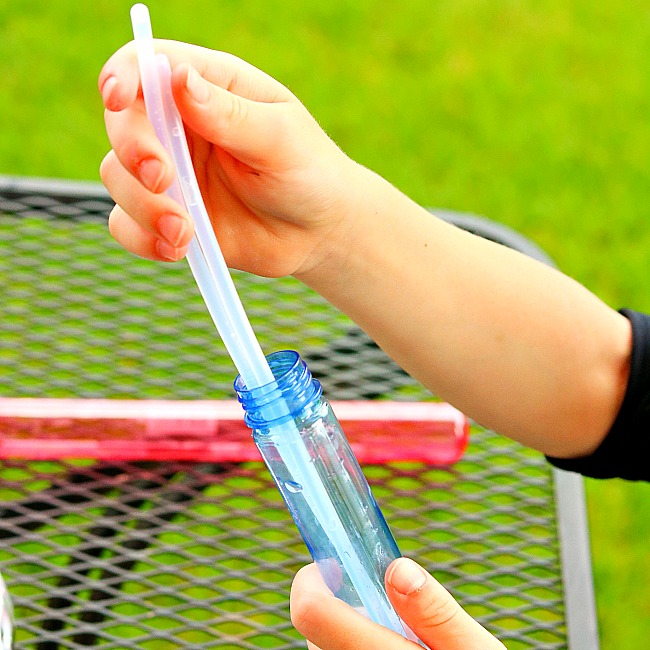
- Fold the glow necklace gently as needed so it fits inside the empty bubble tube.
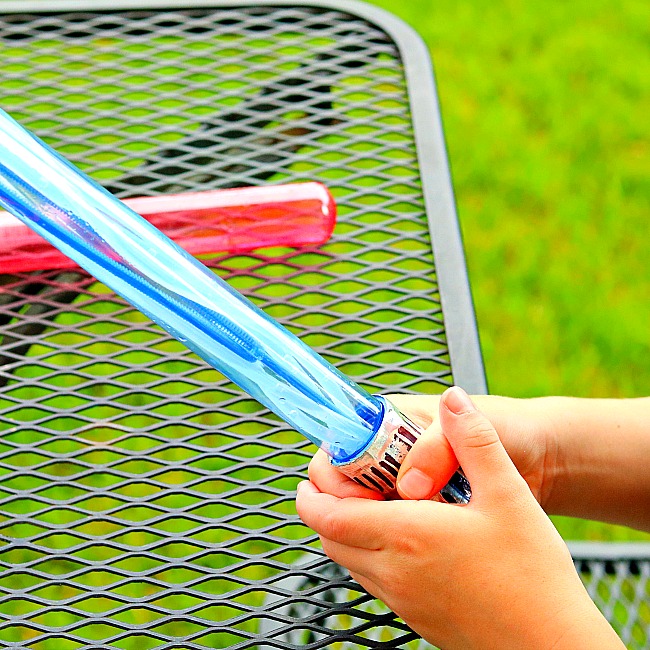
7. Screw the handle back into place and you are ready for a Jedi Battle!
Pro-tip #3: You could add the glow stick while there is still solution in it, but be careful and make sure the necklace is not cracked when bending into position.

Pro-tip #4: For an extra bright light, choose a thicker glow pendant or add an extra necklace.
Check out these fun craft ideas too!
- Baby Yoda Paper Plate Craft
- Toilet Paper Roll Airplane Craft
- Floating Craft Stick Rainbow Boat Craft
- Ferocious Lion Paper Plate Craft
- Polar Bear Puffy Slime