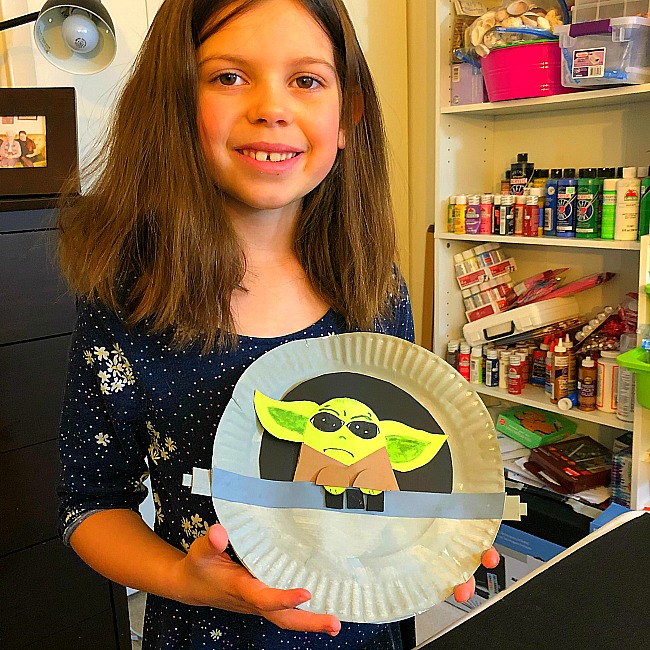
Paper Plate Baby Yoda Craft For Kids (With FREE Template)
Paper Plate Baby Yoda Craft For Kids (With FREE Template)
This Adorable Paper Plate Baby Yoda Craft for Kids will definitely put a smile on your Star Wars lover’s face!
If you have a pulse and are either a) a Disney+ fan or b) have a Facebook account, you have likely encountered all the awesome goodness that is Baby Yoda. I know, we don’t actually know this cutie’s real name, but the internet exploded with Baby Yoda memes, t-shirts, etc…
Of course we had to make a Baby Yoda craft (or two). We actually designed multiple Baby Yoda craft options and you can download the template for both of them! (see below).
So, go ahead.. indulge your inner Star Wars geekdom (we sure did) and make this craft with your kids.. and then re-watch the Mandalorian again!
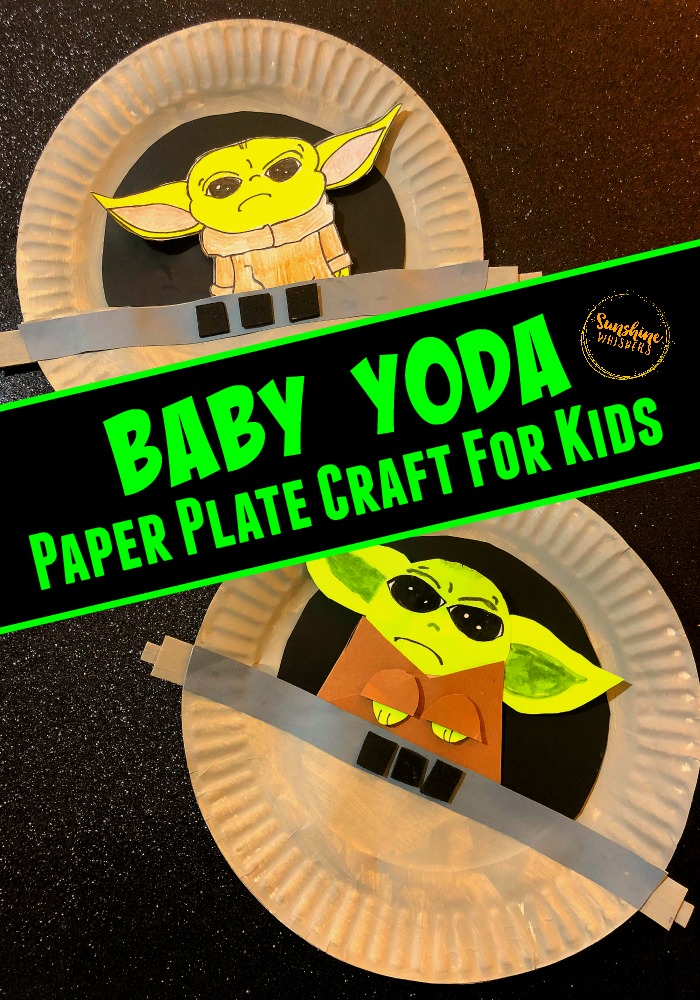
This craft actually has two distinct parts– Baby Yoda’s pod and Baby Yoda himself (he is a he, right?)
What you will need for this craft:
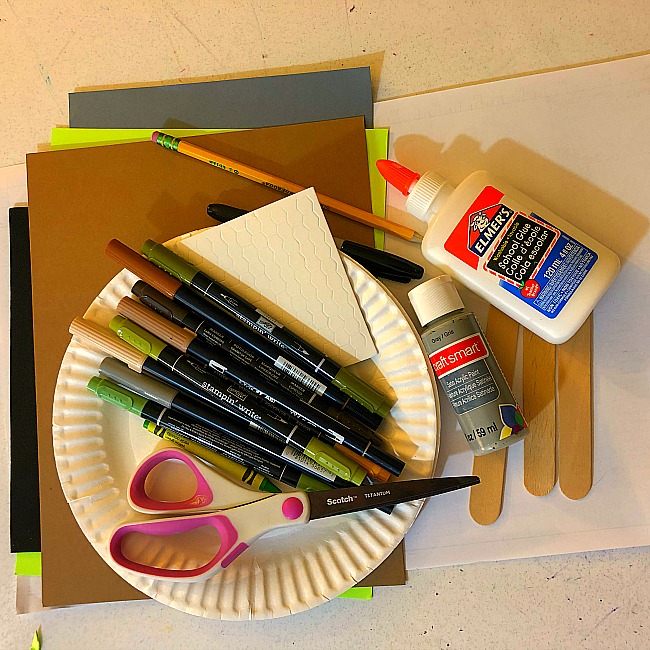
Sunshine Whispers participates in the Amazon Associates and Amazon Influencer Programs. As an Amazon Associate we earn from qualifying purchases. We may earn money or products from the companies mentioned on this site and in this post.
- Two paper plates
- Grey or silver acrylic paint
- Two craft sticks (regular size)
- Black, Brown, Grey, and Green Cardstock (for Baby Yoda #1. If you are doing Baby Yoda #2 you don’t need the green cardstock)
- Black craft foam sheet
- Elmer’s Glue
- Scissors
- Baby Yoda Craft Template
- Crayons, colored pencils, or markers for coloring in Baby Yoda #2
- Black Sharpie
- Green Sharpie or marker
- Dimensional stickers (for Baby Yoda #1)
How to Make Baby Yoda’s Pod
- Cut one paper plate in half, a little less than half of the way up the plate. You don’t want the cut plate to be quite that high. Just below the halfway point is perfect.

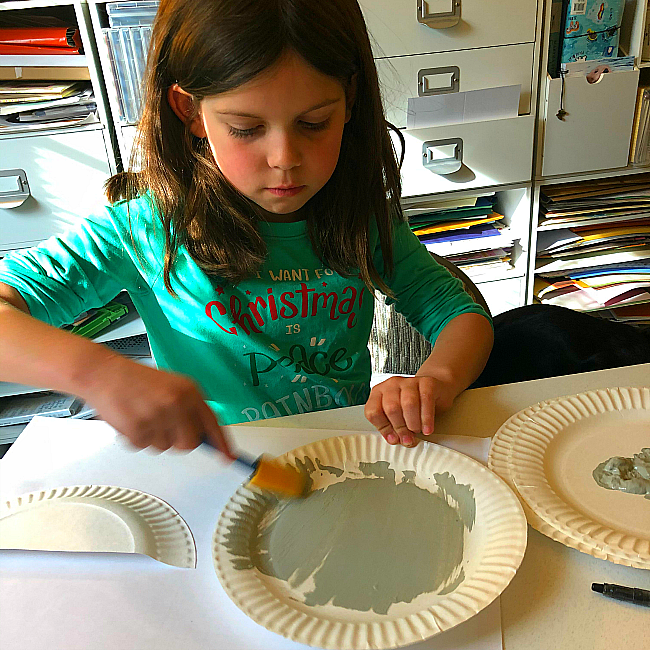
- Paint the non-cut plate and the cut ‘half’ plate silver or grey. Set aside to dry.
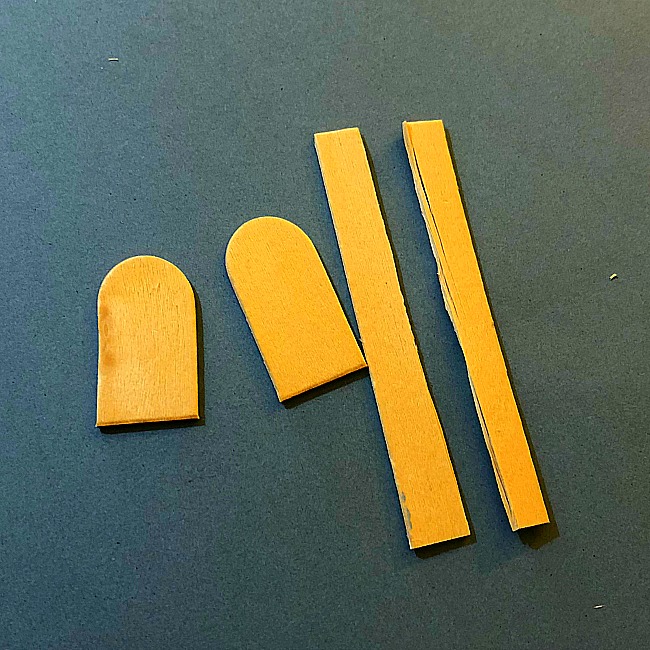
- Take one of the craft sticks and cut the ends off, about 3 inches from each end. Then take the middle part of the craft stick and cut it in half lengthwise. Then from one of the halves, cut two pieces, about 2 inches long each.
- Paint each of the craft stick parts grey and set aside to dry.

- Cut a 1-2 inch strip from the grey cardstock. Don’t worry about getting the exact dimensions. This is for the rim of the pod.
- Cut a 1 inch strip from the black foam and then cut three squares from that strip.
- Take a bowl or plastic container (like a Cool Whip lid) and trace a circle cut out from the black cardstock.
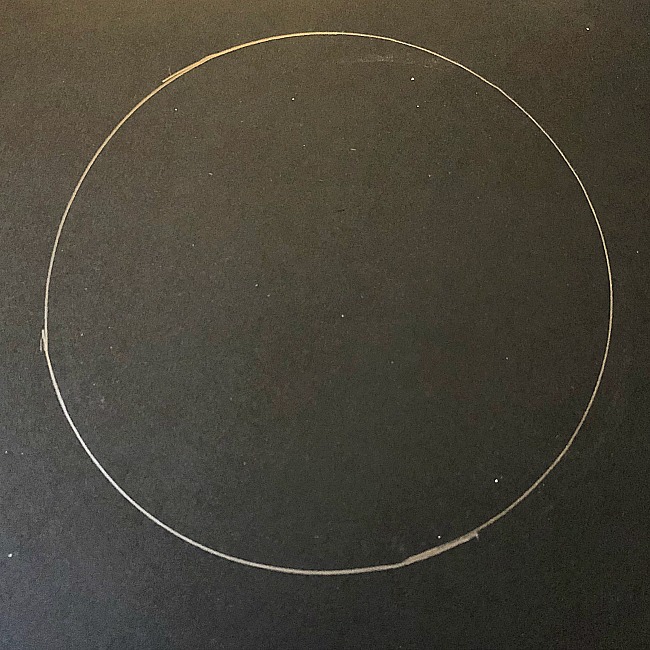
- Once all the paint is dry, glue the black cardstock circle to the middle of the uncut paper plate.
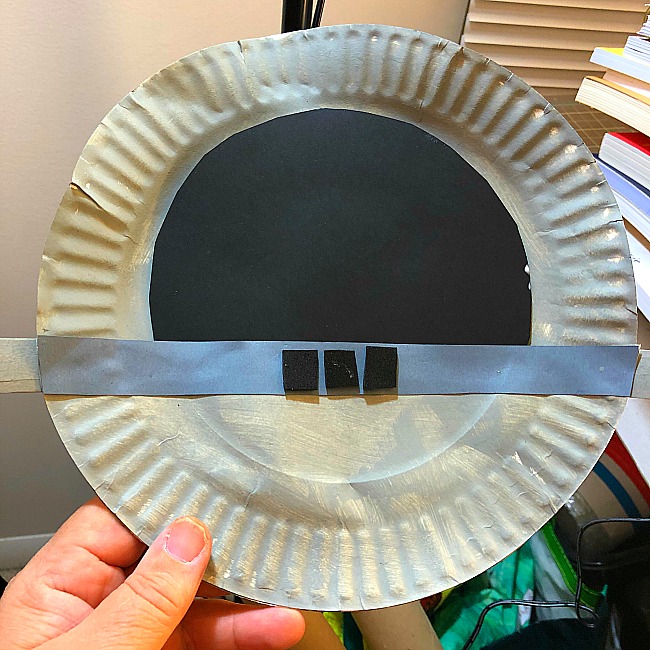
Finish the Baby Yoda Pod
- Next, glue the edge of the painted paper plate half to the bottom half edge of the non-cut paper plate (note: only glue the edges, not the middle). This will form a pocket. Let dry
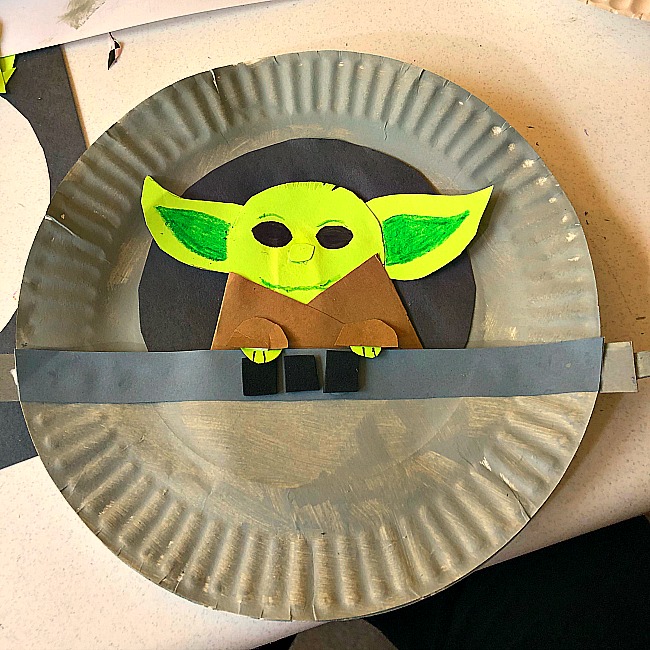
- Take the grey cardstock strip and glue it to the top of the pocket to form the rim of the pod. Trim the strip so that it matches the dimensions of the paper plate. Glue each of the three black craft foam squares in the center of the grey cardstock strip.
- To make the pod nodules, glue the smaller craft stick parts to the back of the larger craft stick ends. Then apply glue to the rounded part of the craft stick ends (the front or painted side of the craft stick) and attach behind the paper plate to line up with the grey cardstock strip.
- Let everything dry and your Baby Yoda pod is ready for Baby Yoda!
How to Make Baby Yoda Option #1
- Download and print out Baby Yoda Template. This Baby Yoda will use the first page of the template.
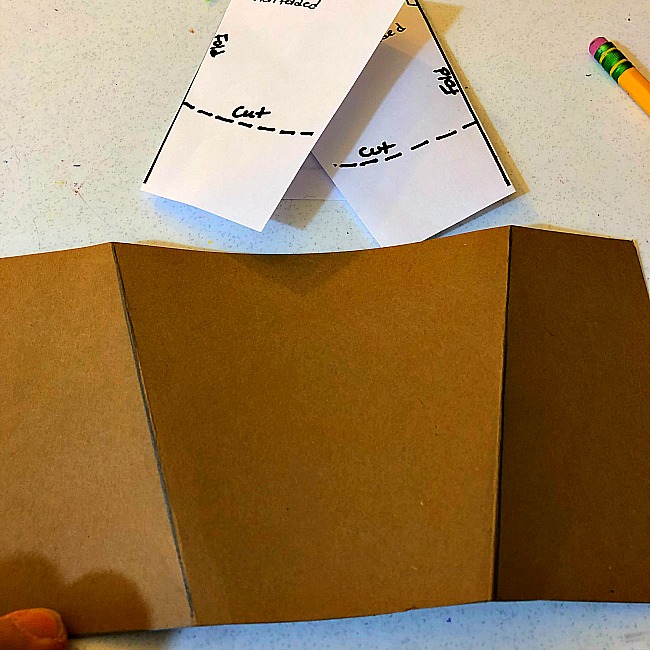
- Cut out the rectangle template on the bottom of the page. Line it up with the bottom of the brown cardstock and cut the brown rectangle out.
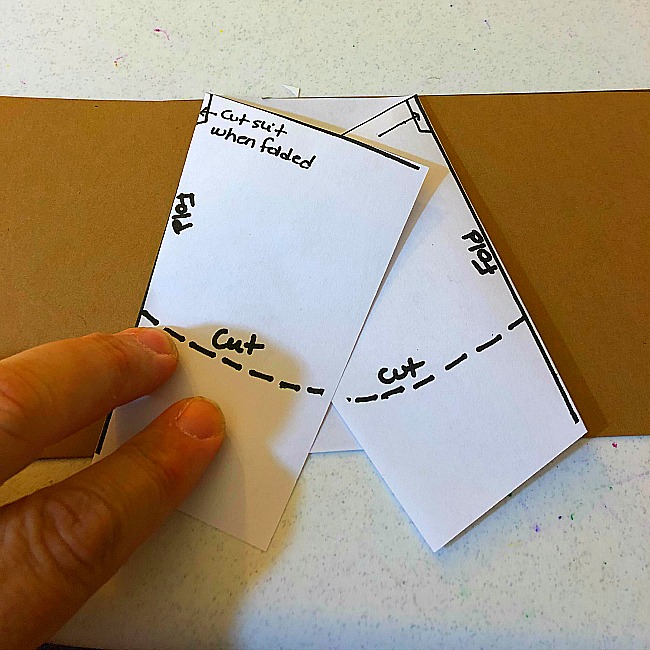
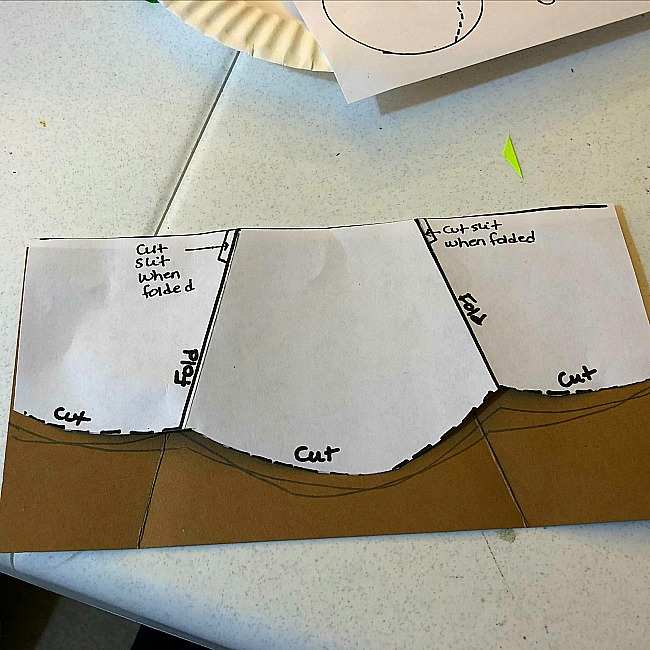
- Fold the Yoda robe template according to the instructions. Line up the top of the template with the top of the brown cardstock.
- With a pencil, trace along the lines of the robe template. Then, fold the brown cardstock along the lines. Once you fold the edges of the robe, refold so that the pencil lines are on the inside of the robe.
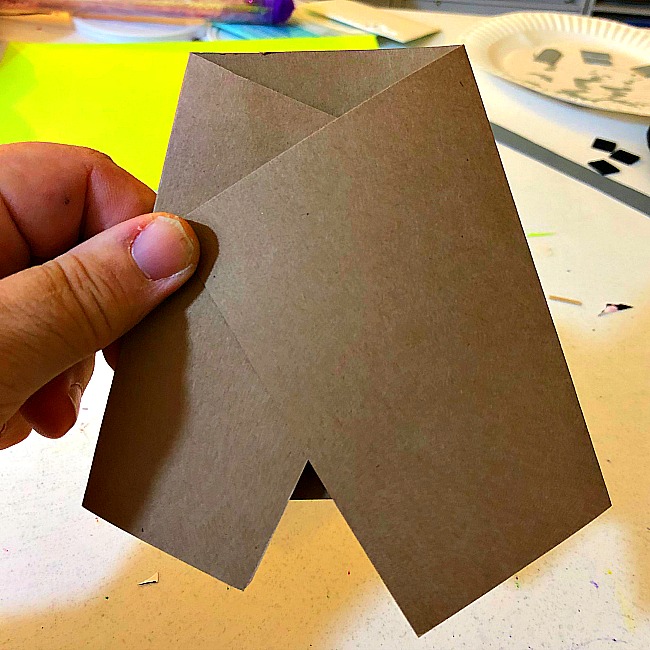
- Next cut along the dotted lines on the robe template. Match the template to the bottom of the brown cardstock robe. Trace the line for the bottom of the robe. Cut along the line to create the bottom of the robe.
Now that the robe is done, let’s make Baby Yoda’s head!
- Now for Baby Yoda’s head! Cut out the rest of the items on the Baby Yoda #1 Template page.
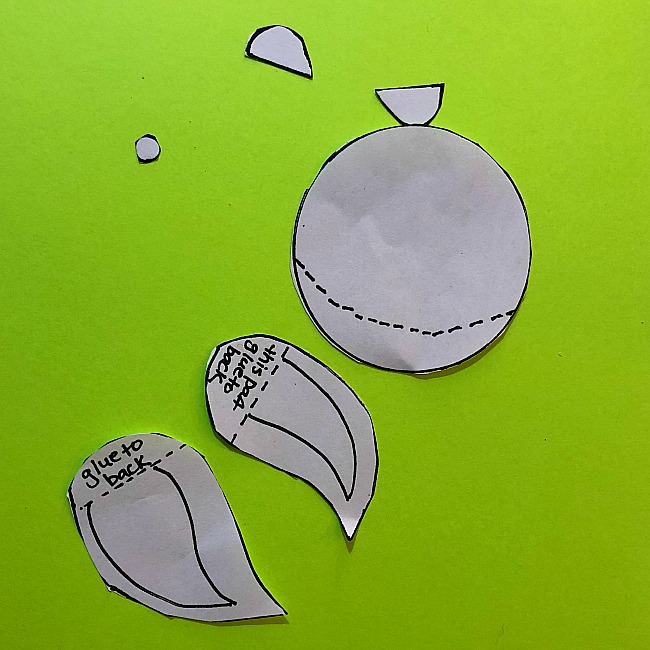 7. Trace the ears, head, nose (optional), and hands on the green cardstock. Cut out all pieces of Baby Yoda’s head from the green cardstock. Also cut out Baby Yoda’s eyes. (Note: If you aren’t a fan of these eyes, you can draw your own with a black marker)
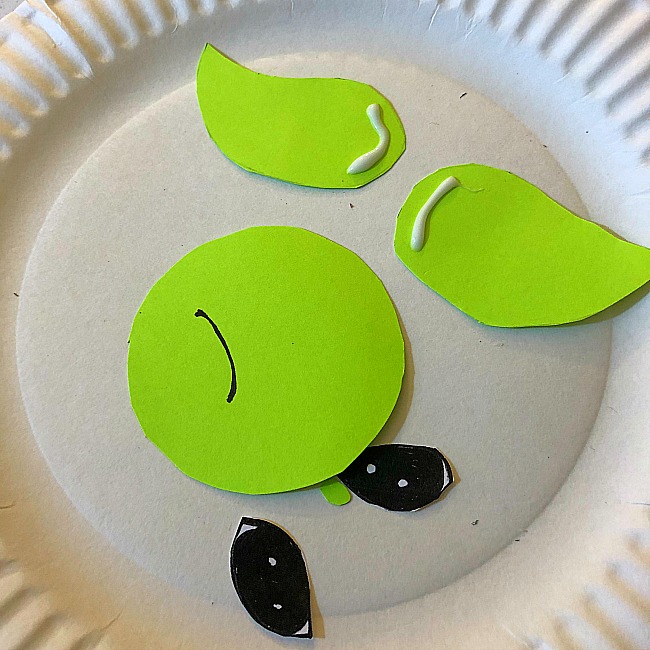
- Draw a mouth on the Baby Yoda head (circle piece). Apply a small strip of glue to the rounded part of each ear and attach to the back of Yoda’s head.
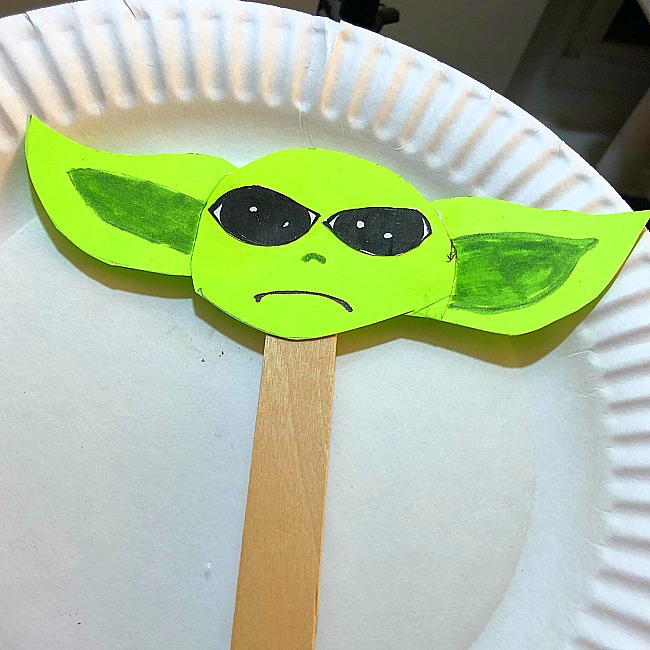
- With a dark green marker or sharpie, draw the inside of Baby Yoda’s ear, and his nose (or glue on the little circle nose). You can also use the green marker to draw wrinkles on Baby Yoda’s face to make him even cuter!
- Glue on Baby Yoda’s eyes!
Now let’s combine Baby Yoda’s Head and his robe
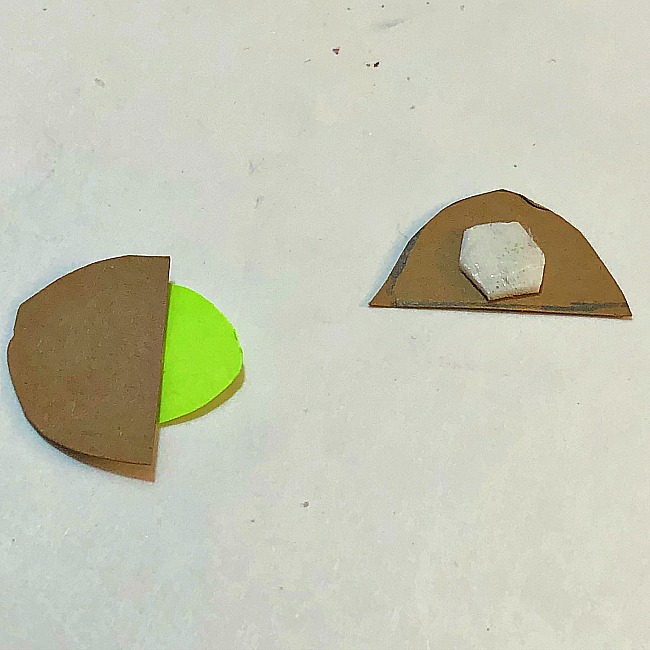
- Cut out the moon shaped piece from Baby Yoda’s head and use it as a guide to trim the bottom of Baby Yoda’s face so it will fit in his robe better.
- Glue Baby Yoda’s head to the top third of the craft stick.
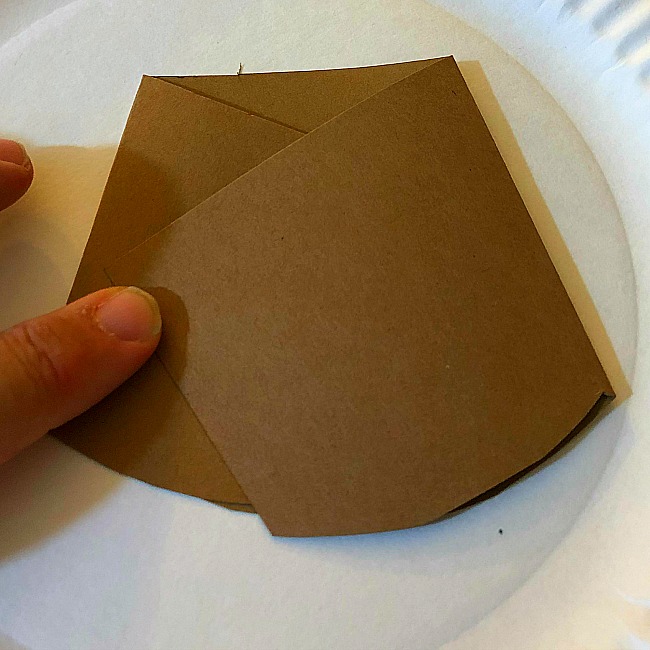
- Cut 1 to 2 inch slits into the creases of Baby Yoda’s robe. Wrap the robe around the craft stick and Baby Yoda head. Fiddle with Baby Yoda’s head so that it tucks into the robe the way you want it. Glue the robe to the craft stick and then glue the outer robe to the inner robe.
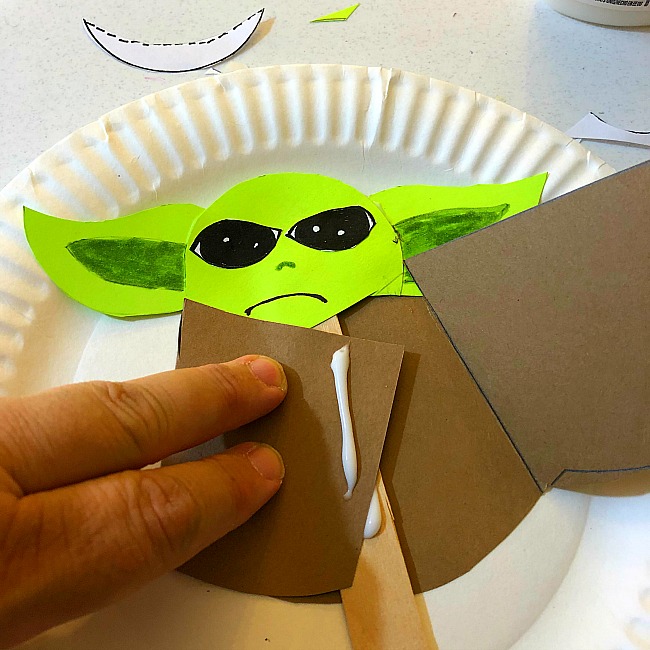
- Next, cut out two sleeves from the brown cardstock. Use the dimensionals to stick each Baby Yoda hand under the bottom of the sleeve of each robe. Next, stick Baby Yoda into his pod.
- Stick a second dimensional on top of the first dimensional for each hand. Stick the Baby Yoda hands on Baby Yoda so that the hands hang over the edge of the pod. These hands are so cute!
- Use scissors to cut thin lines on top of Baby Yoda’s head to create hair.
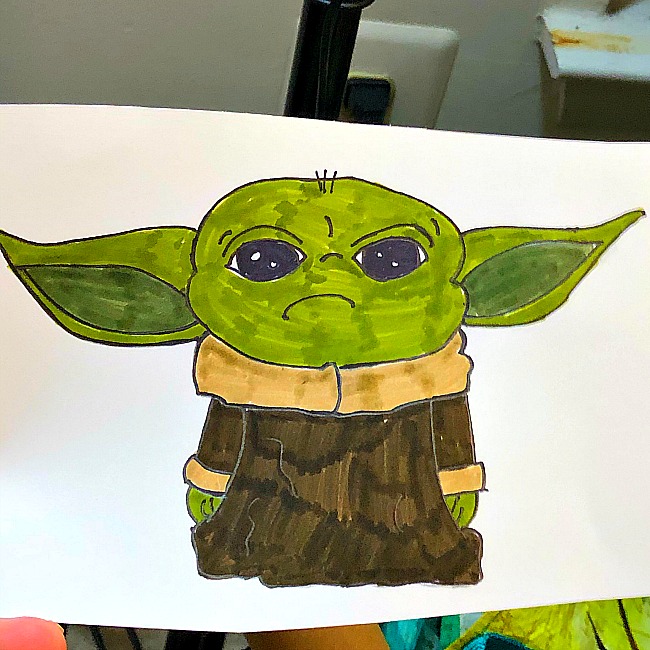
Note: If you prefer a happier Baby Yoda, you can draw a smile instead of a frown or smirk. Check out this Baby Yoda. He’s different than the one above!
But wait? What about the other Baby Yoda?
How to Make the 2nd Version of the Baby Yoda
This version is too easy.
- Download and print out the 2nd page of the Baby Yoda Template. Cut him out.
- Use your crayons, or colored pencils, or markers to color in Baby Yoda.
- Glue Baby Yoda to the craft stick. And that’s it!
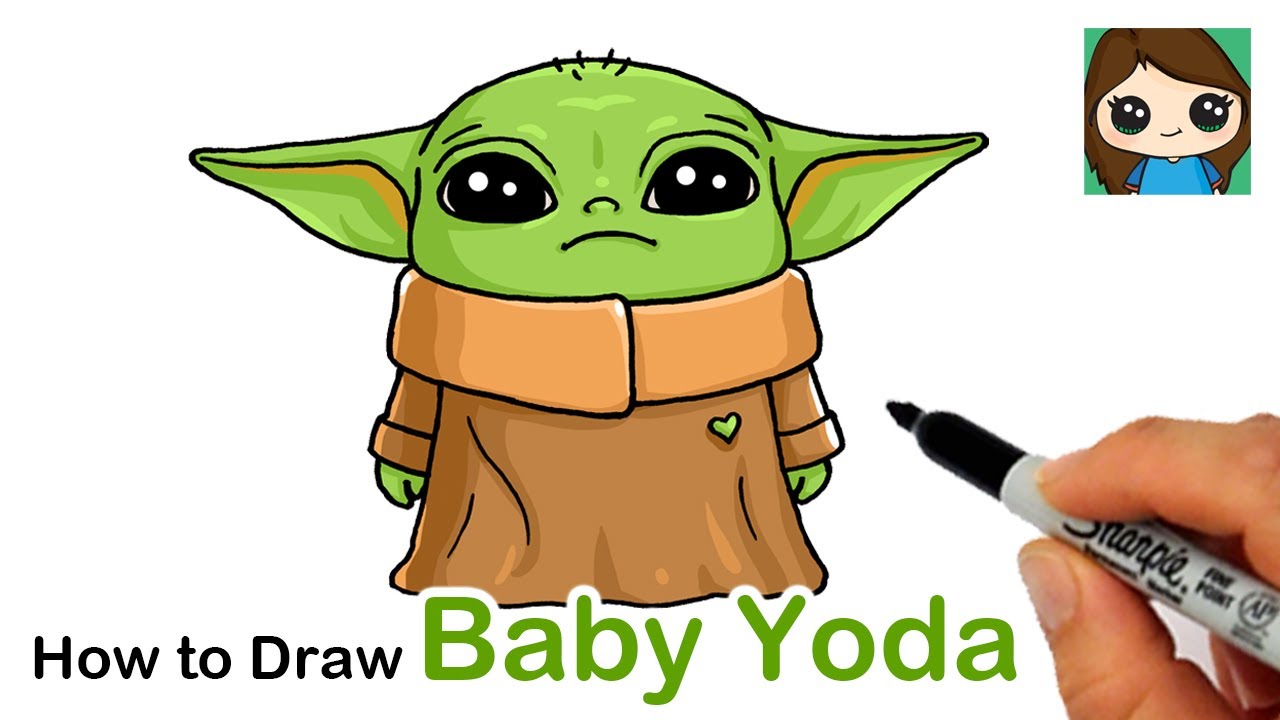
By the way, isn’t this a cute Baby Yoda? I learned how to draw him by watching this video on You Tube. Check it out!
download your FREE Paper Plate Baby Yoda Craft Template!
Check out these craft ideas too!