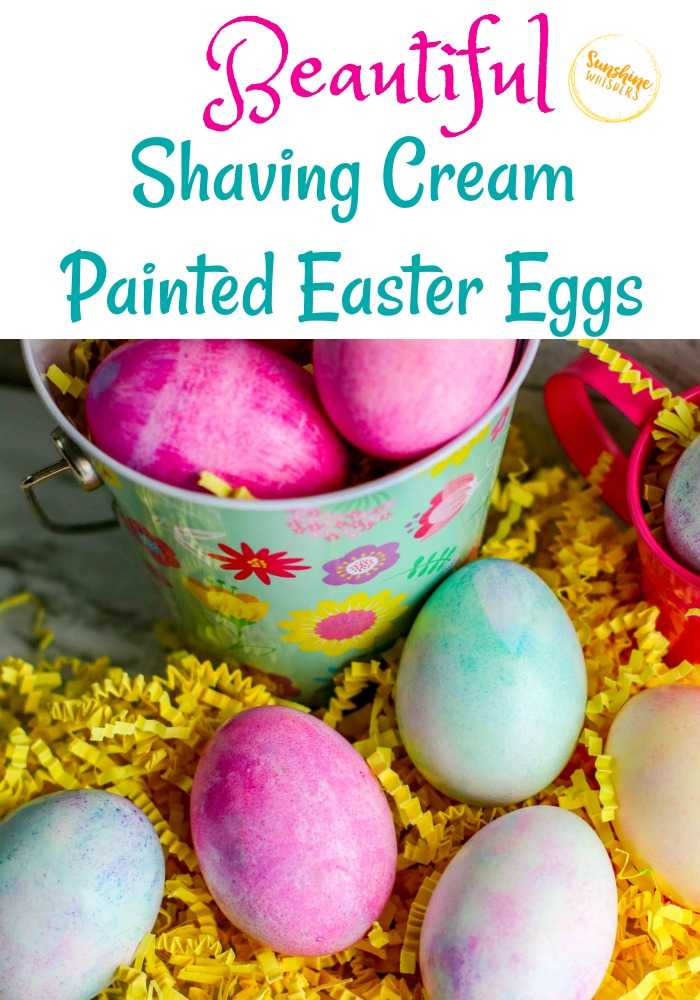
Beautiful Shaving Cream Painted Easter Eggs
Beautiful Shaving Cream Painted Easter Eggs
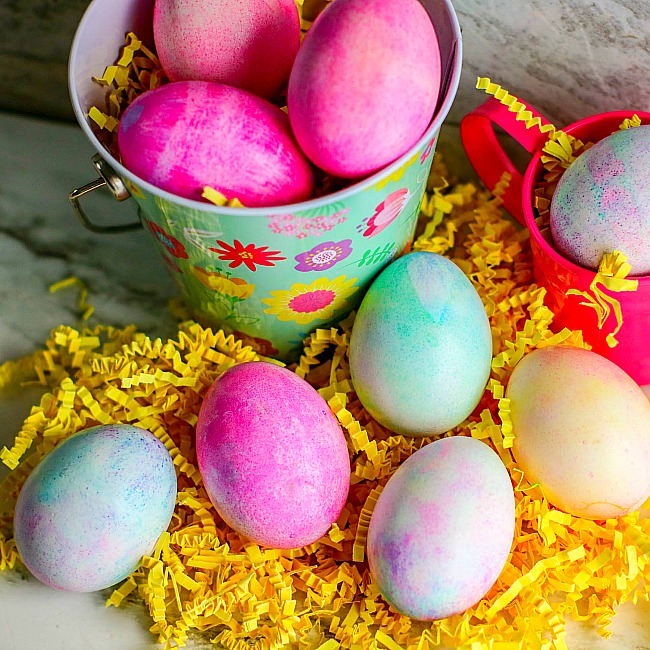
These shaving cream painted Easter eggs are really beautiful and a very fun way to dye eggs with your kids!
How would you like to make gorgeous Easter Eggs with your kids without using a kit that has harsh chemicals?
Dying Easter Eggs is one of our family’s favorite traditions. Every year we try to use different techniques to create beautiful colorful eggs. Of course, dying eggs is only half the fun! Colorful and bright Easter Eggs are the key ingredient for Easter Egg hunts too!
We have never decorated Easter Eggs with shaving cream paint. This is a super fun method even younger kids can do. Check it out!
What you will need to make shaving cream easter eggs

- Boiled eggs
- Shaving cream or thawed frozen whipped topping
- Food coloring
- Bamboo skewers
- Muffin tin or one container for each color
Note: Eggs using shaving cream are NOT edible.
How to create these beautiful easter eggs!
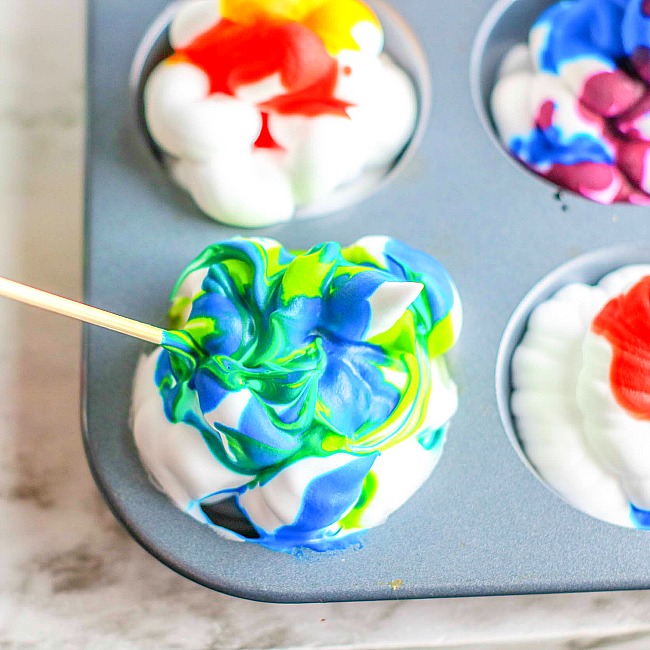
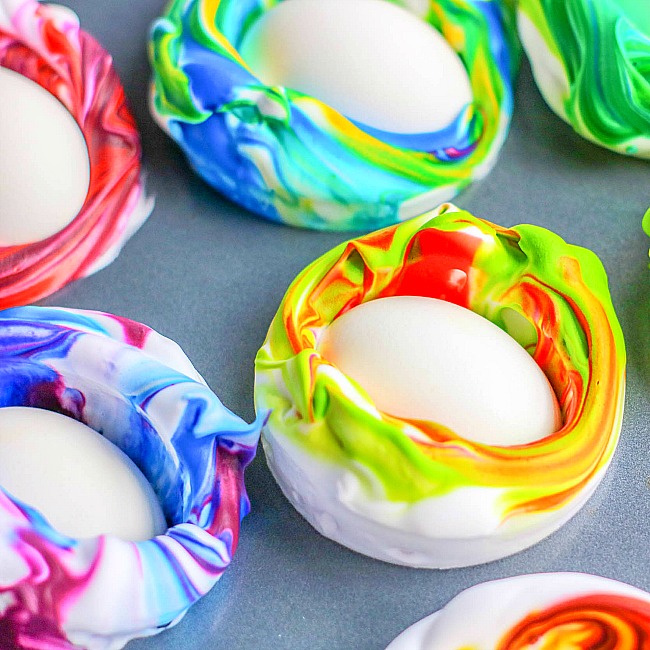
1. Prepare a muffin tin with shaving cream or whipped topping in each well. Top with food coloring and swirl slightly.
2. Place one egg in each well and turn to coat.

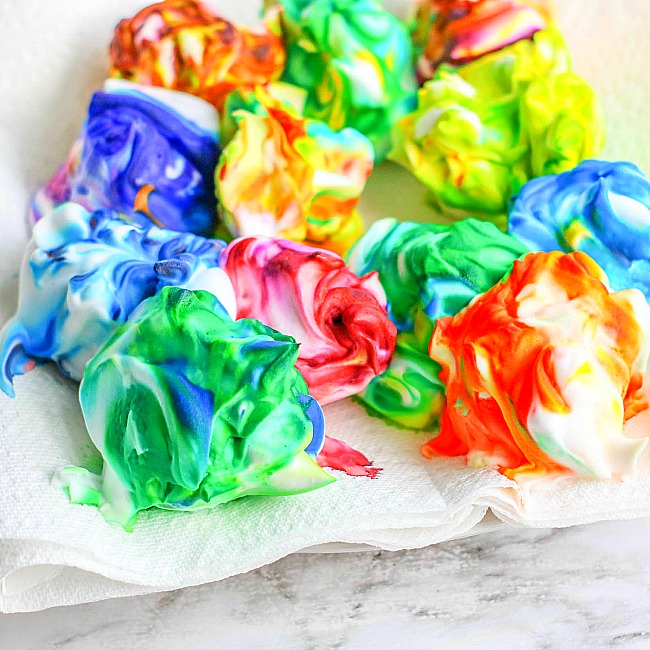
3. Remove and place on paper toweling. Allow to rest for 20 to 30 minutes.
4. Remove shaving cream by rinsing with water, being careful not to rub the eggs as it may remove the color.
Check Out These Fun Easter Ideas Too!
- How to dye Easter Eggs without making a mess
- Gorgeous Marbled Easter Eggs
- Simple Painted Easter Eggs
- How to dye Easter Eggs naturally
- Bunny and Chick Craft Stick Craft
- Hopping Bunny Paper Plate Craft
- Paper Plate Hatching Chick Craft
- Egg Carton Easter Bunny Craft
- Easter Bunny Pancakes
- Easter Bunny Paper Plate Craft
- Chocolate Dipped Oreo Baby Chicks
- Chocolate Dipped Easter Animal Pretzel Rods
- Bunny Butt Cupcakes