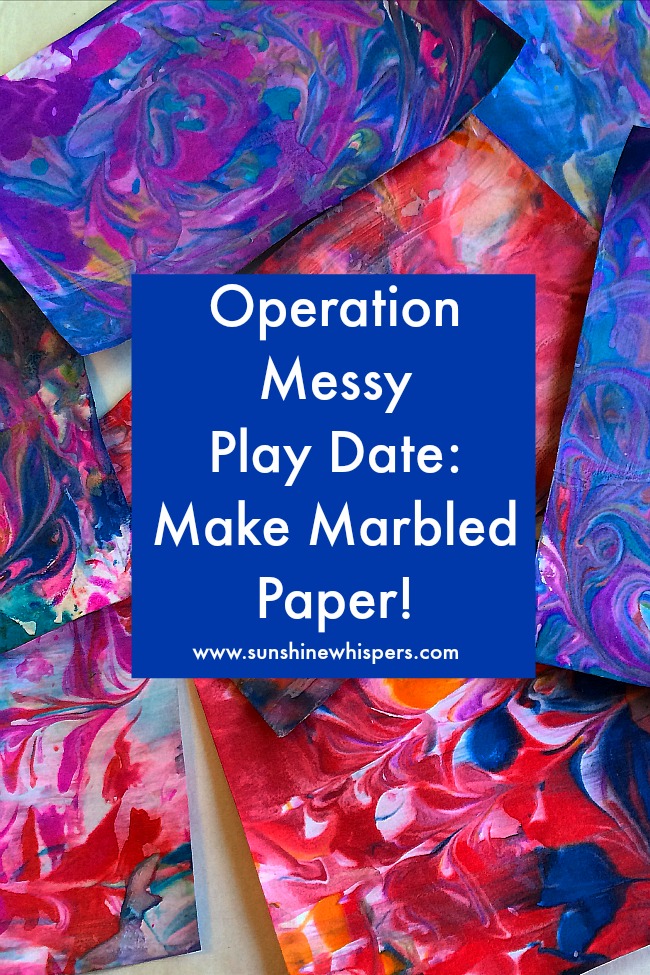
Operation Messy Play Date: Make Marbled Paper!
Our neck of the woods recently received quite a bit of snow. Actually, within 24 hours, 2-3 feet of snow was dumped onto our area. So, we were stuck. Stuck at home for 4 days. In an effort to a) not succumb to a 24/7 Disney Jr. marathon and b) stave off some serious cabin fever, I decided to try something new– a large scale messy art project. Welcome to Operation Messy Play Date: Make Marbled Paper!
Operation Messy Play Date: Make Marbled Paper
Sweet Pea and I are not immune to messy arts and crafts projects. Actually, it seems most of our projects involve paint, glitter, or some sort of stain-inducing watercolor. However, after a few days of being cooped up in the house, she needed to see human beings who were under the age of 40. So, I invited a few neighbors over for a messy play date. Bottom line: I think it was a huge hit! I am hoping that this will be the first of many messy play dates.
Affiliate links included for your convenience.
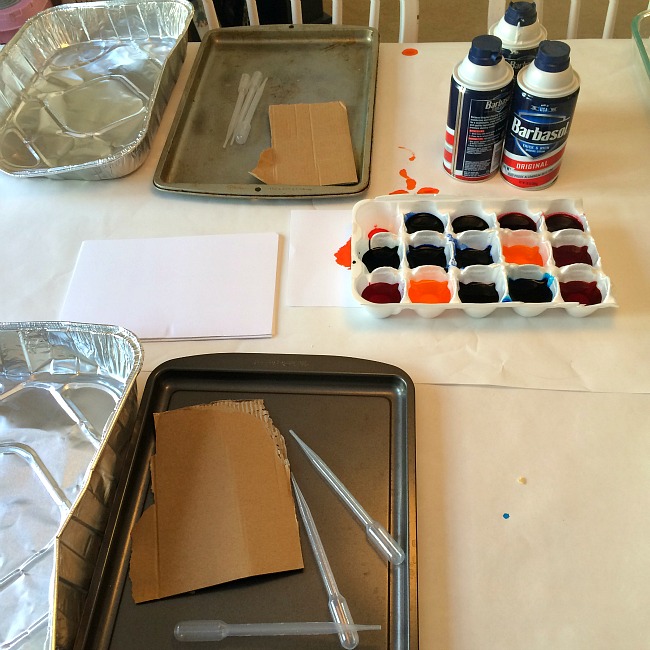
Materials Needed:
- Aluminum disposable roasting pan (optional. see below)
- Eye droppers
one for each color
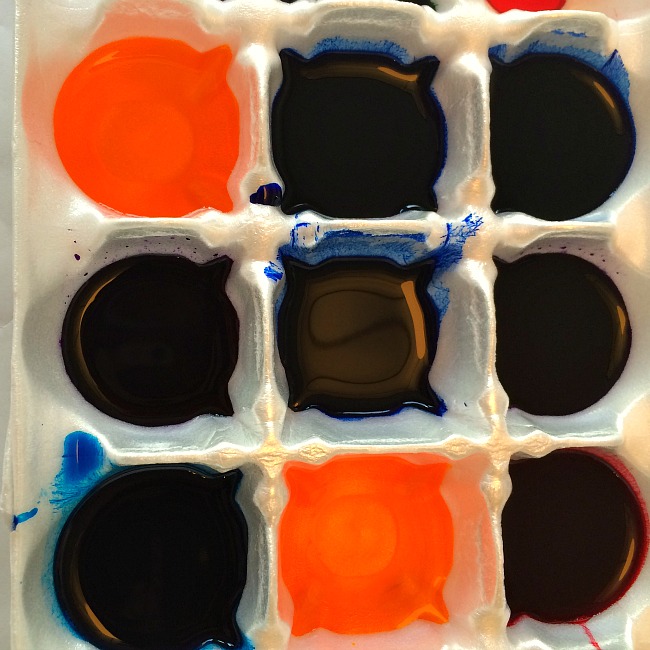
- Liquid watercolors
- Barbasol shaving cream (not the gel kind)
- Piece of cardboard
- White cardstock
- Spatula
- Cookie sheet
How to Make the Marbled Paper
We chose to make marbled paper for the inaugural play date. Here is not only how we did it, but how I did it at scale (admittedly a small scale).
 Get Set up:
- Cover the table or work surface with butcher paper. I used a roll of white paper since that is what I had on hand. However, in the absence of large swaths of paper, you could cover the work surface with a plastic table cloth, newspapers, or an old sheet.
- Set up a station for each kid/parent. At each station place an aluminum roasting pan (throwaway), four or five plastic eye droppers, a small cookie sheet, and a piece of cardboard with at least one hard edge (to be used as the scraper). Note: You can use a Pyrex dish as well. I opted for the disposable pan for easier clean up.
- Cut a stack of white, 8 1/2″ x 11″ sheets of cardstock in half. Divide the stack and place the two piles of cardstock on either end of the table.
- Set out at least three or four bottles of Barbasol shaving cream and a few spatulas and spreading spoons. Also, grab either a package of wipes or a bowl with water and plenty of paper towels for quick cleanup.
- Squirt liquid watercolors into small cups or pods. I had a leftover 18-count egg container that I used and apart from a few leaks, it worked really well. Set the liquid watercolors in the center of the table so everyone has easy access to the color!
- Grab a few extra smocks in case someone shows up without one.
Make the marbled paper!
- Spray a layer of shaving cream in the bottom of the aluminum pan. Smooth the surface with the spatula
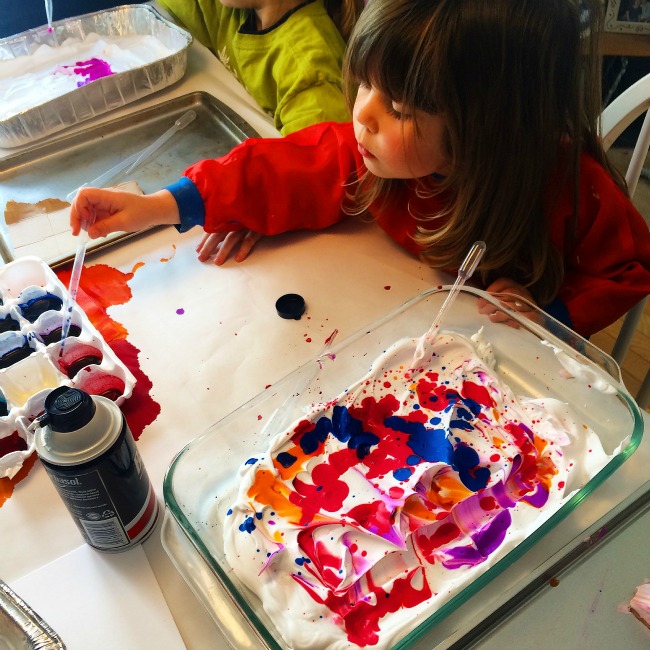
- Let your kid use the eye dropper to squirt drops of liquid watercolor onto the surface of the shaving cream. If you want to avoid everything meshing into the color brown or gray, you may want to limit your kid to three or four colors at a time. Also, you will need to squirt more watercolor than you think is necessary if you want marbled paper that is more color than white.
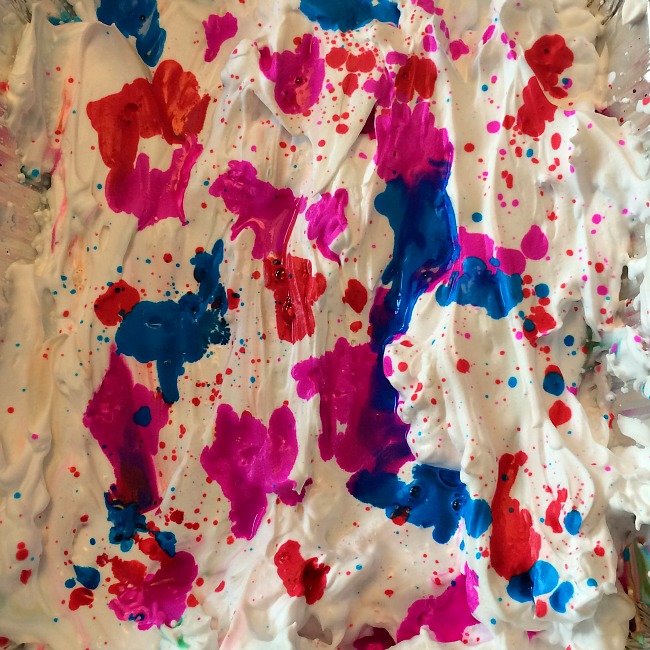
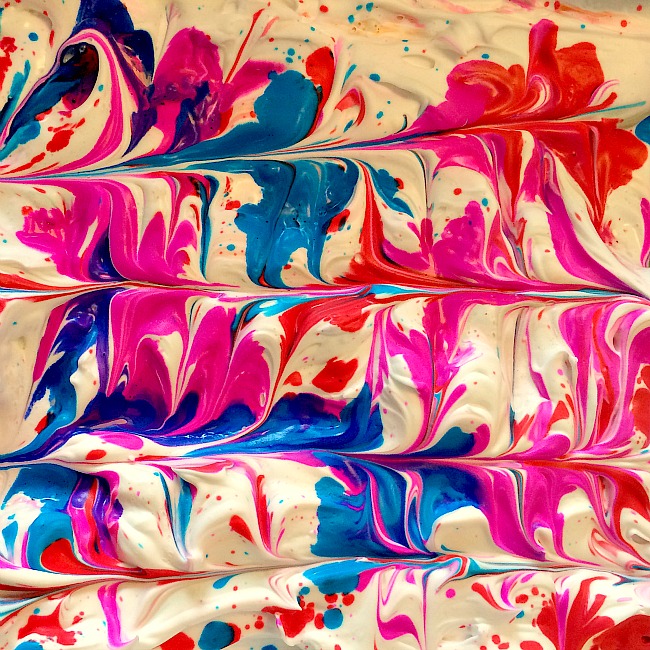
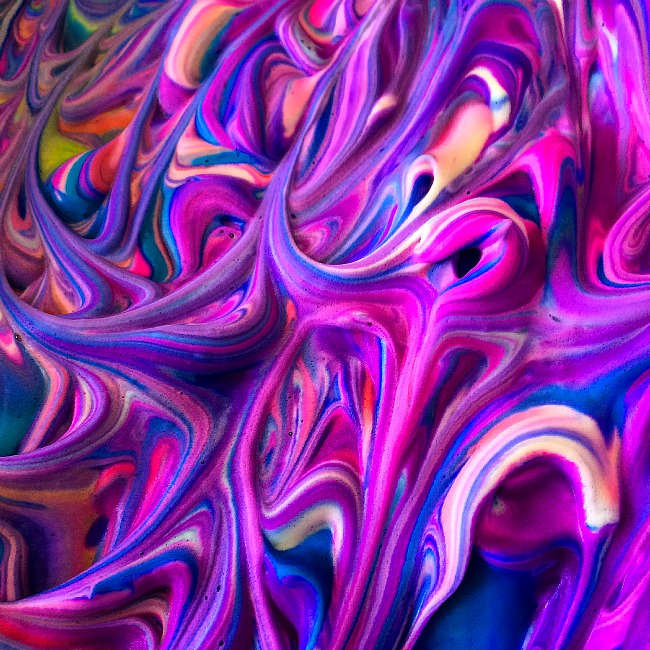
- Use the tip of the eye dropper to swish and swirl the liquid watercolor, making designs and patterns in the shaving cream.
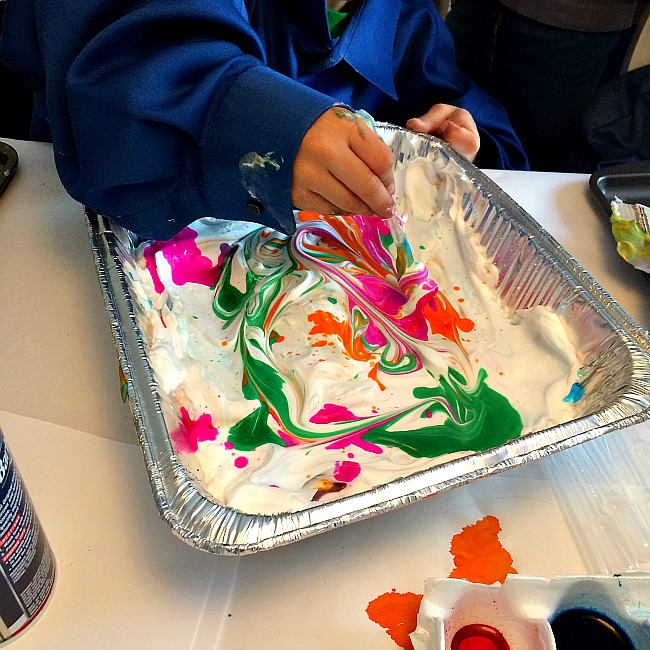
- Gently, but firmly, press one sheet of cardstock into the shaving cream paint mix. You don’t want to press down hard, just enough for the shaving cream paint to cover the paper.
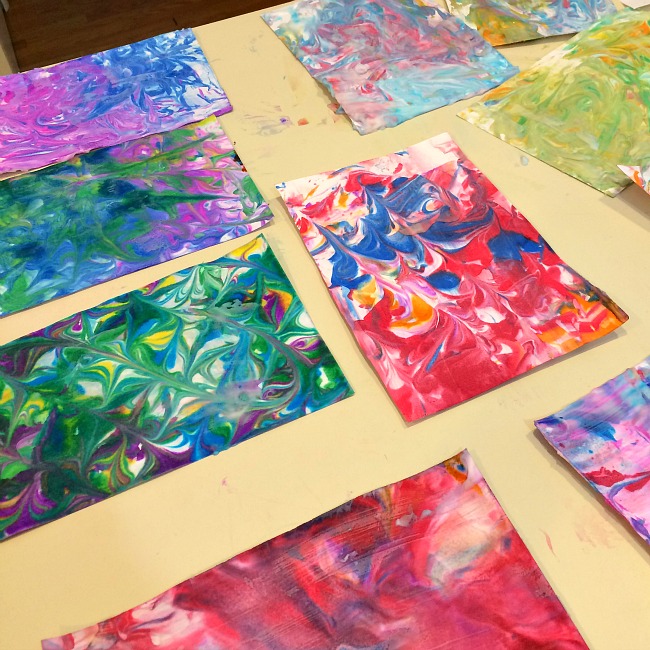
- Immediately lift the cardstock out of the shaving cream paint mixture. Place the wet cardstock on the cookie sheet and use the piece of cardboard to scrape off all the excess shaving cream.
- Let dry.

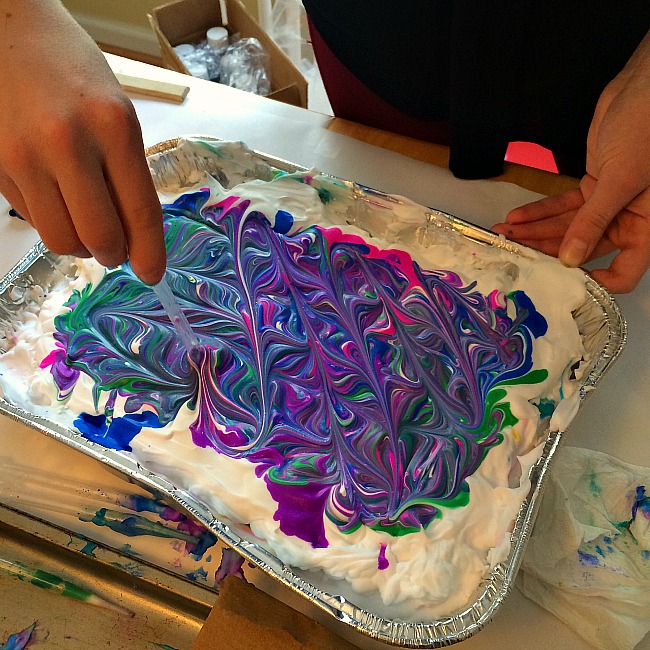
- Once you have made a few sheets of marbled paper, you might want to experiment with different colors. There is no need to start over. Just spray another layer of shaving cream on top of the first layer, sprinkle more watercolor paint onto that layer and get to creating different patterns and designs.
This craft project could not be easier! Oh, and even though this messy play date was geared towards preschoolers, an older sibling, who is 14 years old, tagged along and she had as much, if not more, fun than her sister did!
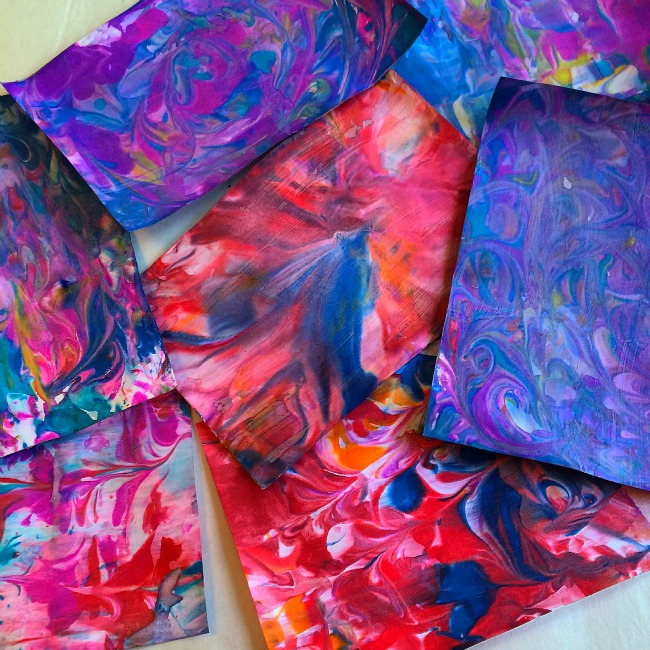
Check out how pretty the marbled paper turned out! I can’t wait to use this paper in a pretty Valentine’s Day craft!
So, will we make marbled paper again? Absolutely! I just need to buy more shaving cream. Would I organize another messy play date? Oh, yes! The kids had a blast.. and the parents did as well!
Thanks for stopping by today and if you are stuck inside, I hope this activity makes it to your play list!
Sara
Would you like more craft and activity ideas? Check out Sunshine Whispers on Pinterest and Facebook in order to not miss a thing!
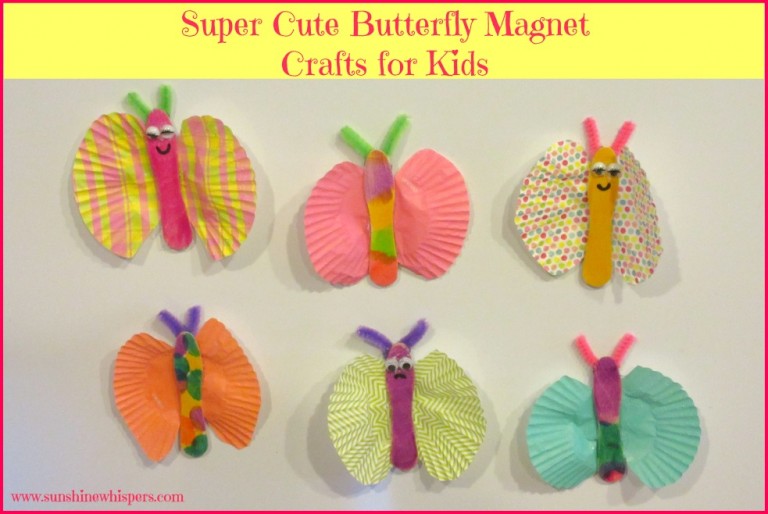
Did you like this activity? Would you like more ideas? Check these ideas out:
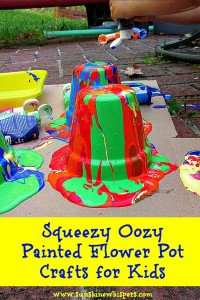
Squeezy Oozy Painted Flower Pots