Adorable ‘Bee Mine’ Valentine’s Day Cards for Kids
Oh for goodness sake. These ‘Bee Mine’ Valentine’s Day cards for kids are so adorable, aren’t they? Who needs to buy Valentine’s from the store when you can create much cuter cards on your own ? Sweet Pea and I had a great time making these cuties. Plus, I was able to combine my two crafting loves: crafts for kids and paper crafting. Check out the tutorial below to make them yourself!
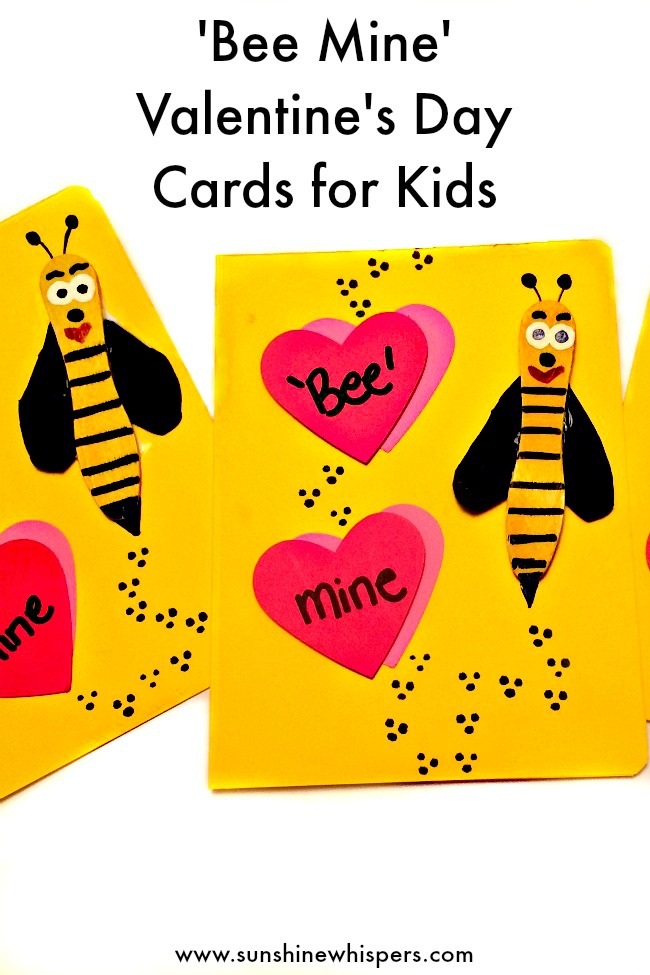
‘Bee Mine’ Valentine’s Day Cards for Kids
Affiliate links included for your convenience.
Materials Needed
- Mini wooden craft sticks
(1 per card)
- Bright yellow paint (any variety. We used a Dot Paint Marker
, but these are easy enough to paint with tempura paint as well)
- Black sharpie
or black marker with fine and thick tip
- Black foam sheet
or cardstock
- White acrylic paint
- Fine tip paint brush
- Red sharpie
or marker
- Large Heart Punch
- Corner Punch
- Red, pink, and bright yellow cardstock
(8 1/2″ x 11″ sheets)
- StazOn
Jet Black Ink
- Dot stamp (the one I used was from Stamps by Judith and Heather)
- Paper crafting dimensionals
- Tape runner
- Craft glue
How to Make the ‘Bee Mine’ Cards
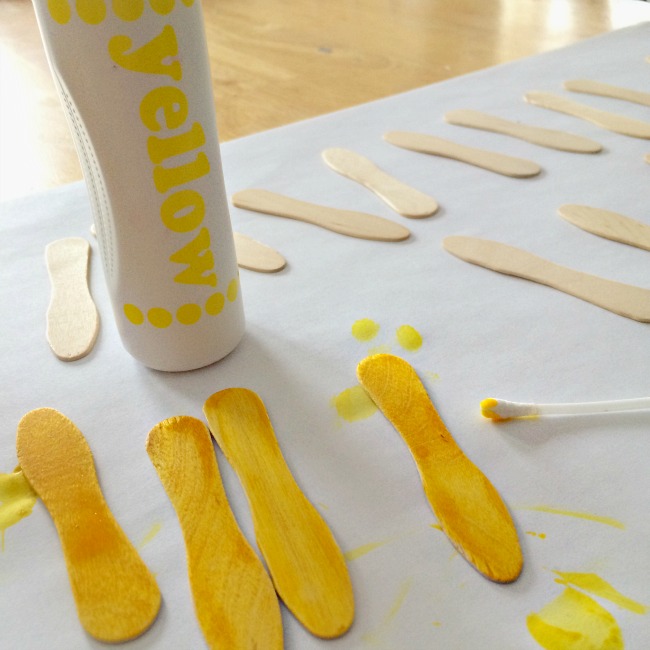
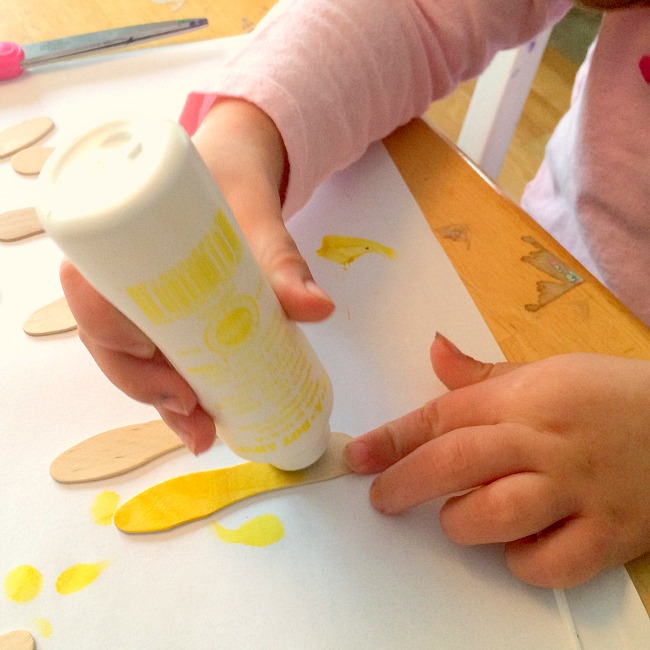
- The first thing you need to do is paint the mini wooden craft sticks. This will go super fast and is an easy way to get even super young kids involved in making the Valentine’s. We used a dot paint marker and the paint was dry within 10 minutes.
- Once the paint dries, use a fine tip paint brush to paint the whites of the eyes on the craft stick with white acrylic paint. You are basically painting two small circles. Note: you could skip this step and use googly eyes. However, in painting their eyes on by hand, each bee took on a different ‘personality.’

- After another 10 minutes or so, the whites of the eyes will be dry. At that point, use the black sharpie and red sharpie to draw on the bee’s stripes, nose, mouth and eyebrows. Tip: for the bee stripes, I made the bottom stripe a little thicker. Also, I really liked making the bee mouth a little heart, since we were making Valentine’s Day cards and all.
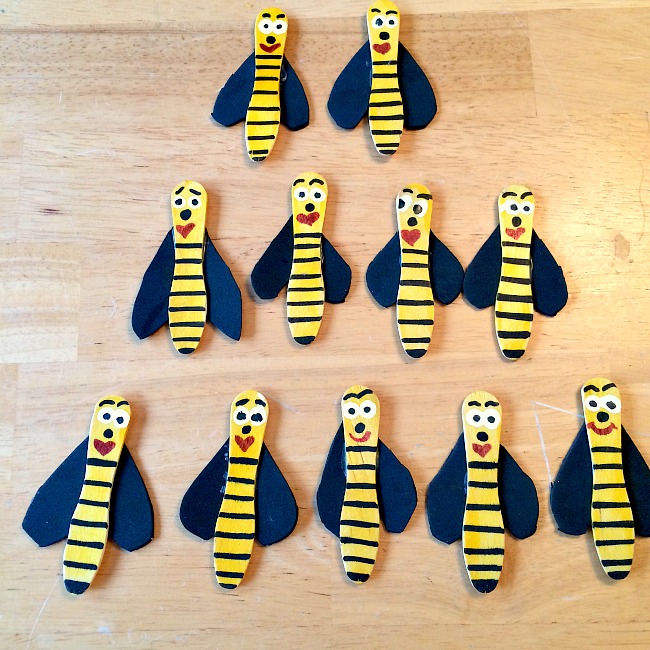
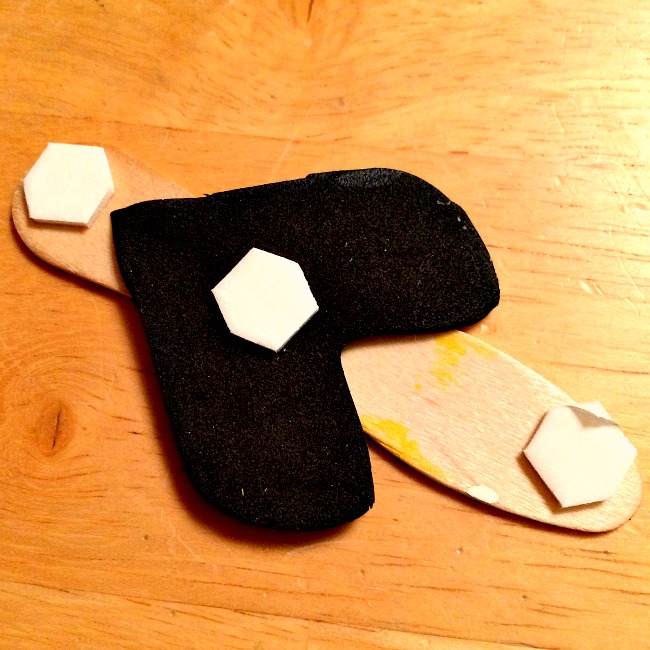
- Next, cut a 2-3″ heart out of the black cardstock or foam sheet. Turn the heart upside down and glue it to the back of the bee body with craft glue.
- For the card base, fold a sheet of yellow cardstock in half and use a paper cutter to cut it in half. Fold each half in half. One sheet of cardstock will make two cards. Once you fold the cardstock half in half, turn in so the card opens vertically (the opening will be on the right hand side of the card).
- Use a corner punch to round the upper right and lower right corners of the card.
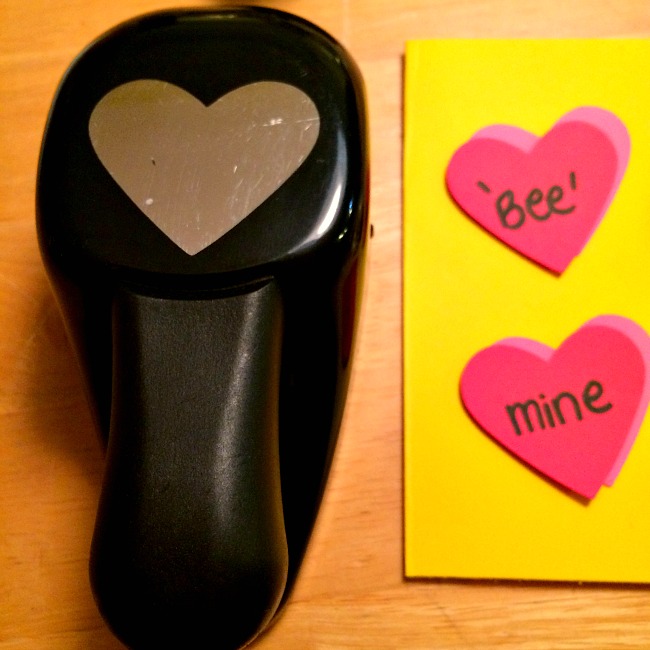
- Use the large heart punch to punch out two red hearts and two pink hearts. Use the sharpie or black marker to write ‘Bee’ on one of the red hearts, and Mine on the second red heart.
- In the upper right corner of the card base, draw the bee antennae. Position the craft stick bee so that the antennae pop out the top of the bee head, and lightly mark the bottom of the bee body. Lift the craft stick bee body up and draw the bee stinger onto the card base.
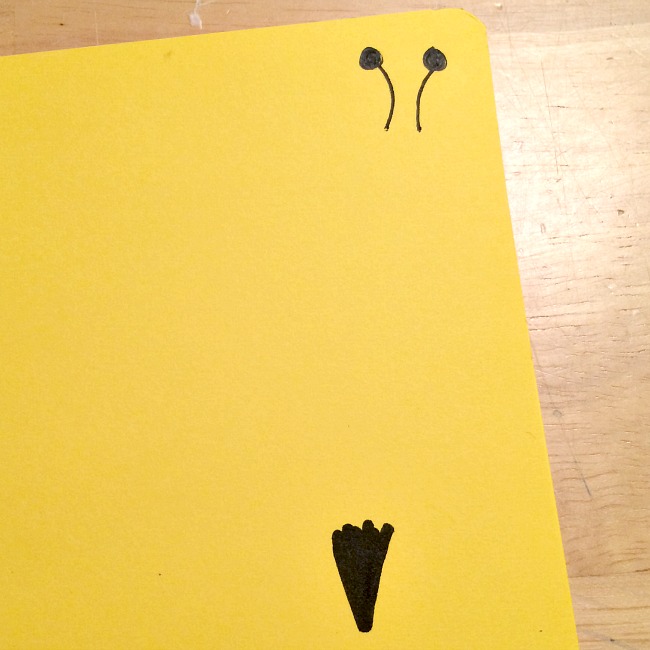
- Use either craft glue of paper crafting dimensionals to stick the crafts stick bee body to the card so that the antennae pop out the top and the stinger pops out the bottom. Tip: I tried the craft glue for the first card.. way too messy. The dimensionals are definitely the way to go.
- Use the tape runner (or double sided tape) to stick the pink hearts on the left hand side of the card.
- When putting the red heart on the card there are two choices. You can either use the tape runner and stick the red heart on top of the pink heart, but off set a little bit. Or, if you want the red heart to pop a little more, stick the heart on top of the pink heart with dimensionals. I really prefer the way the card looks with the dimensionals.
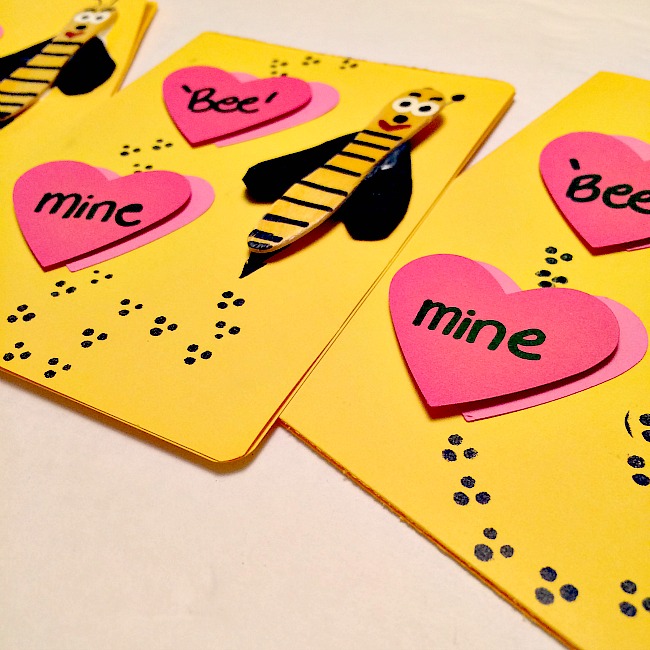
- Once the bee and hearts are on the card, take the dot stamp and black StazOn ink to stamp a trail of dots. If you don’t have a dot stamp (or a similar stamp), you could always draw the dots on free hand with the black marker.
- Write or stamp whatever sentiment you want on the inside of the card.
Tip: If you make a ‘mistake’ don’t worry about it. As a friend of mine always says, ‘There are no crafting mistakes. There are only crafting opportunities.’ Besides, this is the endearing nature of a homemade card. They aren’t supposed to be perfect, right?
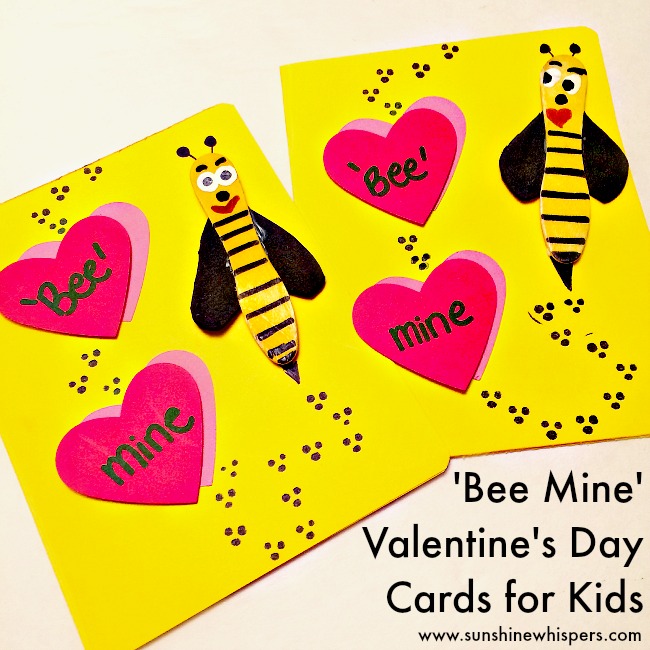
So, didn’t these ‘Bee Mine’Valentine’s Day cards for kids so incredibly adorable? I can’t wait for Sweet Pea to pass these cuties out at her school in a few weeks!
Thanks for checking out the blog today and have a great one!
Sara
Did you like this post? Would you like more craft and activity ideas, parenting tips, or faithful inspirations? Don’t forget to follow me on Pinterest and Facebook!
Oh, and if you liked this post, you will love these ideas!

