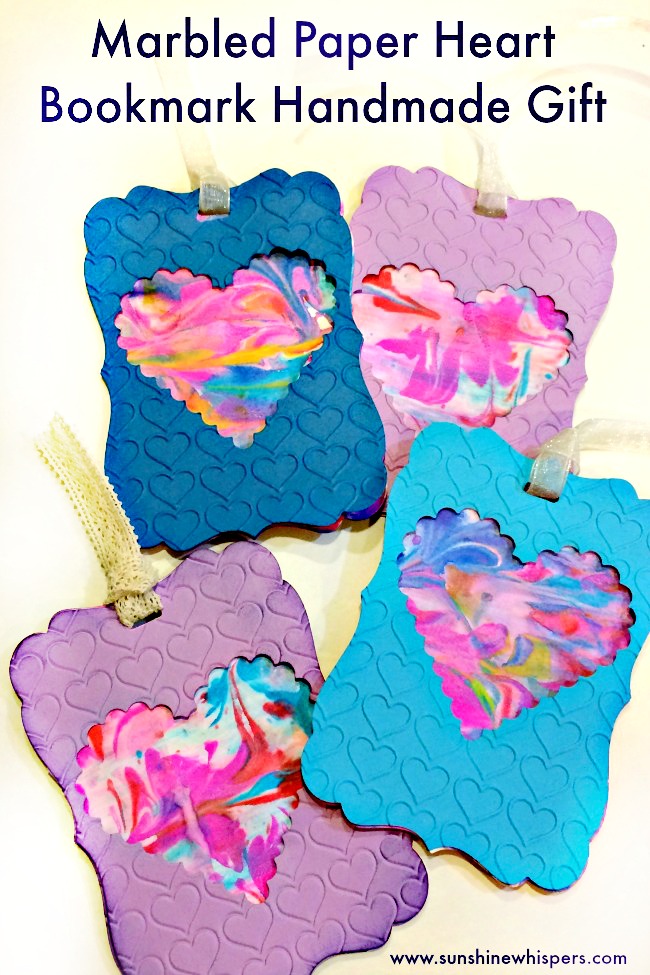
Marbled Paper Heart Bookmarks
As a busy Mom, I love it when I can combine two projects or two hobbies to make something really pretty. A few weeks ago, we hosted a messy play date and made the most beautiful marbled paper. Of course, beautiful homemade paper just begs for a follow-on craft. I decided to make something a little more sophisticated than my usual toilet paper roll crafts for kids. So, I turned to paper crafting, something I did quite a bit of ‘pre-kids,’ for my inspiration. These pretty marbled paper heart bookmarks are the result. I love this craft because part of it was done with Sweet Pea, but the other part allowed me to break out my paper crafting gear and make a nice homemade gift that I will be giving to a few friends and loved ones in the near future. Read on to see how you could make these bookmarks yourself!
Affiliate links included for your convenience.
Marbled Paper Heart Bookmarks
Materials Needed:
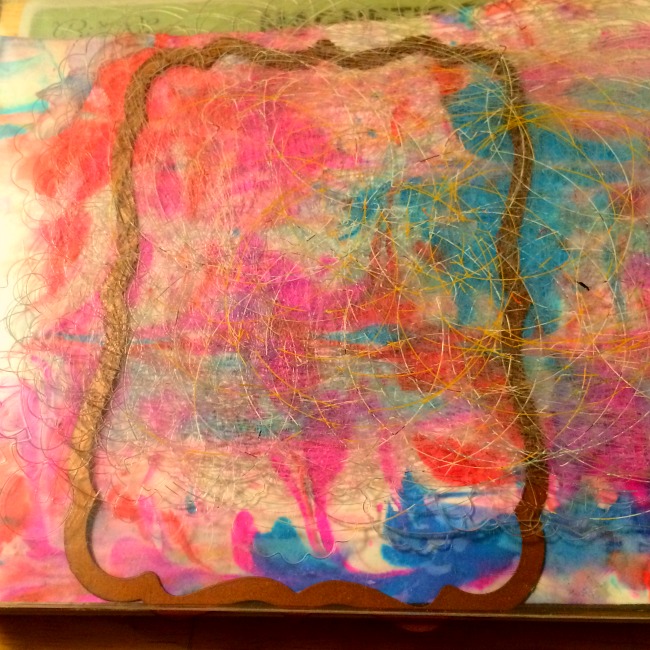
- Marbled Paper. Click here to see a tutorial on how to make marbled paper. It is really so, super easy!
- Cardstock
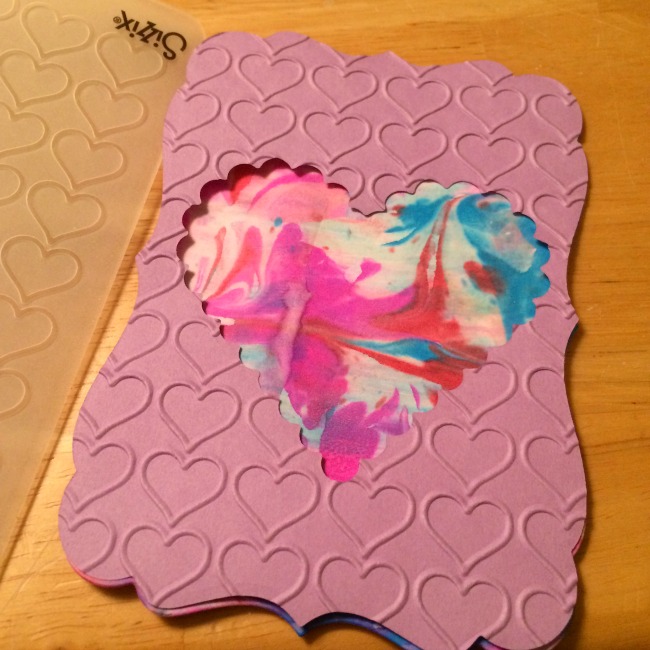
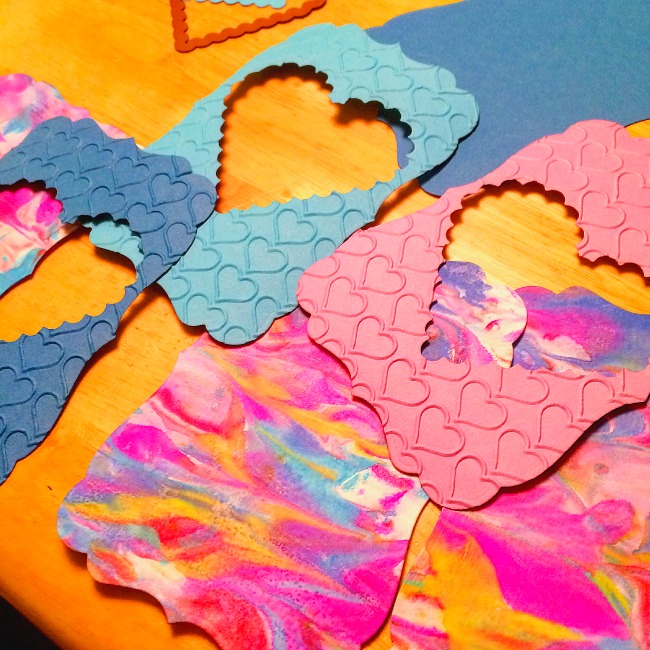
in colors that complement the colors of your marbled paper. I used lilac, a bright blue, and a turquoise blue.
- Sizzix Framelits Die Heart, Scallop
- Sizzix Framelits Die Set Labels
- Big Shot
, Platform
for the Big Shot, and Cutting Pads
- Magnetic Platform for the Big Shot
- Vertical Slot Punch
- Heart Background Embossing Folder
- Sheer ribbon
- Scissors
- Paper crafting Dimensionals
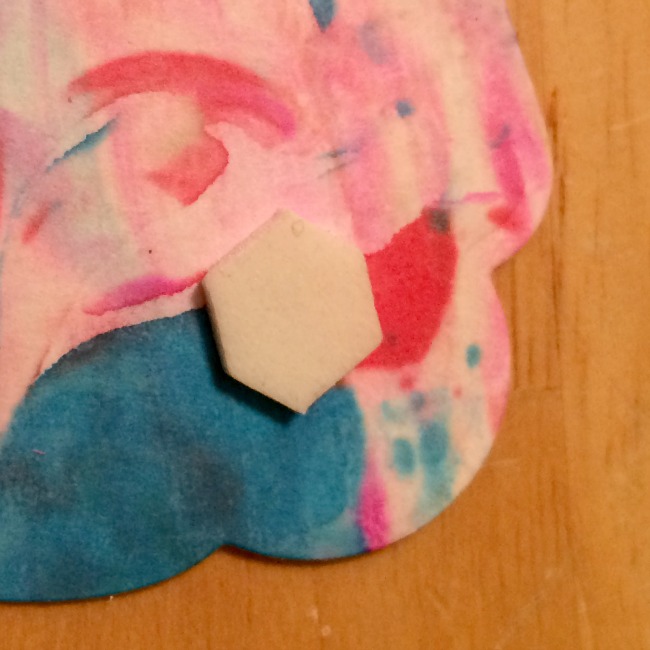
- Craft sponge
(optional)
- Ink
in darker shade of paper (so, dark purple or dark blue– also optional)
How to Make the Cards
- Cut the cardstock and marbled paper to a size that will fit in the Big Shot. You don’t have to be precise with this, because you will be running it through the machine to die cut it. To be sure, place the Big Label Die on top of the paper before you cut it to ensure the paper size is big enough. Tip: for a typical 8 1/2″ x 11″ sheet of cardstock, you should be fun to just cut it in half.
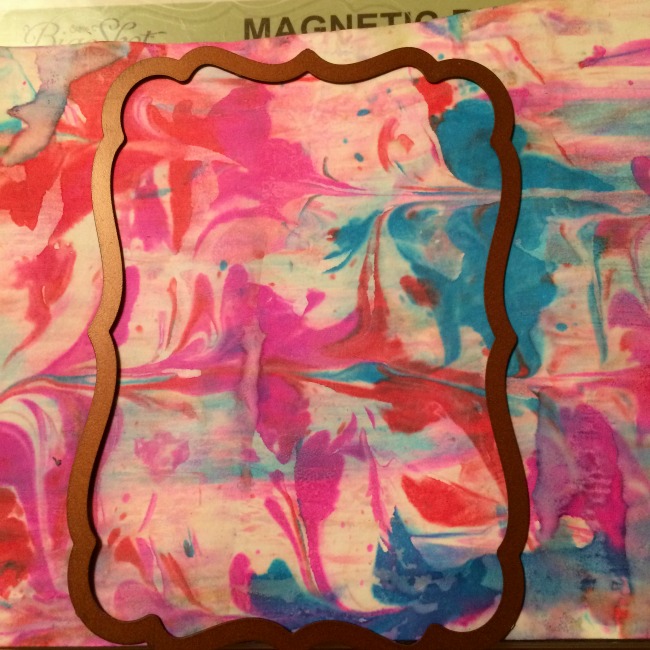
- Using the magnetic platform, run the paper pieces, one sheet at a time, through the Big Shot with the Big Label Die. You will want to use the magnetic platform so that it doesn’t slip and slide during the process.
- *** If you have never used a die cut machine before, this is how you will want to set up and run the die and paper through the machine: On the magnetic platform, place one of the plastic cutting pads, then the paper, then the die cut, then the second plastic cutting pad. This will be your die cut sandwich. Once everything is in place, you just run it through the machine. the cutting pads protect both the platform and the machine.
- For each bookmark you make, you will need to cut out two big label dies from the cardstock, and one from the marbled paper.
- Next, take one piece of the cardstock you just cut out and put it back on the magnetic platform. This time, position to scallop heart die so that it is centered on the label. Again, your die cut sandwich will be: magnetic platform, cutting pad, paper, die cut, cutting pad #2. Run all of this through the die cut machine.

- Now you will want to emboss the label you just cut a heart out of. This will be the front of the bookmark. Place the heart-label paper in the heart embossing folder. Be careful to position the paper so that the hearts are facing up. Also, be sure to place the paper in the folder so that the entire paper will be embossed. I can’t tell you how many times I wasn’t paying attention and had a section at the bottom or top that wasn’t embossed. oops!
- To run the embossing folder through the Big Shot, you can use the standard platform. There are instructions on the platform for how to use it with an embossing folder. However, you should be fine to flip back the top layer, and make your sandwich as follows: platform, cutting pad, embossing folder, and cutting pad.
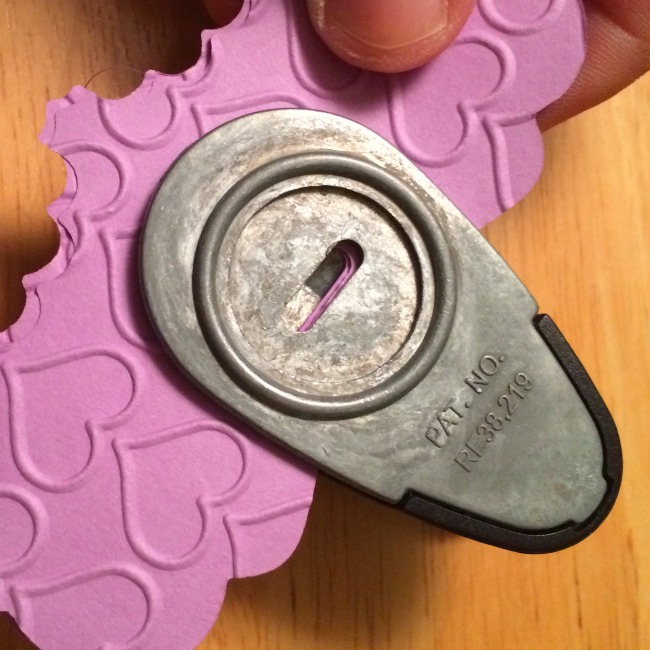
- To make the slot for the ribbon tassel, use the vertical slot punch to punch out the hole in the top of each piece of paper. For each bookmark you will have the back, the marbled paper center, and the embossed and die cut heart front. I would recommend punching one sheet of paper at a time or it might not work well. That being said, you could probably do two pieces of paper at once with no problems.
- To assemble the bookmark, you can use dimensionals (which I did) or even just use tape runner. Using the dimensionals was super easy. I started with the back and just stuck four dimensional stickers on, one for each corner. Then I placed the marbled paper label onto the back so that it lined up. To finish the assembly, repeat these steps for the marbled paper and front of the bookmark. You shouldn’t have to trim the bookmark. However, you will want to ensure the tassel slot holes are lined up.
- To thread the tassel, cut a piece of ribbon to your desired length. Fold the ribbon in half and thread the two ends through the slot from the back of the card. Then, thread the two ends from the front of the card through the ribbon loop. Pull it tight and there you have it, a tassel!
- Optional last step: I did this last step for one card but wasn’t sure I loved it. Still, doing this will add another element of style to your bookmark. If you want to give the bookmark an antique or worn look, use a craft sponge and a color of ink that is slightly darker than the cardstock you used for the bookmark. Apply just a little ink to the edges of the bookmark with the sponge and then smoosh and spread it to get the look you want. You don’t have to use a lot of ink to get this effect, and depending on the colors you use it could really look nice.
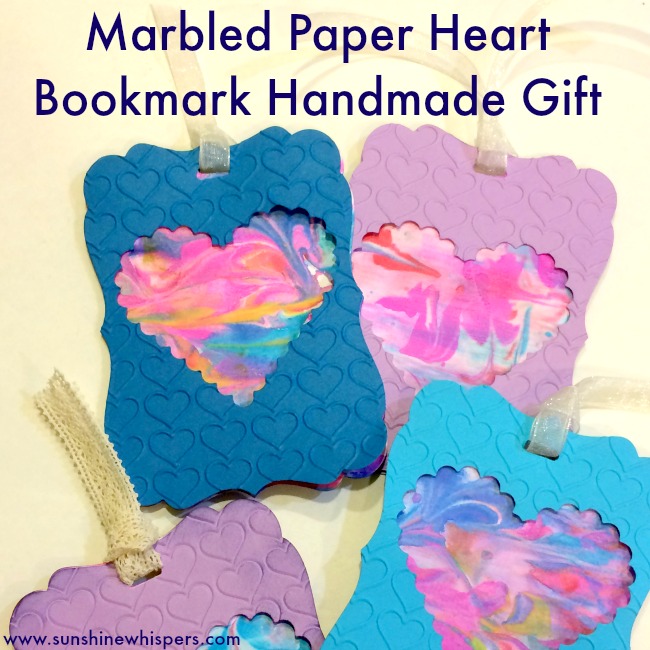
So, there you have it! Aren’t these bookmarks pretty? I can’t wait to give them away. I may just have to make some more… they are such a pretty little gift!
Thanks for reading!
Sara