Super Easy Rainbow Ribbon Craft for Kids
Did you ever draw countless cloud rainbows while daydreaming in school? I did. Thank you 8th grade Earth Science. There is just something about rainbows that are just so happy! Of course, leprechauns love them so much that they added bling to the end of the rainbow. Dorothy and Toto (and Iz) longed to be somewhere ‘Over the Rainbow’ too! Well, if you are looking for a super fun and easy activity to do with your kids, making this rainbow ribbon craft for kids will surely be a hit!
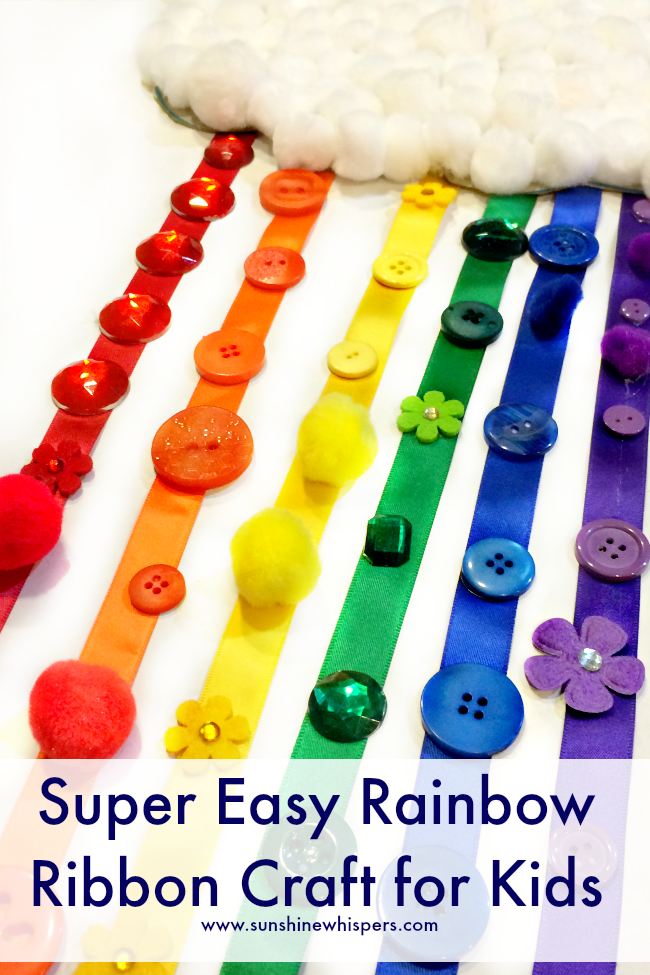
Super Easy Rainbow Ribbon Craft for Kids
Affiliate links included for your convenience.
Materials Needed:
- Empty cereal box
- Dark colored marker
- Scissors
- White pom poms
- Satin craft ribbon
in the colors of the rainbow: Red, Orange, Yellow, Green, Blue, Purple (everybody now–it’s a rainbow!)
- Craft glue
- Hot glue gun
(optional)
- buttons
, pom poms, craft flowers
, and craft jewels
in the colors of the rainbow
- Plates or bowls in the colors of the rainbow (optional if you want to make the craft a color sorting activity as well)
How to Make the Rainbow Ribbon:
- Take apart the cereal box and draw a cloud freehand on the inside surface of the box. You want the cloud to be about as big as the back or front panel of the cereal box. Tip: You don’t have to use a cereal box for this craft, but the cardboard of the box is actually quite sturdy, which will be important once you load it up with accouterments.
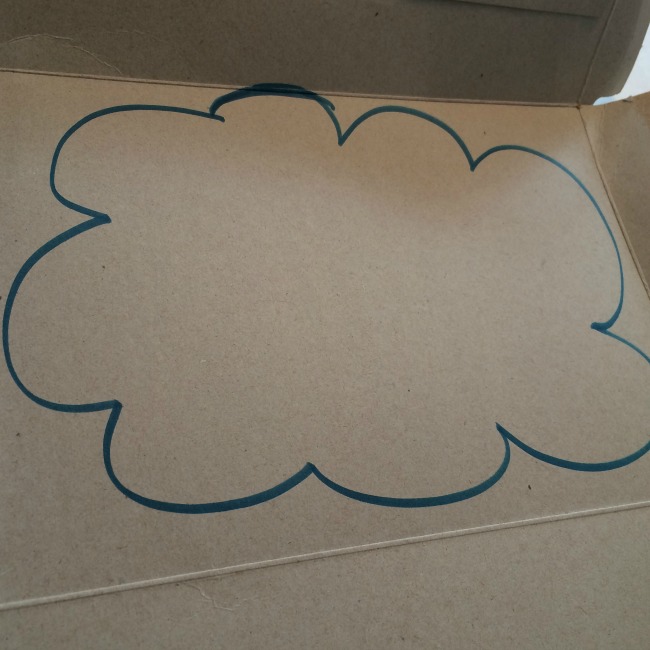
- Cut out the cloud.
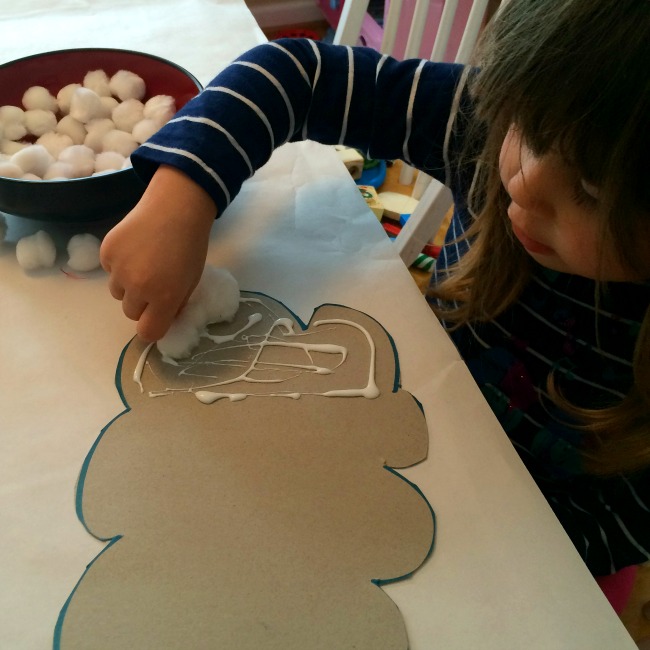
- Work with your child to glue the entire surface of the cloud with white pom poms. You are going to need a lot more pom poms than you would think. I believe we used around 50 small white pom poms. In order to cut down on mess, I squeezed glue onto one section at a time. If your kids are older, obviously this is an easy task for them to do on their own.
- Cover the entire cloud with white pom poms and set aside.
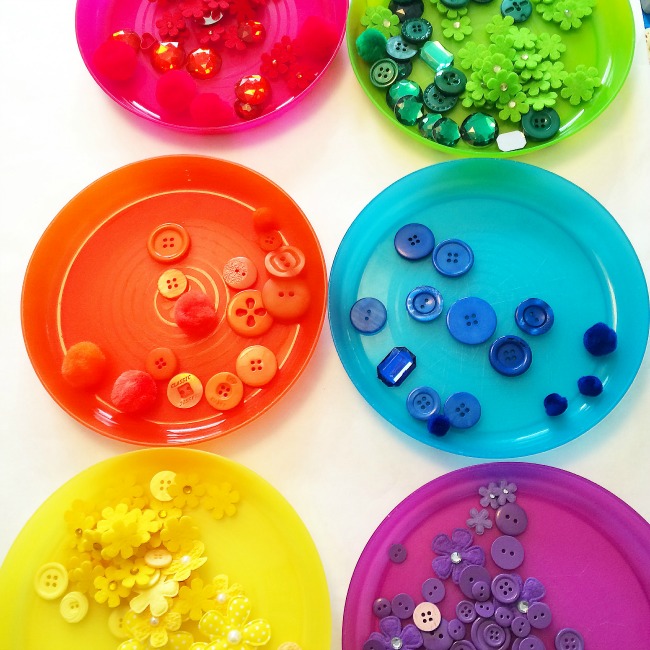
- Optional color sorting activity: Set out the plates or bowls. Empty your craft doodads onto the table and have your kid place the doodads in the matching color bowl or plate. Sweet Pea really got into this activity. We did it together and it was a great, low stress, way to get the craft set up.
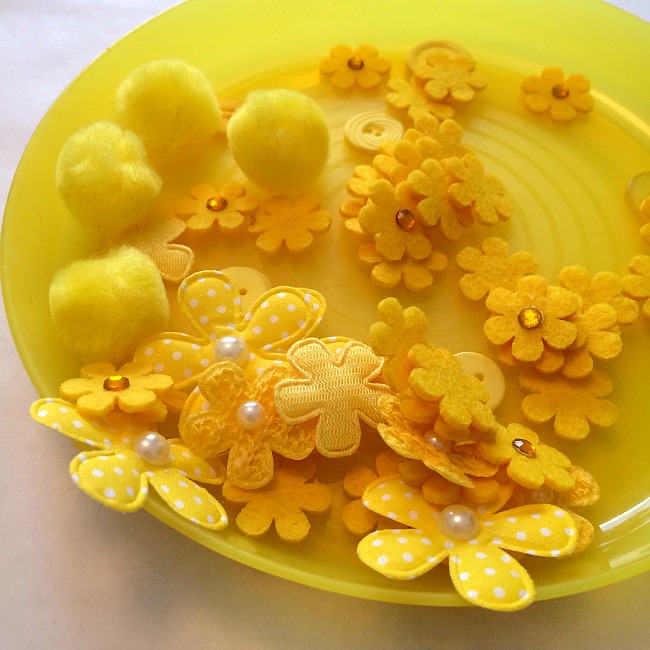
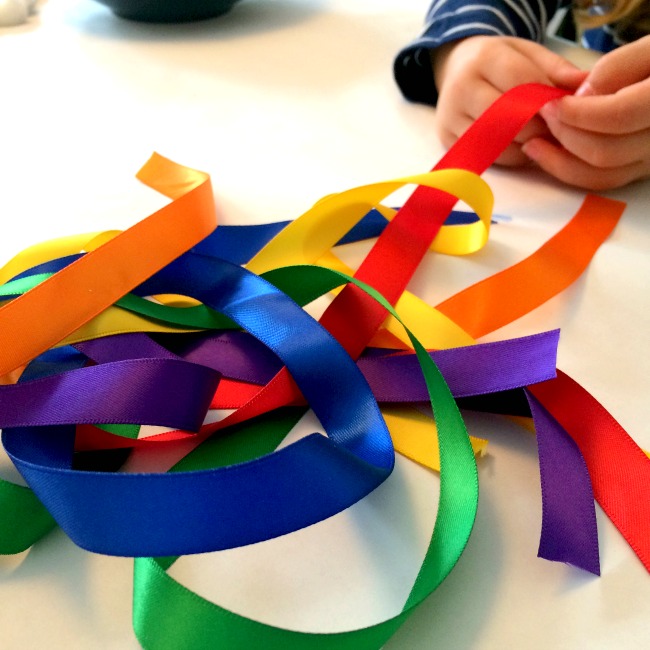
- Cut a long length of ribbon in each color of the rainbow. I cut about 1 1/2-2′ of ribbon in each color.
- One by one, pick a color of the rainbow ribbon and the accompanying craft doodads. Since Sweet Pea is still relatively young, I squeezed glue dots along the length of the ribbon and she picked out the craft items she wanted to stick on the ribbon. Tip: leave about 4-6″ on the top and bottom of each ribbon free of decorations. You will need this space to glue the ribbon to the cloud, and account for differences in ribbon lengths.
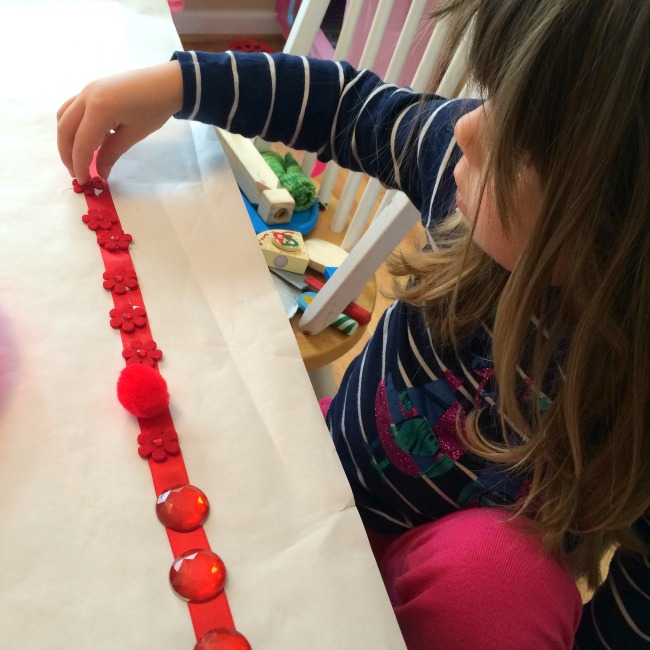
- As each ribbon was decorated, it was set aside to dry as well.
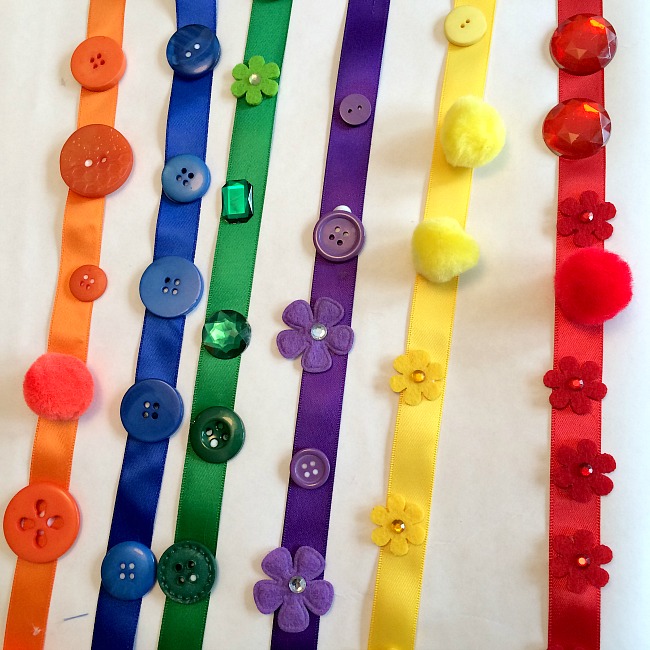
- A few hours later, we put the cloud rainbow together. Ok, I did it while Sweet Pea was asleep because I wanted to use the glue gun. I decided to use the glue gun primarily because the decorated ribbons were a little heavy. I wanted to reinforce the glue a bit and thought craft glue might not do the trick.
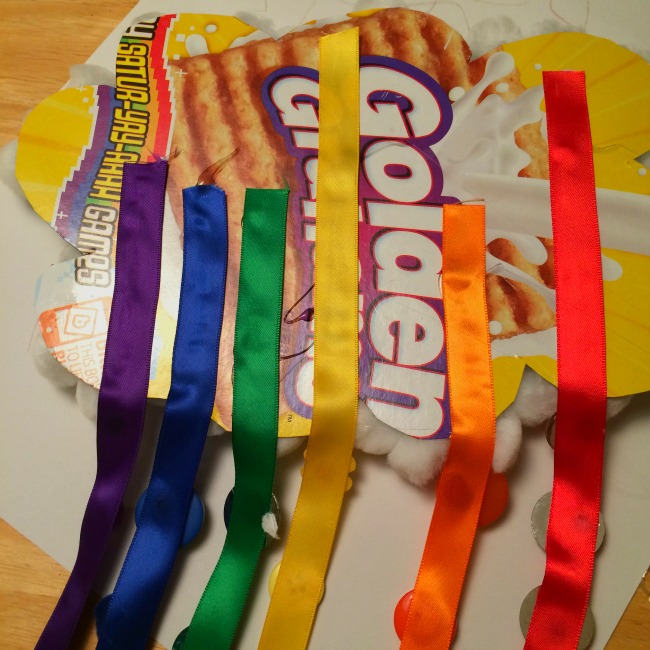
- Flip the cloud over and glue the top of the ribbon along the back of the cloud. Be aware of the order of the colors of the rainbow: Red, Orange, Yellow, Green, Blue Purple.. it’s a rainbow!
- Once the decorated ribbons are in place, you may want to trim each ribbon so that the ribbon length is relatively uniform.
- Finally, for a hanger, I cut two 8-9″ lengths of ribbon (I used blue, but any color would do) and hot glued the four ends to the back of the cloud to make a hanger.

And that is it! Isn’t this the cutest Rainbow Ribbon craft you have seen?
Thanks for stopping by today and I hope you have a great week!
Sara
Would you like more great St. Patrick’s Day or Spring Crafts for Kids ideas? Check out these posts!

2 Comments