Squeezy Oozy Painted Flower Pot Crafts for Kids
One of my friends recently posted pictures of her daughter doing this super cool crafts for kids idea. I couldn’t believe how simple it looked. So, I asked her how she made the pots.. and her answer was even easier than I had imagined… basically, point and squeeze! Wow! So, naturally Sweet Pea and I had to try these Squeezy Oozy Painted Flower Pot crafts for kids. Read on for details on how we made these Dali-esque mini masterpieces!
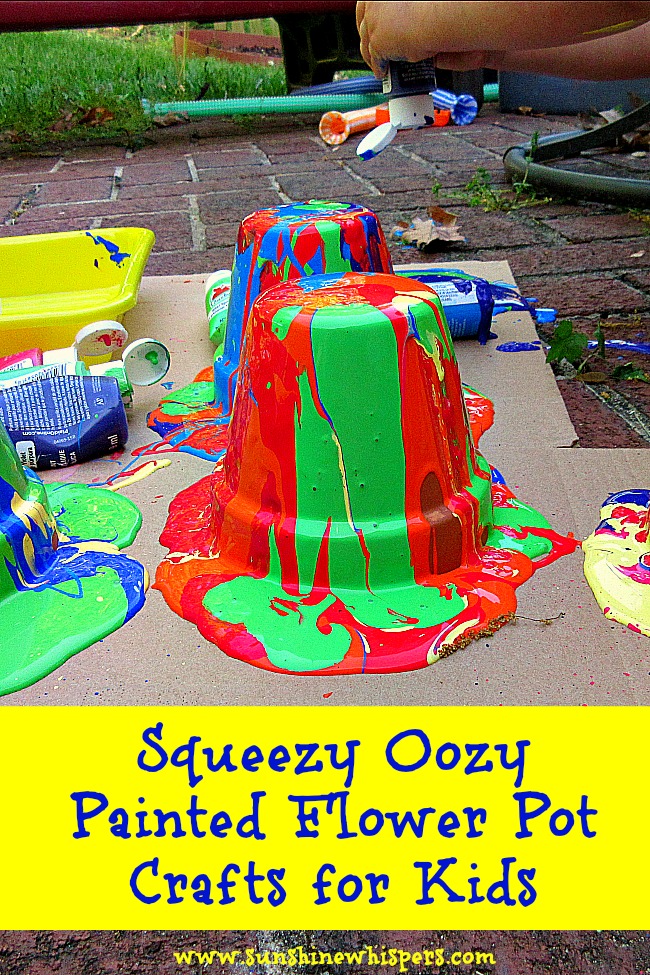
Squeezy Oozy Painted Flower Pot Crafts for Kids
Materials Needed:
- A large piece of cardboard. I just tore apart a cardboard box.
- Small terra cotta pots
- Small tubes of acrylic paint in as many colors as you want. Tip: I would pick more paint and paint colors than you think you need.
- Painters tape
How to make the painted flower pots:
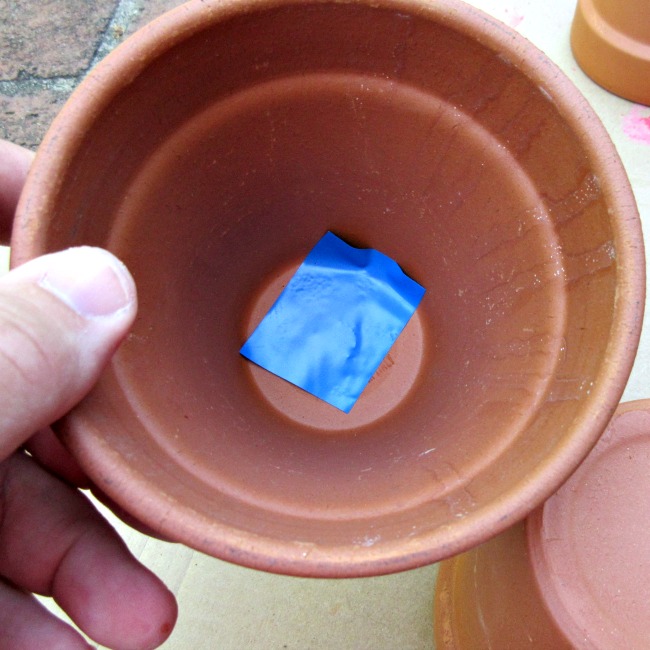
- Cut a small piece of painters tape and cover the hole at the bottom of each terra cotta pot from the inside of the pot.
- Prep the paint. In other words, take the covers off and arrange them in a central location before your kid starts painting.
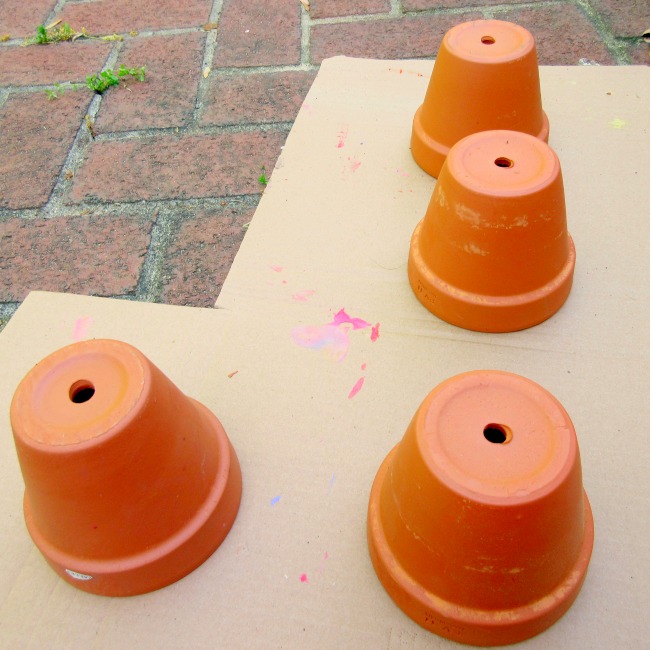
- Place all the pots upside down on the cardboard.
- Show your child (especially if they are young) how to squeeze the paint onto the pots. Basically, you squeeze on top of the pot and eventually the paint just oozes over the top and onto the sides.. creating that very surrealistic look.
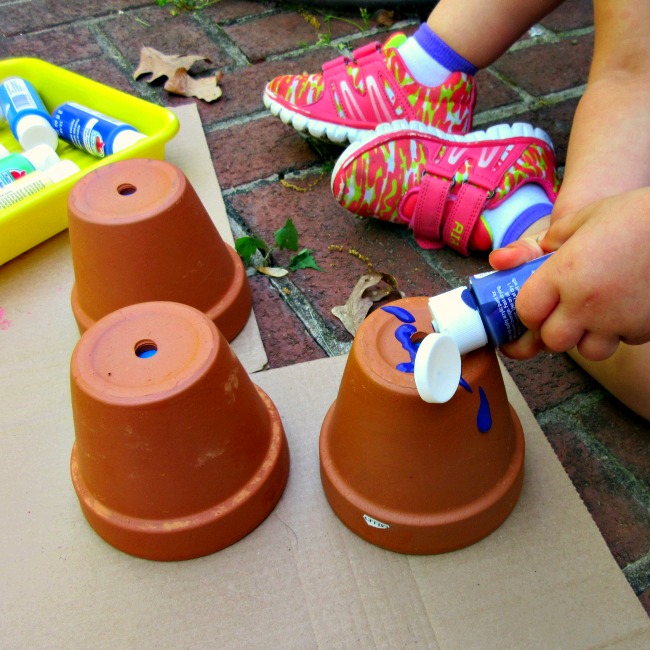
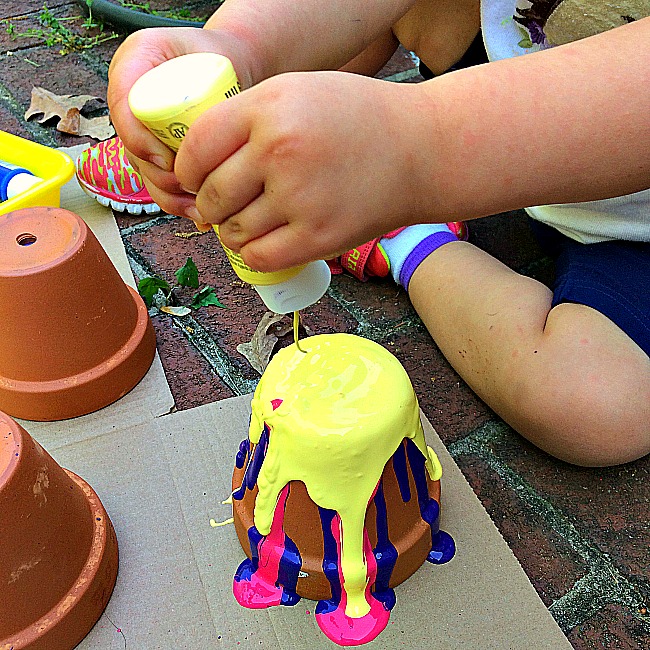
- To get maximum color, try to use multiple colors of paint on top of each other. There is really no right or wrong way to do this craft so you really can’t mess up. Experiment with squeezing and oozing methods and have fun with it!
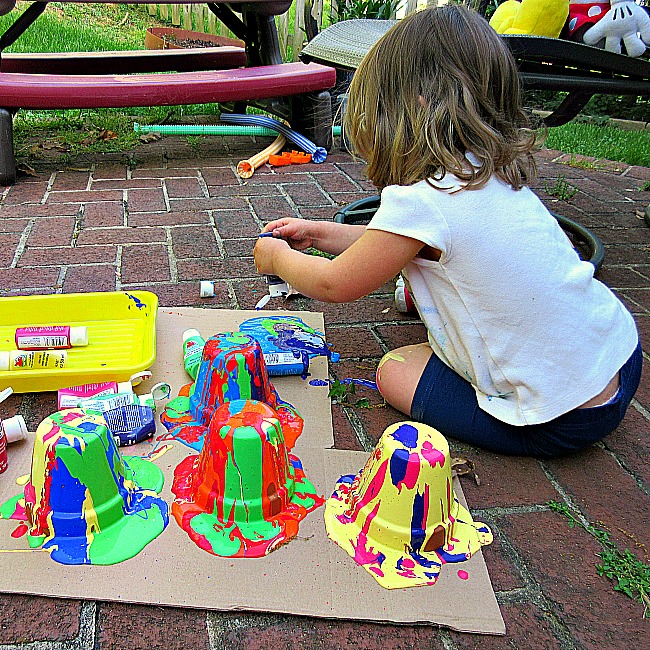
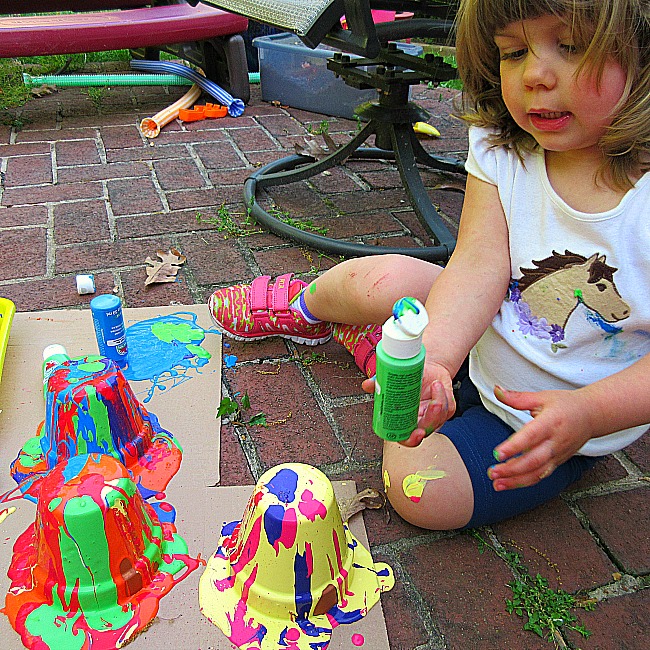

- After you are finished painting, let the flower pots dry. This process could take about 24 hours. I mention this because we painted our pots outside… and then it rained overnight. Oops! The flower pots weren’t ruined though (thank you acrylic paint). Still, I moved them to the garage to finish drying.. just in case.
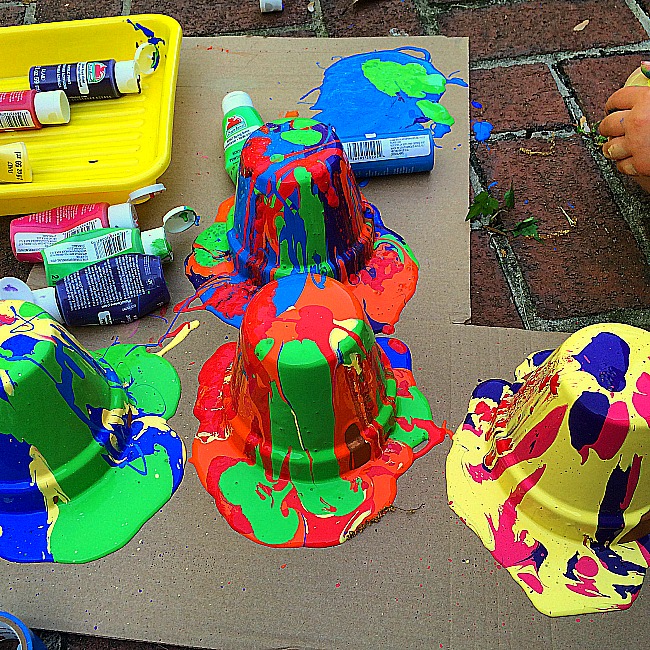
- Tip: You may want to slide a piece of wax paper between the flower pot and cardboard. I did not do this and the cardboard stuck to the rim of the flower pot once the paint dried. It was kind of a pain to remove it from the dried paint.
- Finishing touch: After the flower pots were dry, I painted the rim of two of the pots. This actually produced a really cool effect as well, since that paint also oozed in a different direction.
- Caveat: You will notice we didn’t use smocks. We probably should have but I threw caution to the wind. Ha! That is the good thing about buying all your play clothes second hand. It doesn’t sting as much when they get covered in paint.
Anyway, I thought these squeezy oozy painted pots turned out so cute! Have you tried this craft before? How did it turn out for you?

Thanks for reading and have a great weekend!
Sara


3 Comments