Emeraldalicious Kid-Made Christmas Ornament Craft
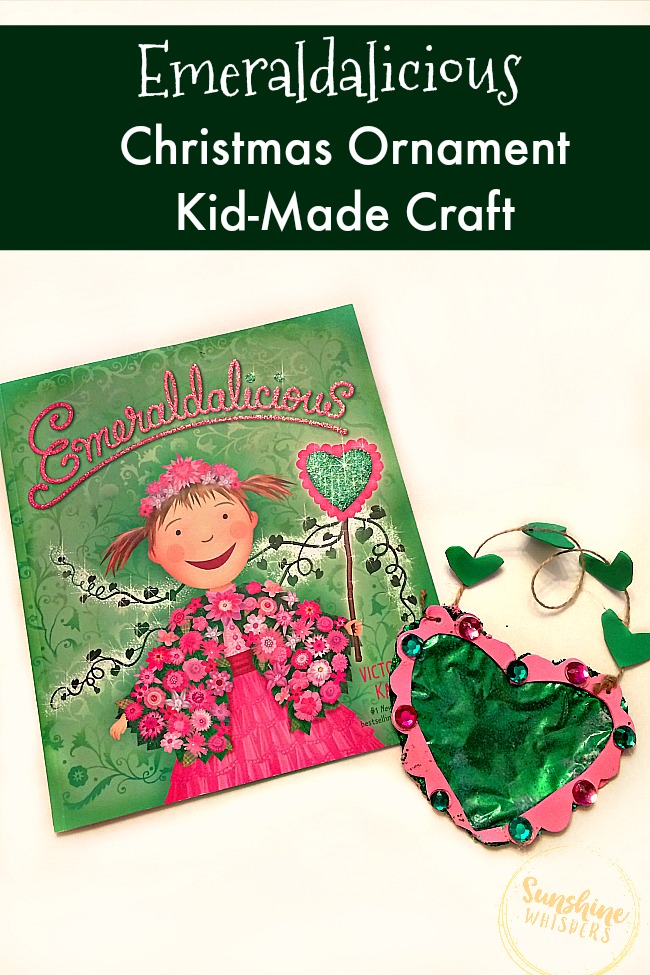
Inside: This kid-made Christmas ornament craft based on the book Emeraldalicious is pure sparkly and oh so cute
Cold Hard Truth #1: Most little girls love anything that is sparkly.
Cold Hard Truth #2: It can be challenging to indulge a little girl’s love of sparkle without immediately getting sucked into some sort of princess activity (trust me– we are all in for princess activities right now).
That is one of the reasons I LOVE the Pinkalicious, Purplealicious, and Emeraldalicious books so much. My daughter and I both are totally enchanted by Emeraldalicious because she literally turns trash into treasure. She even gets to do it with a sparkly wand!
So, it was only natural we would want to create a Christmas ornament based on this super fun book.
It didn’t hurt that it was sparkly too.
Affiliate links included for your convenience.
Supplies Needed:
- Sandwich size Ziploc baggie
- Green glitter
and possibly silver glitter
- Craft glue
- Foam paint brush (optional)
- Scissors
- Pink and green craft jewels
- Two pink and one green Foam
sheets
- Craft twine
- Glue gun and glue
- Sharp craft razor
- Handheld hole punch
How to Make the Emeraldalicious Christmas Ornament:
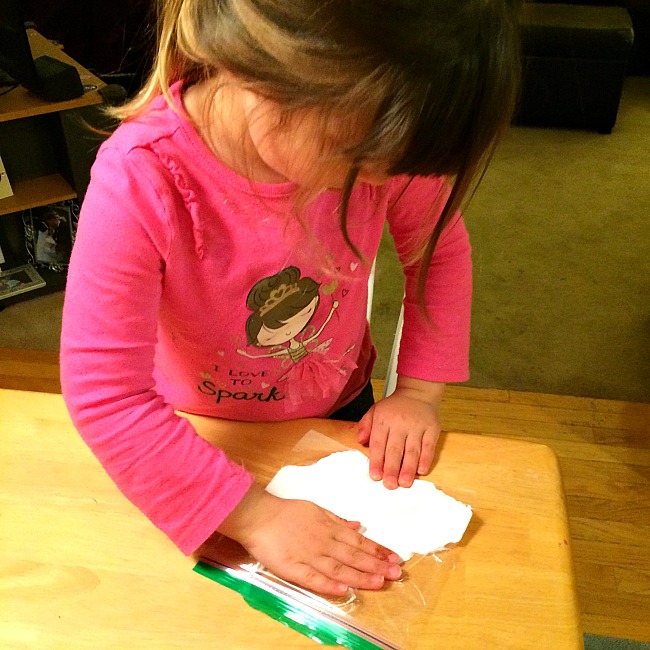
- Hold open the ziploc bag and squeeze a generous amount of craft glue into the bag. Then, either use the foam brush to distribute the glue evenly in the bag or seal the bag and do that with your hands. Tip– doing it with your hands is more effective and way more fun!
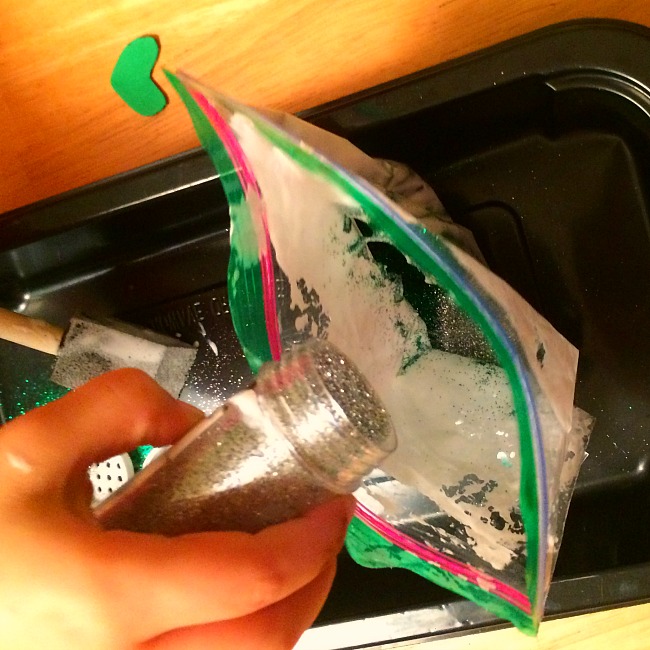
- Open the ziploc bag up and dump about 1/4 cup worth of green and silver glitter into the bag. Err on the side of more green glitter. Re-seal the bag and knead the bag with your hands until the green glitter is fully distributed over the main part of the ziploc bag and there are no ‘open’ spots.
- Let the glitter/glue dry as much as you can. At this point you could open the bag to help the glitter glue dry faster.
- Fold sheet of pink foam in half (width-wise) and cut out heart shape. The heart shape should mostly cover the length of the folder foam sheet, but not completely. Set aside the cut-out heart.
- Keeping the foam sheet folded, cut out the scalloped edge by cutting continuous semi-circles around the outside of the heart-shaped center of the foam. If it is super important to you that the two halves of the pink wand outline match, use the first wand outline cut out as a template to draw on the second sheet of pink foam. Otherwise, just repeat the process with the second sheet of pink foam until you have two scalloped foam sheets with the heart cut out in the middle.
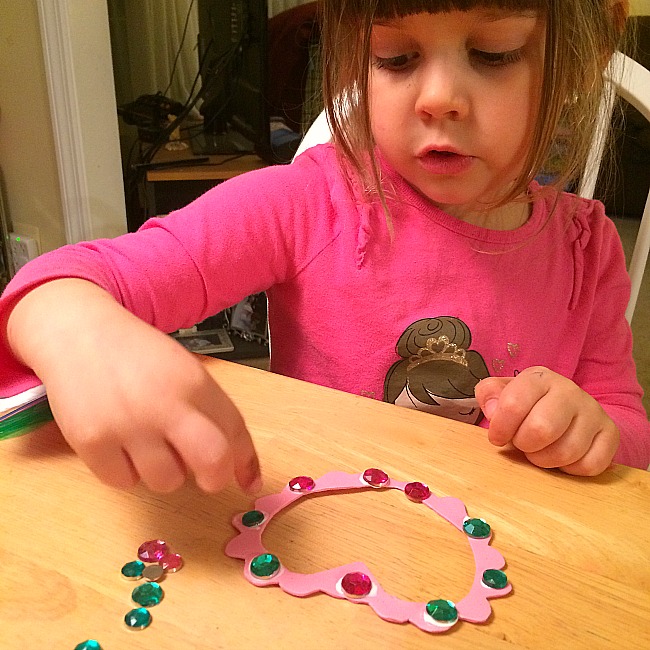
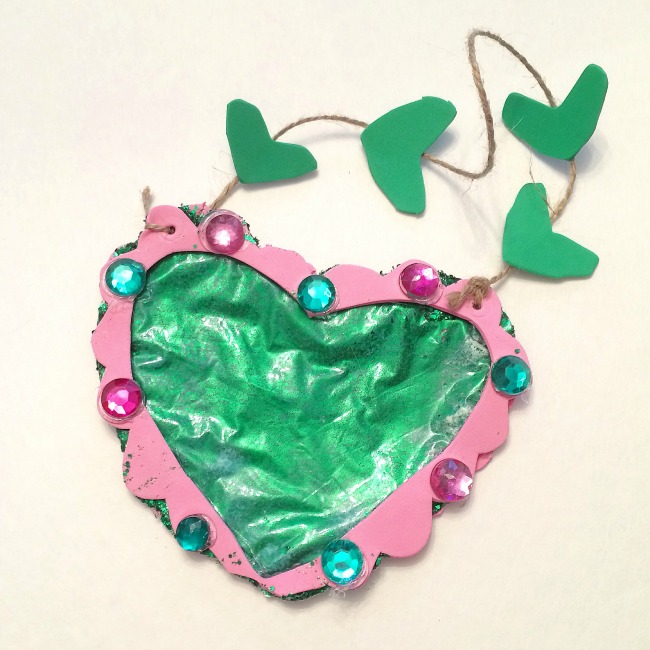
- Use craft glue to decorate the pink scalloped heart with green and pink craft jewels.
- Glue the first/front-facing pink scalloped heart to the center of the ziploc bag. Tip: Use a glue gun for this step. It will be a lot more effective and probably a lot less messy than using craft glue.
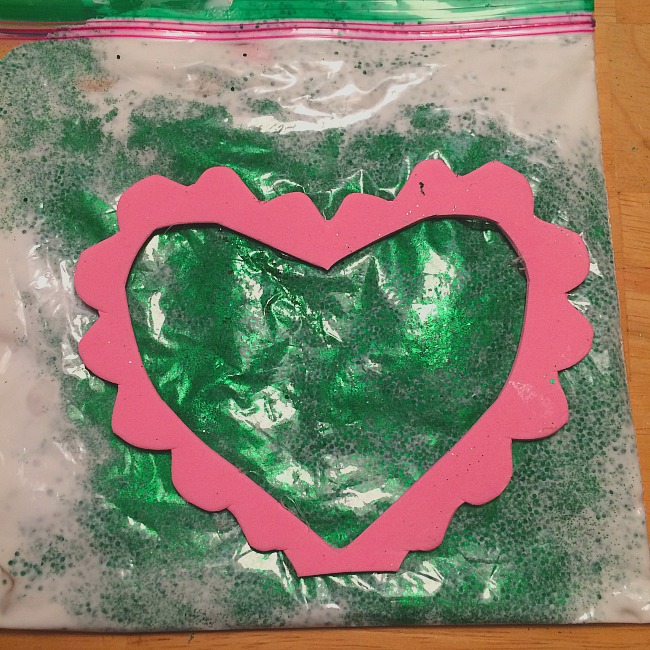
- When the glitter glue in the bag is sufficiently dry, use craft scissors (the kind you don’t mind getting messy) to fussy cut the heart shape out of the glittered ziploc bag. Use the scalloped heart that is glued to the bag as a guide. You don’t have to be exact with this step.
- Use the hot glue gun to match and glue the back-facing scalloped heart cutout to the back side of the glitter heart. Try to match the back scalloped heart to the front scalloped heart. There may be some areas it doesn’t match and that is ok. Mostly, you just want to make sure the edges of the ziploc bag green glitter heart are covered with the craft foam sheet.
- Use scissors and the craft razor to get rid of any excess glitter pieces on the outside of the scalloped heart and basically just clean up the heart wand ornament.
- Cut between four and six small hearts out of the green foam sheet.
- Cut a length of twine sufficient to make a nicely hung ornament. I would suggest 7-8″ long.
- Use the handheld punch to punch two holes in the top of the scalloped heart. Try to punch a hole that goes through both sheets of pink craft foam. Thread each end of the twine through the holes and tie them off.
- Use craft glue or the glue gun (we used the glue gun) to glue the green hearts to the twine ornament hanger.
And there you have it! I think this is a lovely version of the Emeraldalicious wand! My daughter loves how sparkly it is!
Now, there is the best part. Did you like this Christmas ornament idea? Well, guess what? There are tons more ornaments to choose from!
Click on over to Mama Miss’s awesome site to get ideas for more than 40 adorable and beautiful kid-made Christmas ornaments.
You can also check out this fantastic ideas too!
Wooden Train Track Ornament from Play Trains!
Gingerbread Man from The Educator’s Spin On It
Lemon Lime Adventures
Baby Footprint Keepsake ornament from Mama.Papa.Bubba.

