Best Easy Hikes in Yosemite National Park (Even If You’re Not Much of a Hiker!)

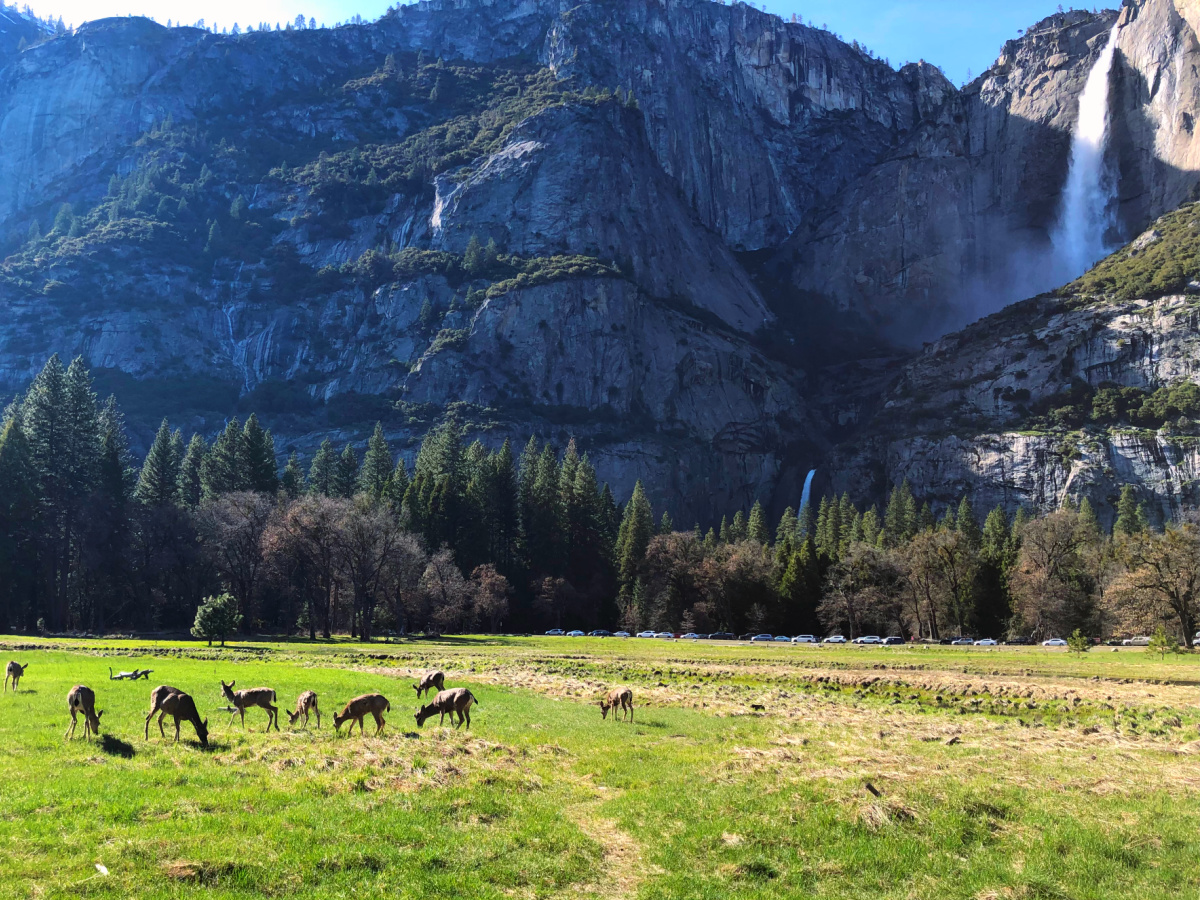
Discover 12 of the best easy hikes in Yosemite National Park, including waterfalls, giant sequoias, scenic walks, and accessible trails for families.
Estimated reading time: 39 minutes
I’ve visited Yosemite National Park three times, and I can tell you that you don’t have to be an experienced hiker to enjoy some of the most beautiful scenery in the park. In fact, some of the best easy hikes in Yosemite National Park are more like leisurely walks. And that’s one of the things I love most about Yosemite!
Now, I haven’t always been an easy-hike kind of person.
When I was younger, thinner, and had much better knees, I actually hiked the Four Mile Trail from Yosemite Valley all the way up to Glacier Point. That’s almost five miles uphill, with about 3,200 feet of elevation gain. I remember loving that hike, feeling the burn, and being pretty darn happy when I finally reached the top.
Would I do that hike today as a 54-year-old tubby mom? Absolutely not. LOL.
But here’s the thing. You don’t have to climb thousands of feet to appreciate Yosemite. Some of the most spectacular views in the entire park are accessible from relatively flat walking paths, short paved trails, and scenic overlooks.
And honestly? That’s pretty awesome.
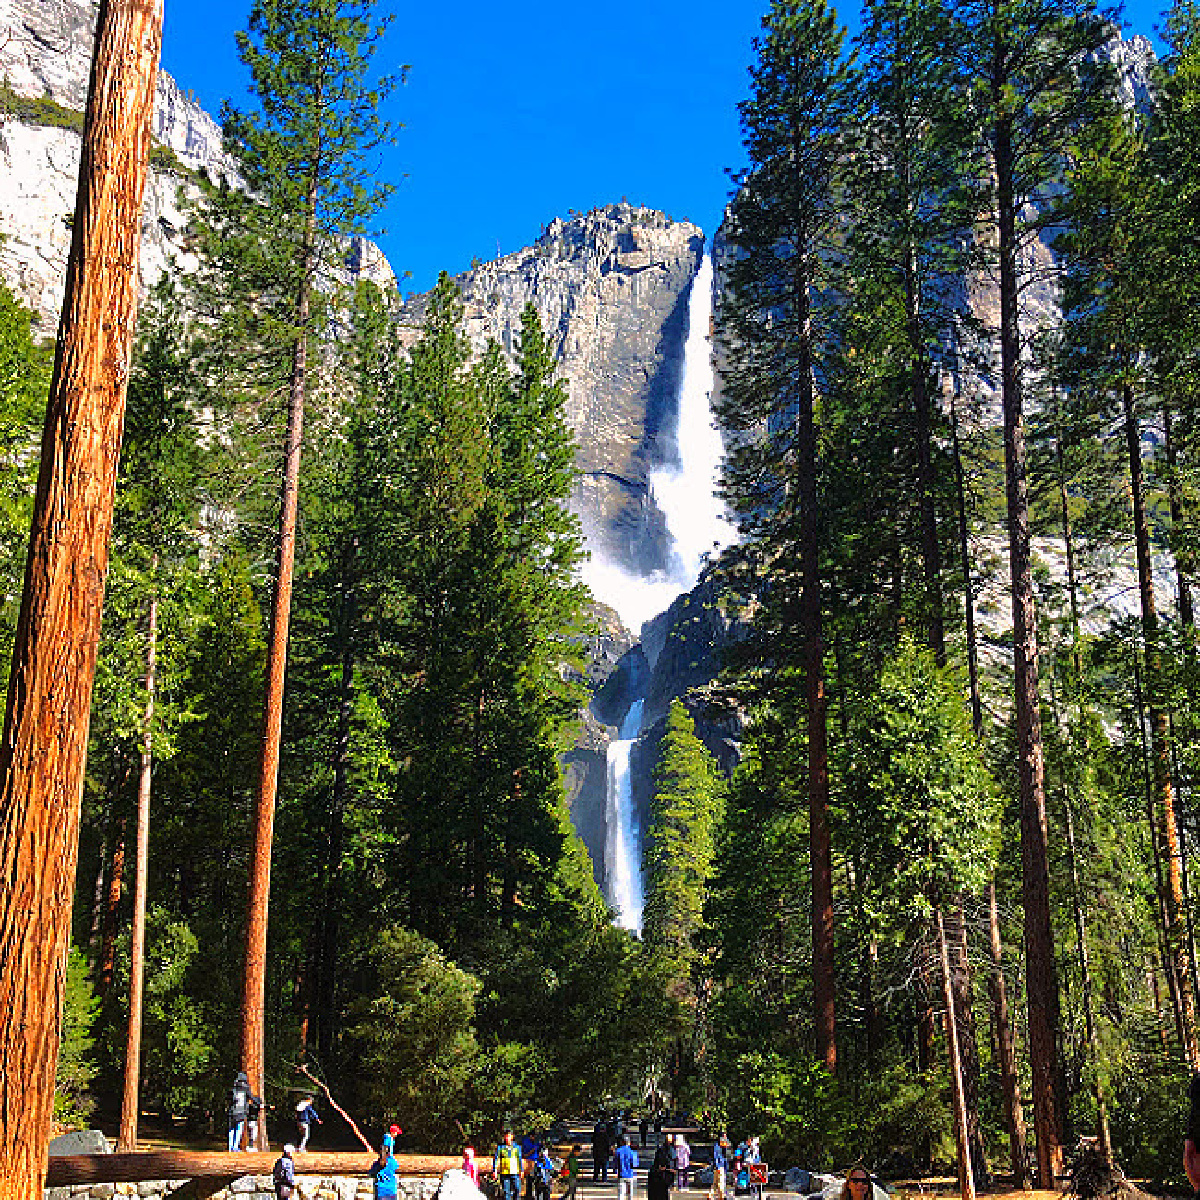
Great hikes and walks that are accessible for almost anybody
During our April 2019 visit, we spent a lot of time exploring Yosemite Valley on foot. We walked to waterfalls, wandered through meadows, followed paths along the Merced River, and stopped approximately a million times to take pictures. We also explored Mariposa Grove, where the giant sequoias make you feel like you’ve wandered into an entirely different national park.
One of the best things about Yosemite is that many of its easier trails are also great for families with younger children, grandparents, and visitors who aren’t interested in strenuous hiking. Several have paved paths suitable for strollers and wheelchairs, and the free Yosemite Valley shuttle makes reaching many popular trailheads relatively convenient.
Not every trail on this list is wheelchair accessible, though, and some have more elevation gain than you might expect. I’ll point out those differences as we go.
I’ve personally explored most of the areas on this list, although there are a handful of trails I haven’t hiked myself. I’ve included those because they’re excellent options for visitors who want to experience more of Yosemite without tackling a major climb.
And because Yosemite is so beautiful, I would encourage you not to rush. Sometimes the best part of a hike isn’t reaching the destination. It’s stopping along the way to admire the scenery.
Why Yosemite Is Such a Great National Park for Easy Hiking
I think Yosemite is one of the best national parks in the country for people who want incredible scenery without having to work especially hard to see it.
Of course, Yosemite has some legendary strenuous hikes. Half Dome, the Upper Yosemite Fall Trail, and the Four Mile Trail are all serious undertakings.
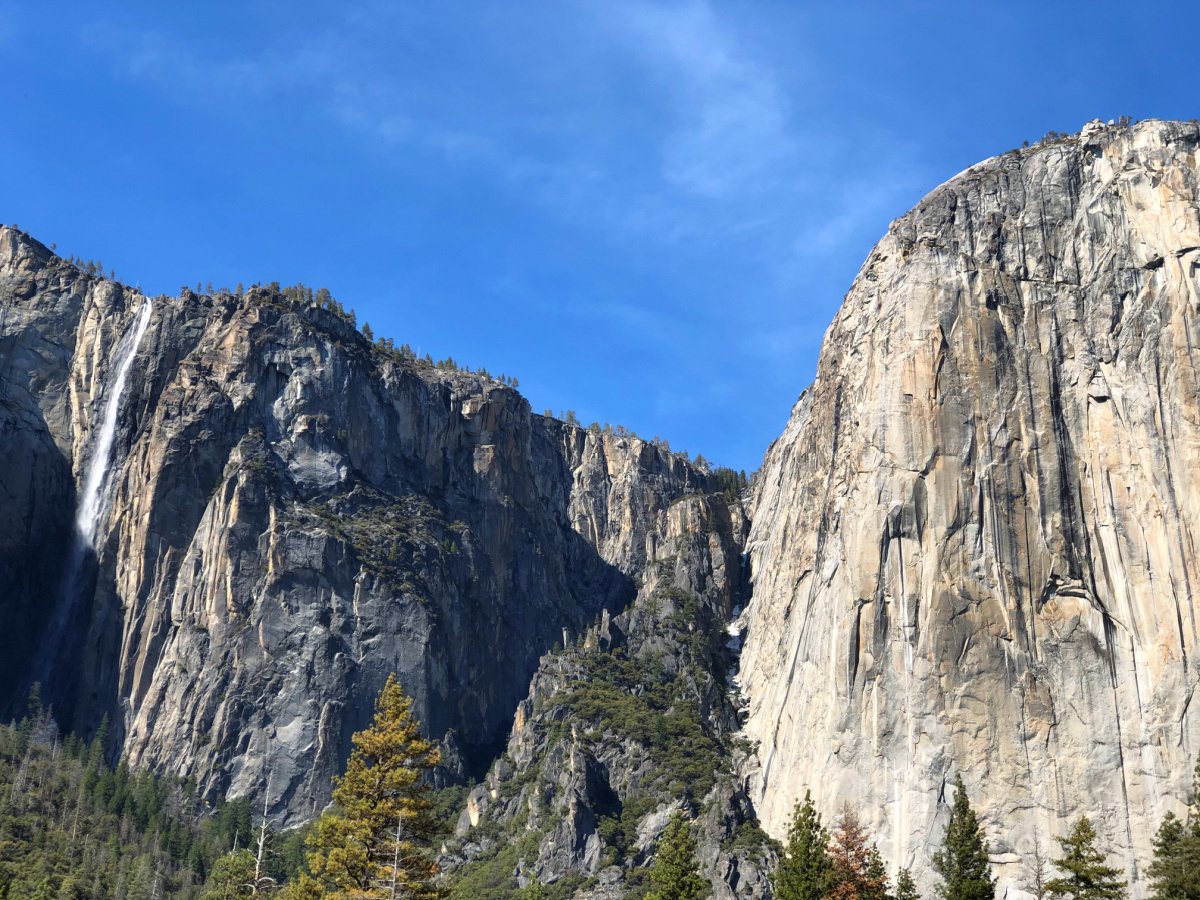
But you can also walk a relatively short distance and find yourself standing beneath a towering waterfall, looking up at El Capitan, or admiring Half Dome from a meadow.
And you don’t even have to leave Yosemite Valley to find plenty of wonderful places to explore.
Many Yosemite Trails Are Paved and Accessible
This is something I really appreciate about Yosemite, especially when traveling with kids.
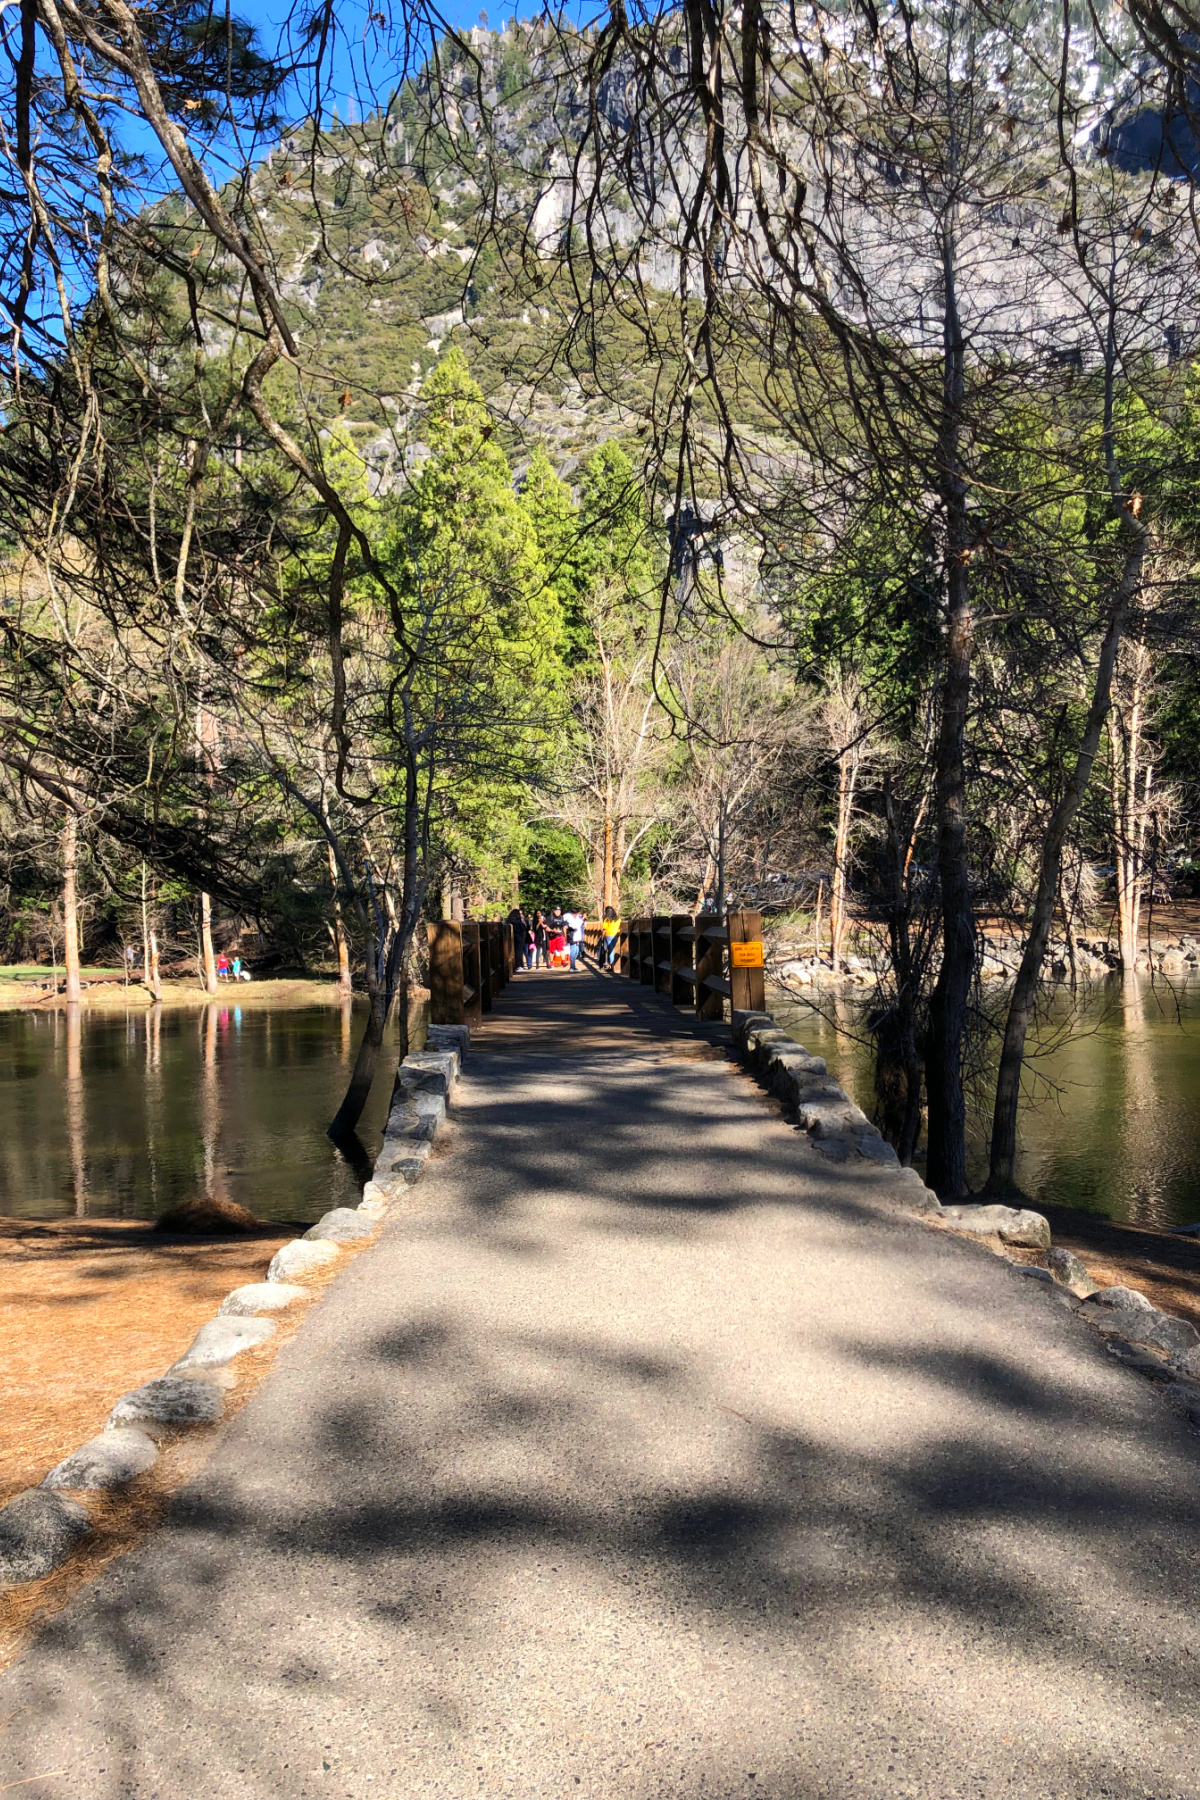
Several of the most popular walking paths in Yosemite Valley are paved, wide, and relatively flat. That makes them particularly appealing if you’re pushing a stroller, traveling with someone who uses a wheelchair, or simply don’t want to spend your vacation climbing steep mountain trails.
Lower Yosemite Fall is a great example. You can get surprisingly close to one of the most spectacular waterfalls in the park without doing anything that resembles a strenuous hike.
The valley also has miles of designated paved paths for walking and biking. You can spend hours exploring without ever committing to a difficult trail.
Just remember that accessible doesn’t necessarily mean every section of every trail is perfectly flat. We’ll look at the specific conditions for each hike below.
Yosemite Is Especially Beautiful in Spring and Fall
I’ve visited Yosemite in the spring and fall, and the weather during those trips has been absolutely gorgeous.
The days were generally comfortable, the humidity felt relatively low, and the evenings were cool enough that sleeping was wonderful. For walking around the valley, it was pretty close to perfect.
I haven’t visited during the height of summer, when temperatures and crowds can be considerably more intense.
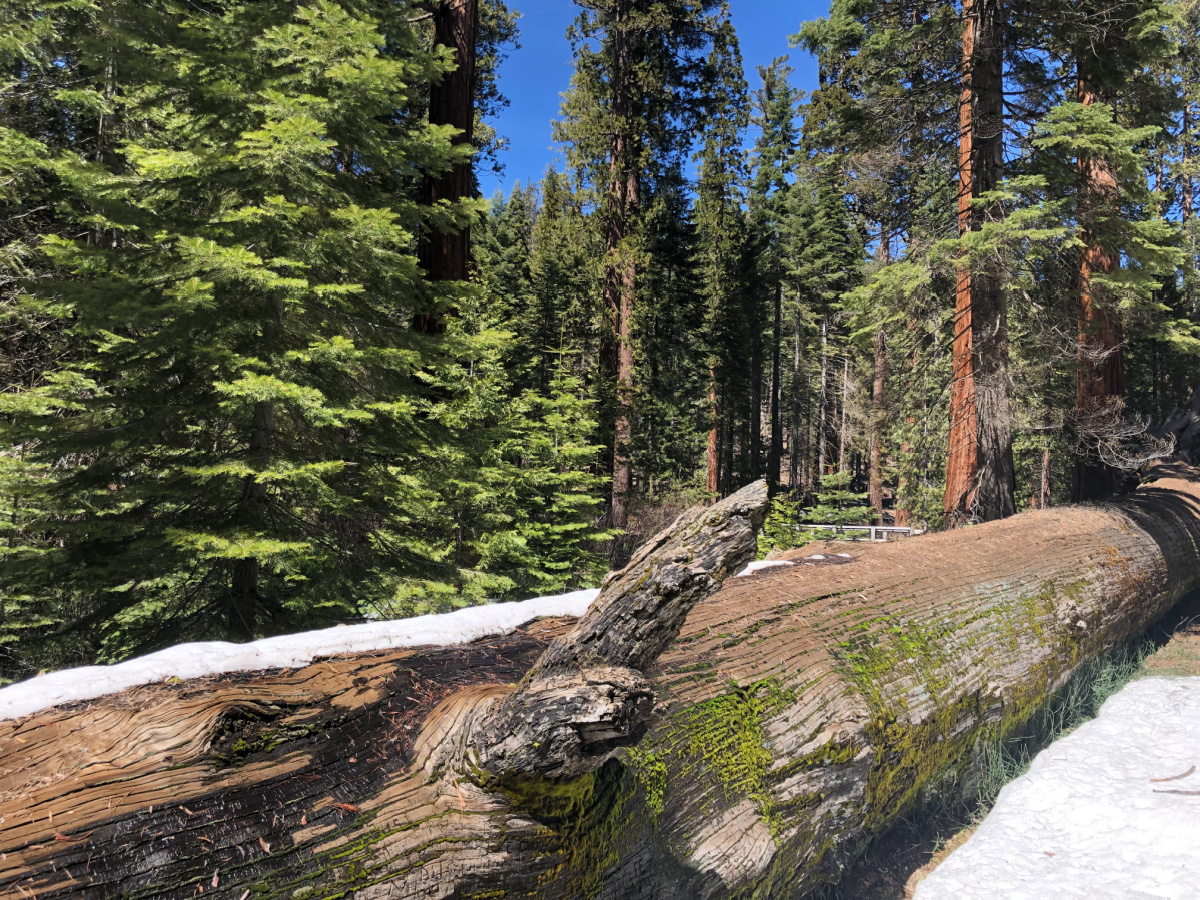
Of course, spring and fall weather in the Sierra Nevada can be unpredictable. During our April 2019 trip, there was still quite a bit of snow on the ground in some areas, especially around Mariposa Grove.
But if you can visit in the spring, I think it’s particularly magical because the waterfalls are usually putting on quite a show.
And that brings me to my first recommendation.
Best Easy Hikes in Yosemite Valley
Yosemite Valley is where I would concentrate most of my time if I were visiting the park for the first time, especially with younger children or anyone who prefers easier walking trails.
This is where you’ll find Yosemite Falls, Bridalveil Fall, El Capitan, and those incredible views of Half Dome. The valley is also relatively compact compared with the rest of the park, and many of the most popular stops are connected by the free shuttle system.
You could easily spend an entire day exploring Yosemite Valley without doing a single strenuous hike.
1. Lower Yosemite Fall Trail
Distance: Approximately 1 mile loop | Difficulty: Easy | Accessibility: Paved eastern approach and accessible viewing areas
If I could recommend only one easy hike in Yosemite National Park, this would probably be it.
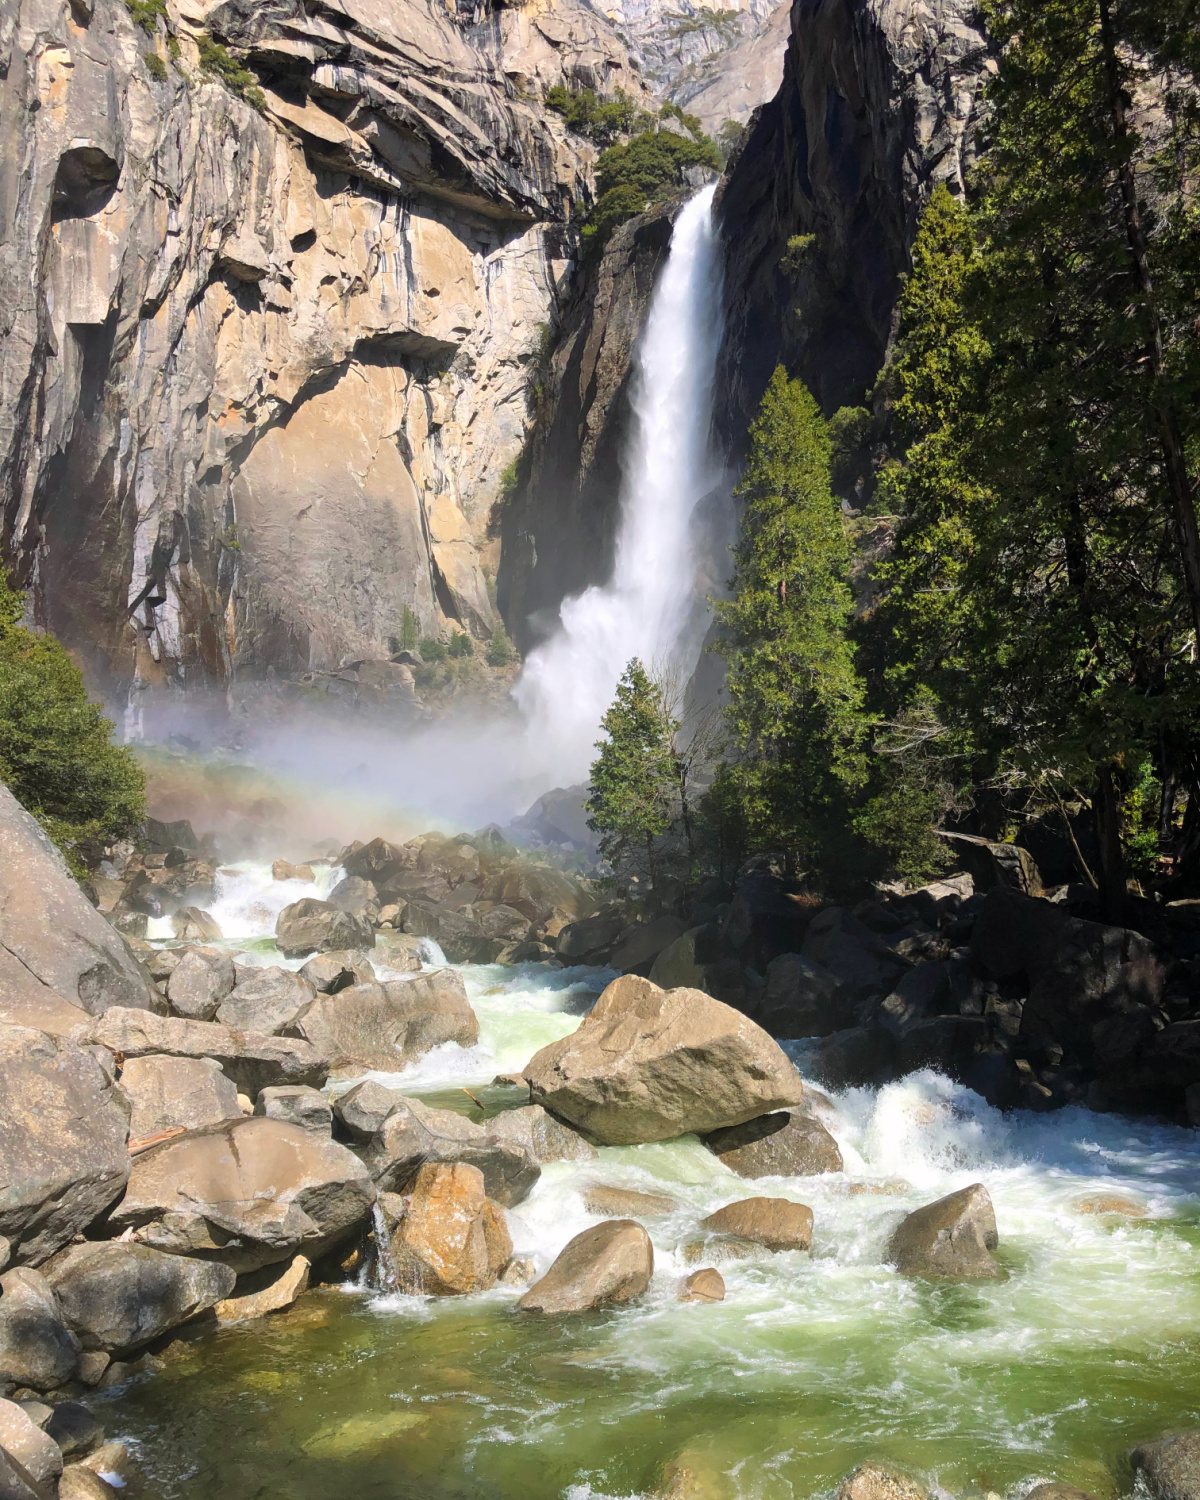
Although calling it a hike is almost generous. It’s really more of a walk through the woods to one of the most impressive waterfalls you’ll ever see.
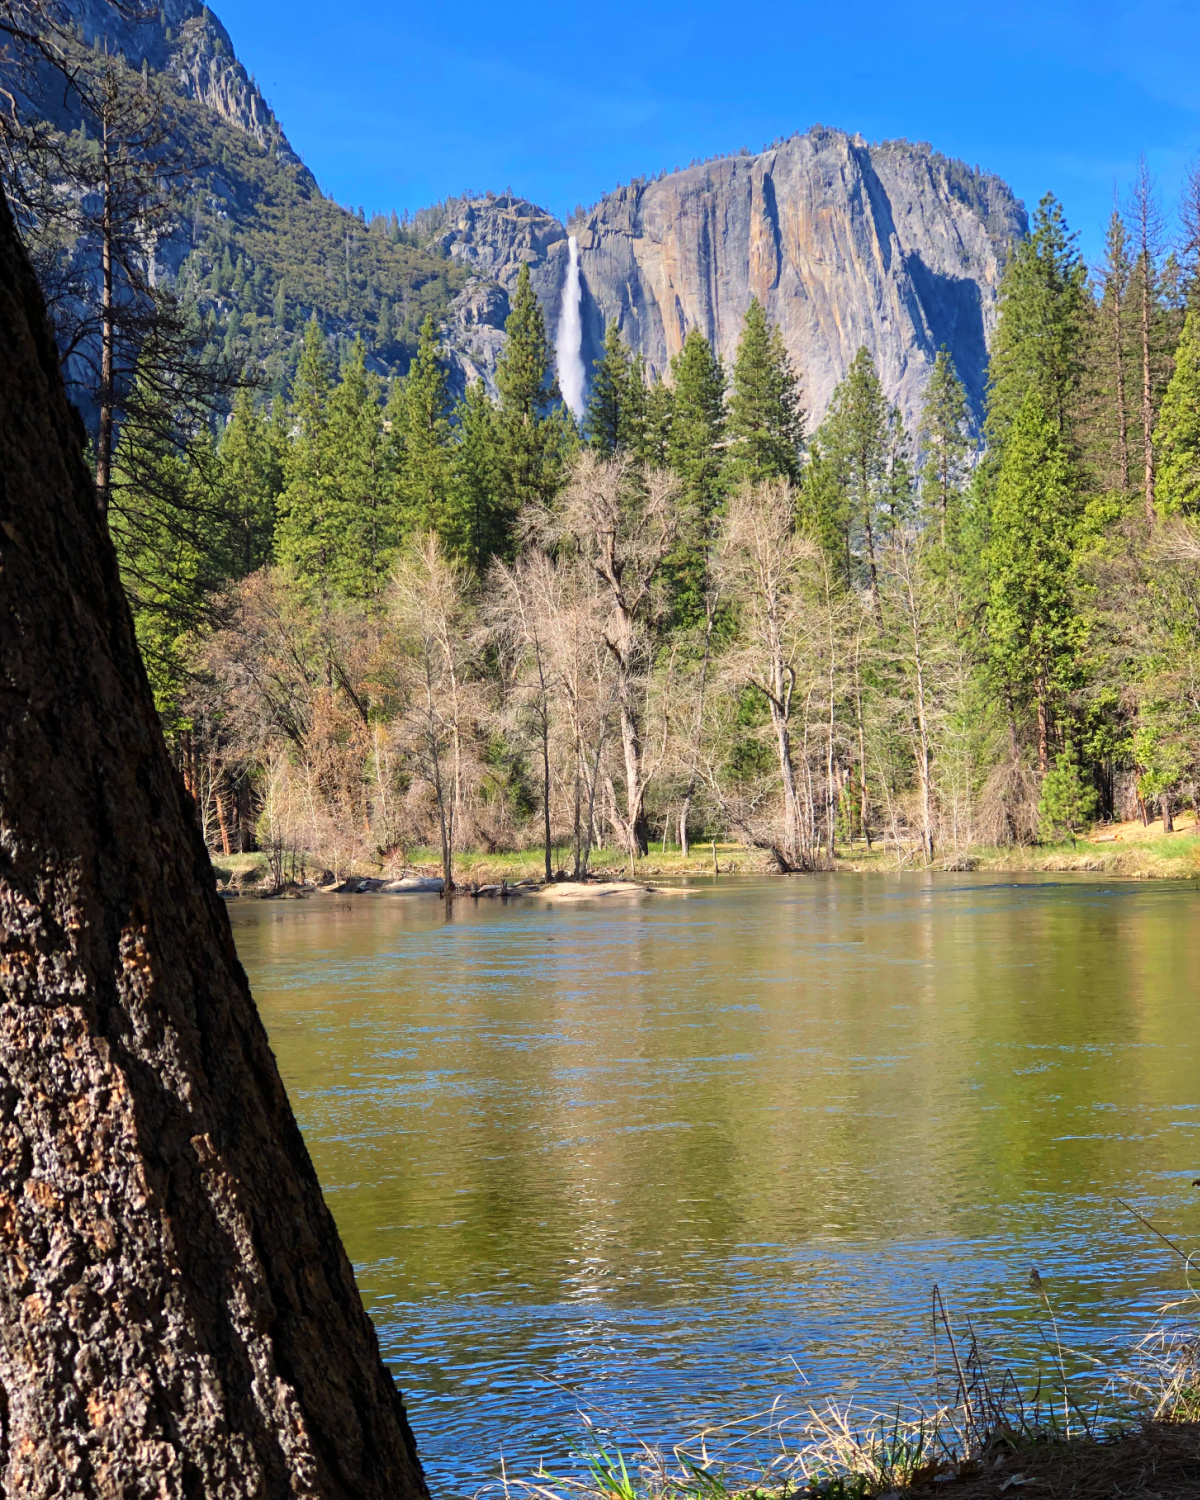
Lower Yosemite Fall is the final 320-foot drop of Yosemite Falls, which plunges a total of 2,425 feet from the cliffs above Yosemite Valley.
And when the waterfall is really flowing in the spring? Holy cow.
During our April visit, the water was absolutely roaring. You could hear it before you reached the viewing area, and the closer you got, the more impressive it became.
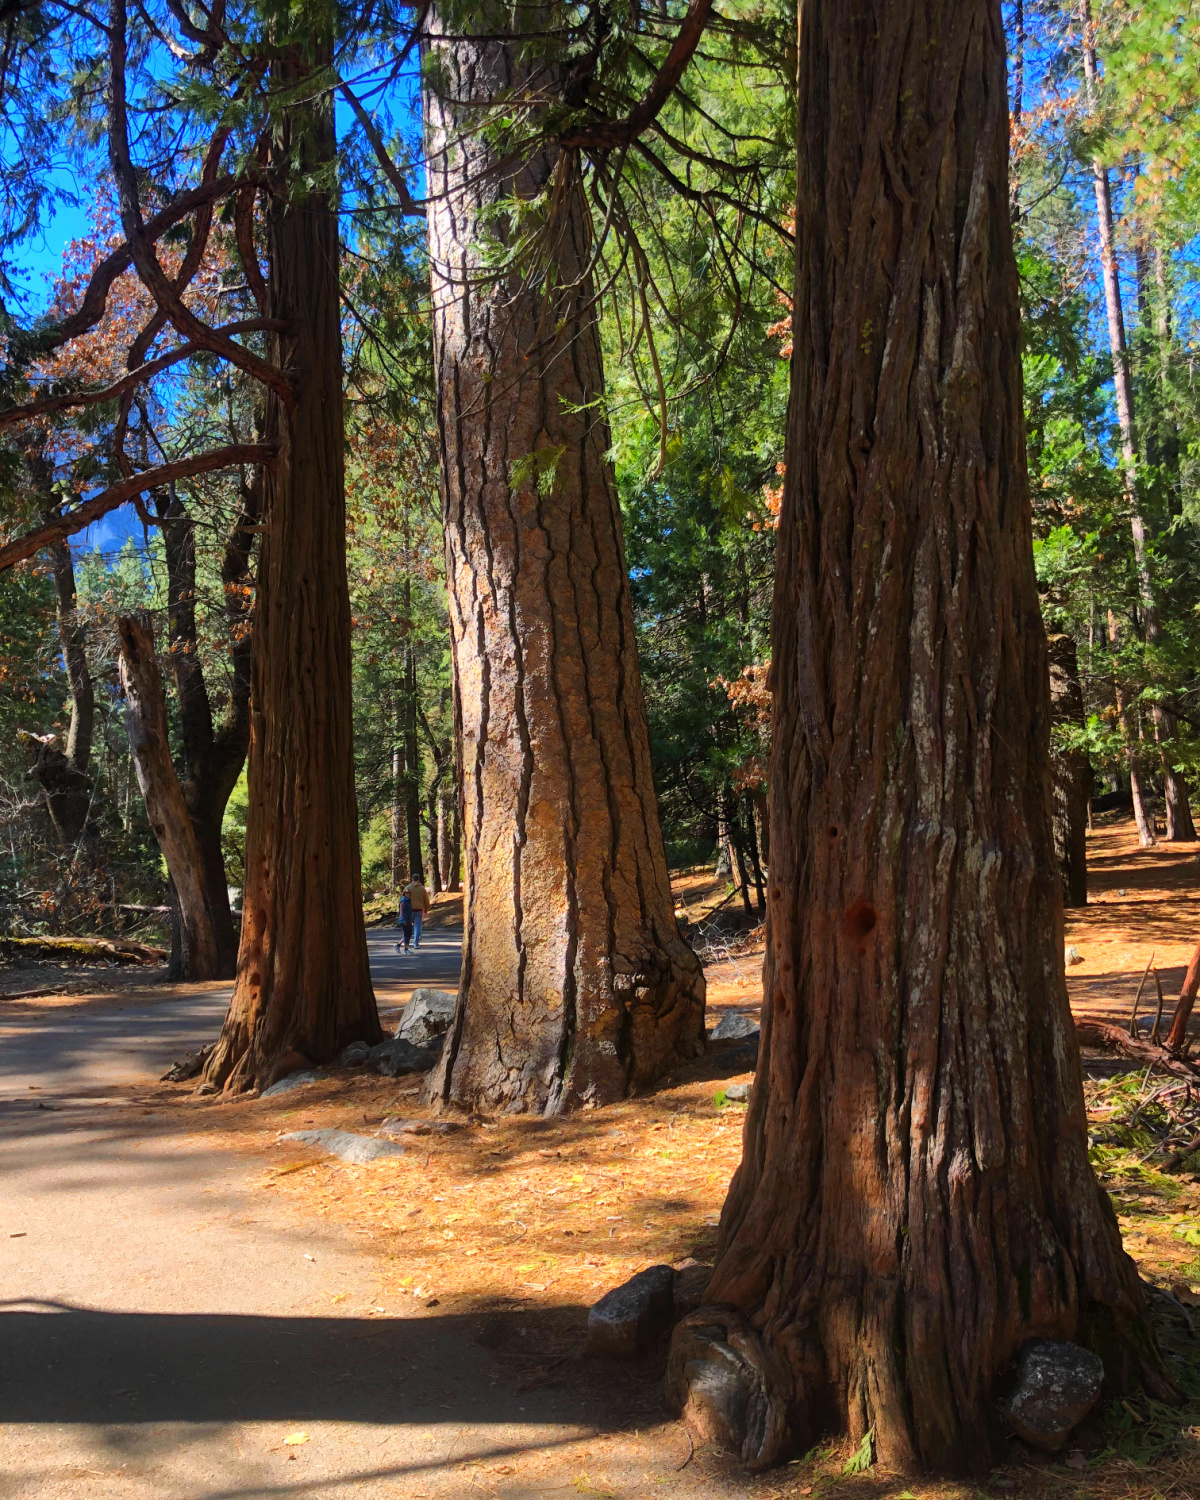
The trail winds through a beautiful forest before reaching the footbridge and viewing area near the base of the falls. It’s a relatively short walk, but I would give yourself plenty of time because there are so many opportunities to stop and take pictures.
Getting Close to Lower Yosemite Fall
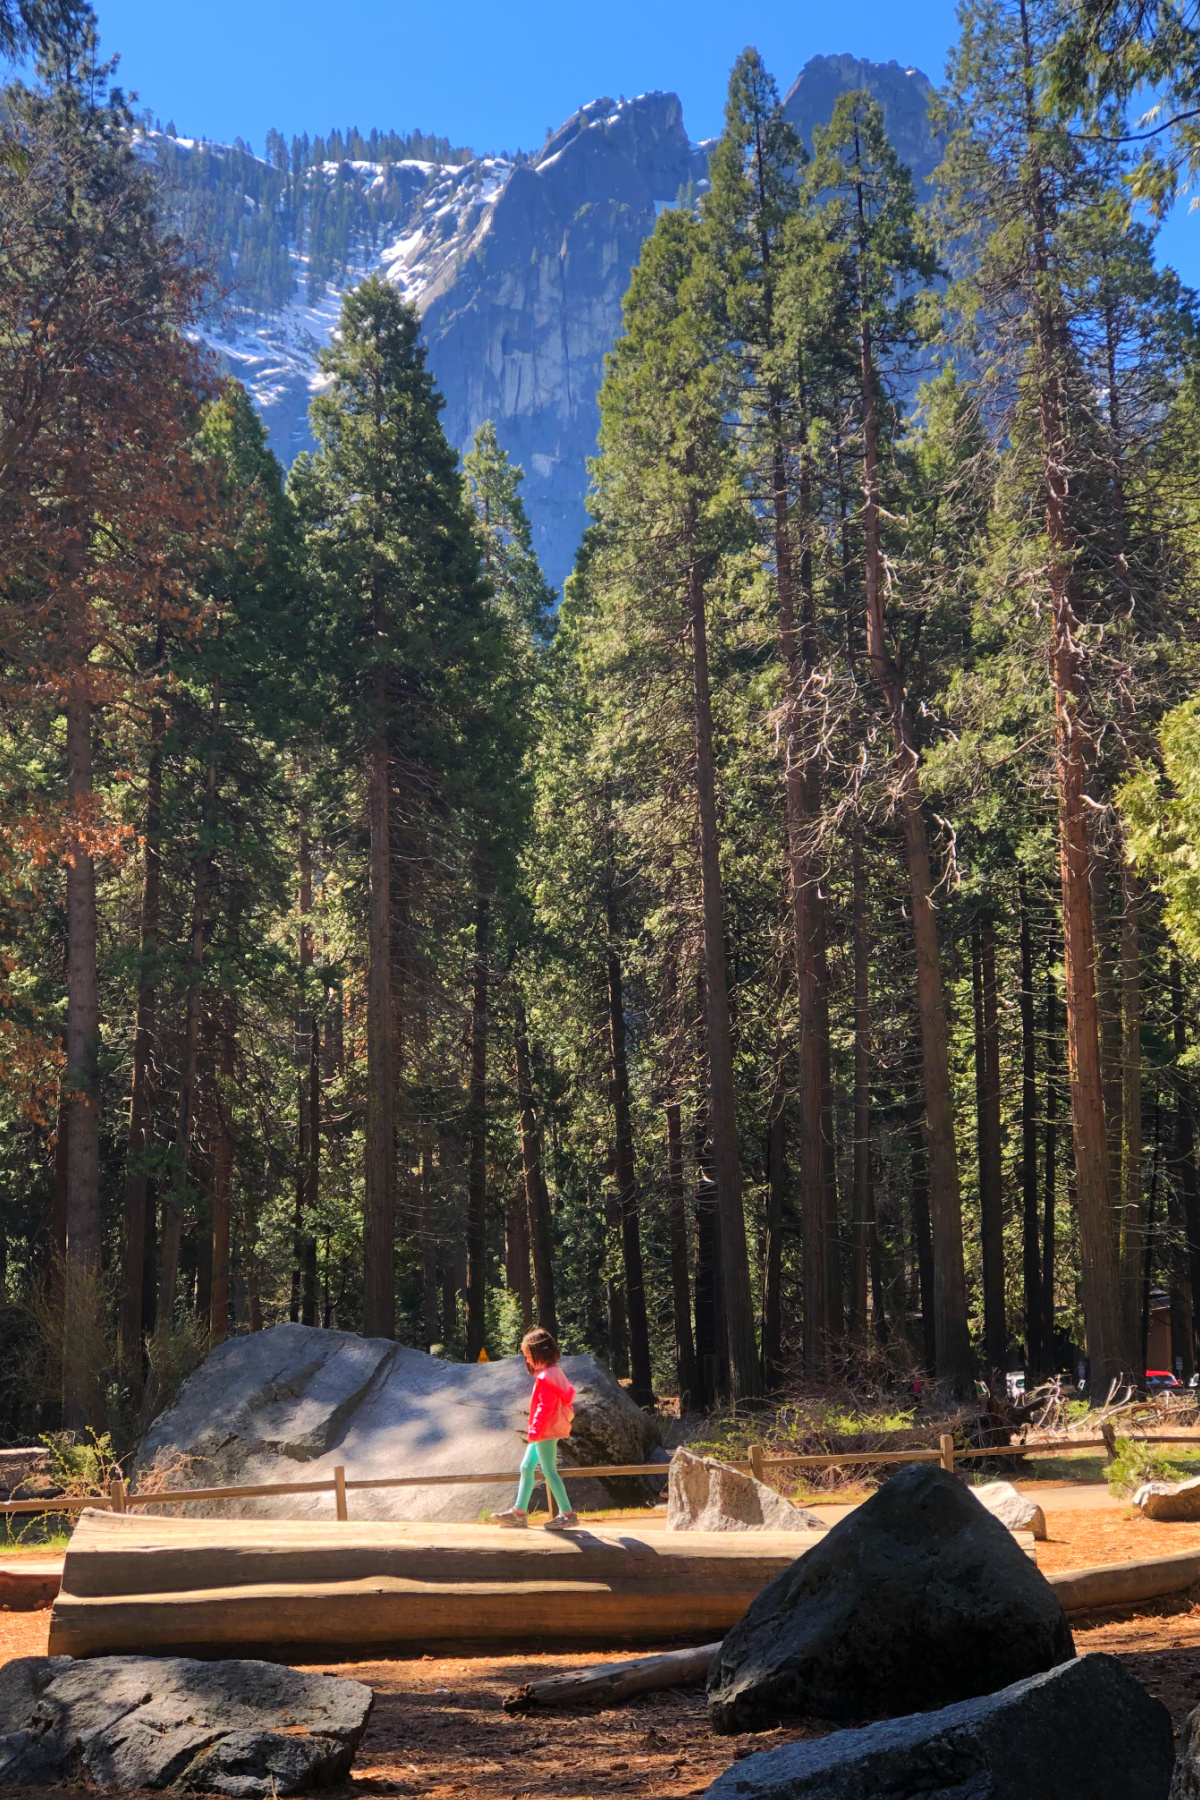
One of the things our daughter particularly enjoyed was exploring the enormous boulders and fallen trees around the area. If you have a kid who loves climbing and scrambling, there are places where the landscape practically begs to be explored.
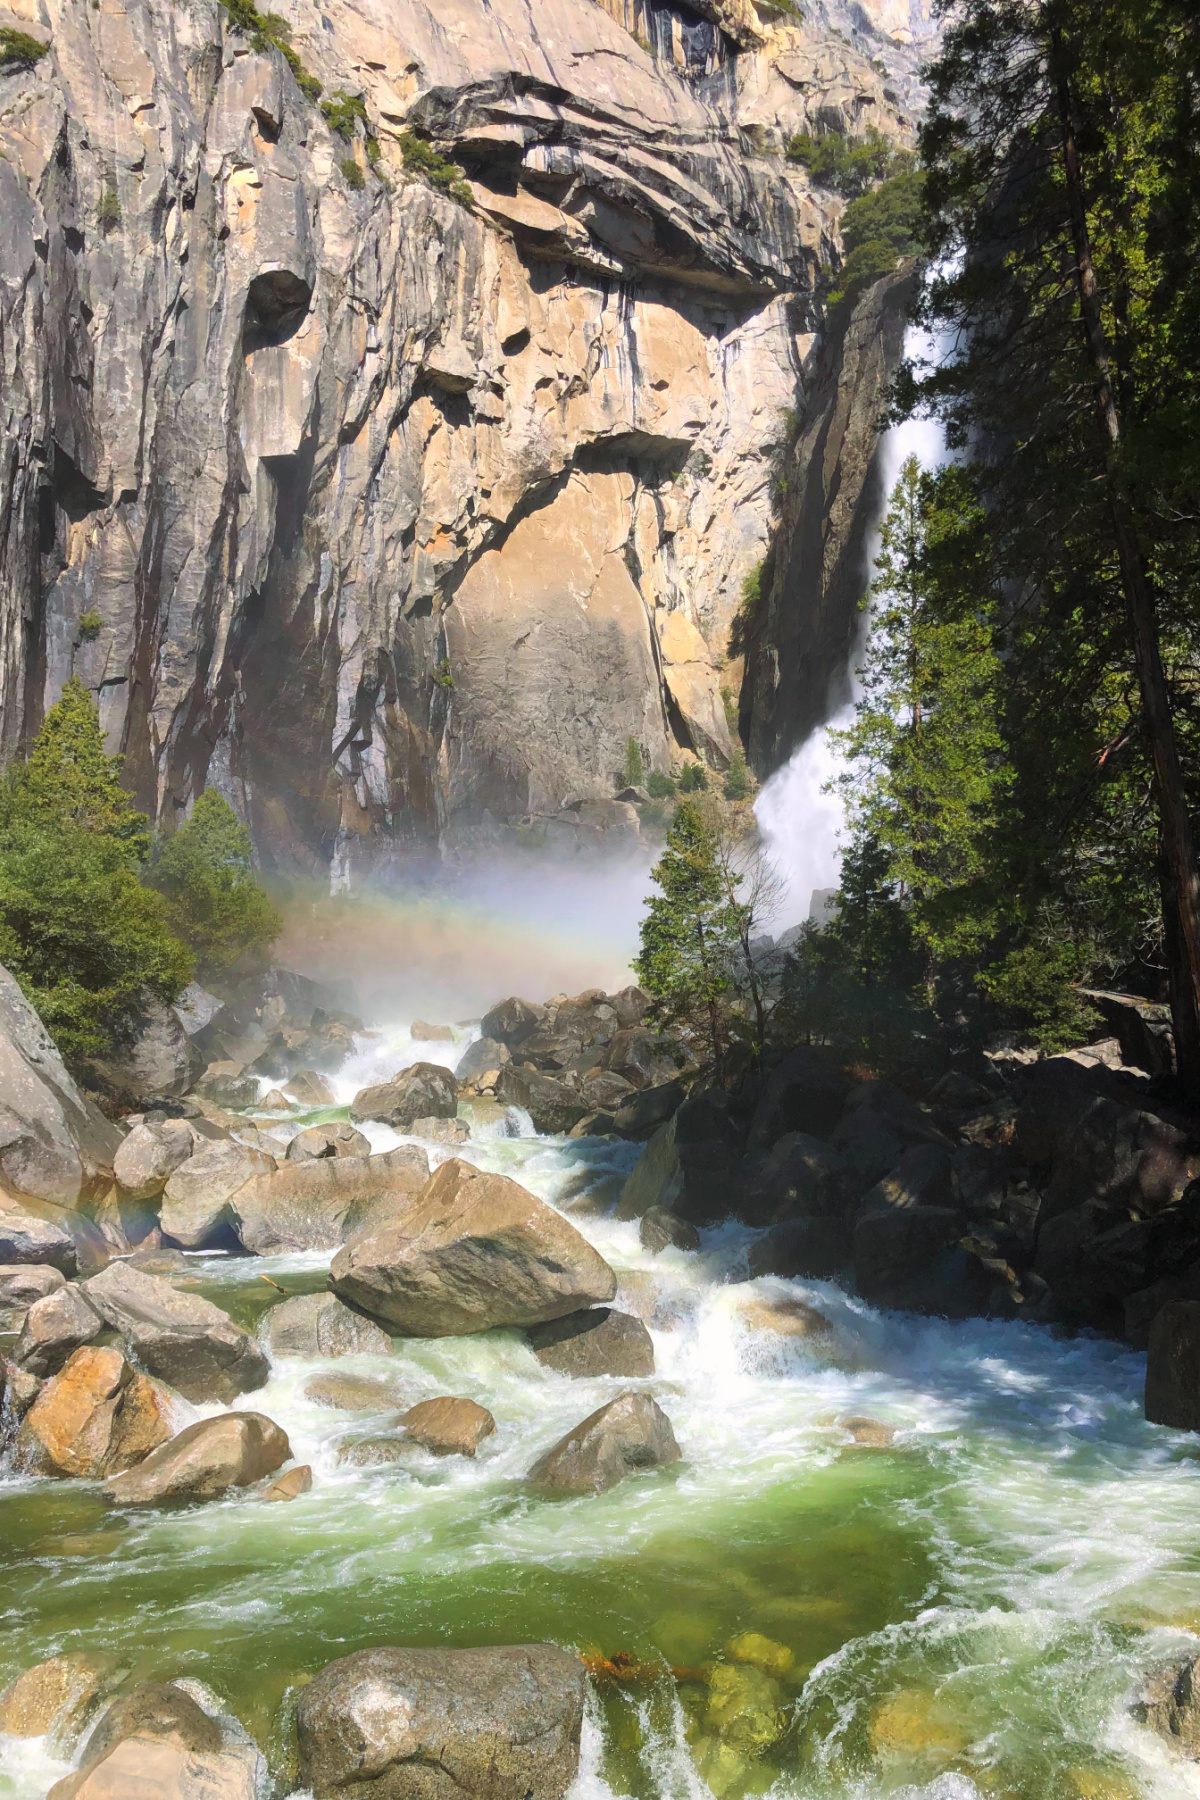
Just keep those adventures separate from the designated trail, avoid climbing unstable rocks or entering rock cavities, and respect any posted closures. You don’t need to scramble to enjoy the waterfall.
My tip: Visit Lower Yosemite Fall in the spring if you possibly can. The waterfall is spectacular when the snowmelt is flowing, and you might even catch a rainbow in the mist.
For visitors using wheelchairs or strollers, the eastern approach offers the most accessible route. The entire loop isn’t equally accessible, so pay attention to the trail signs.
And if you’re visiting Yosemite with kids, this is one of those experiences I wouldn’t skip.
2. Bridalveil Fall Trail
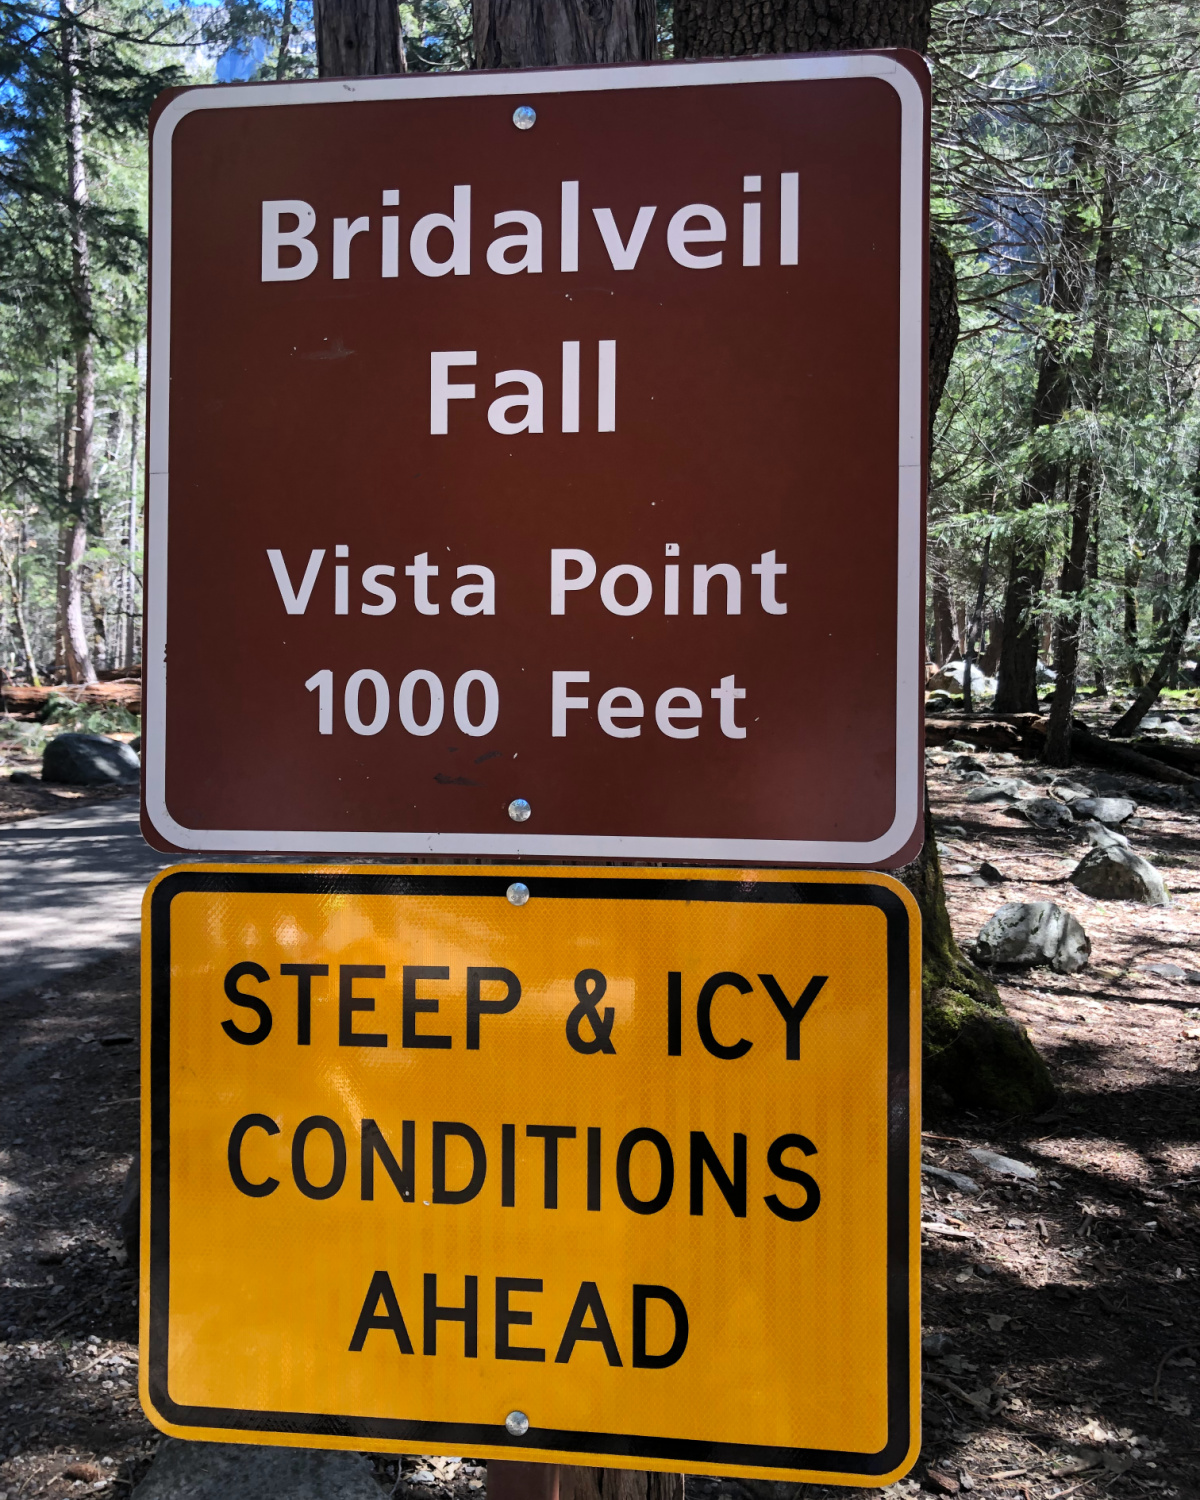
Distance: Approximately 0.5 mile round trip Difficulty: Easy Accessibility: Paved paths and accessible viewing areas, although some sections have slopes
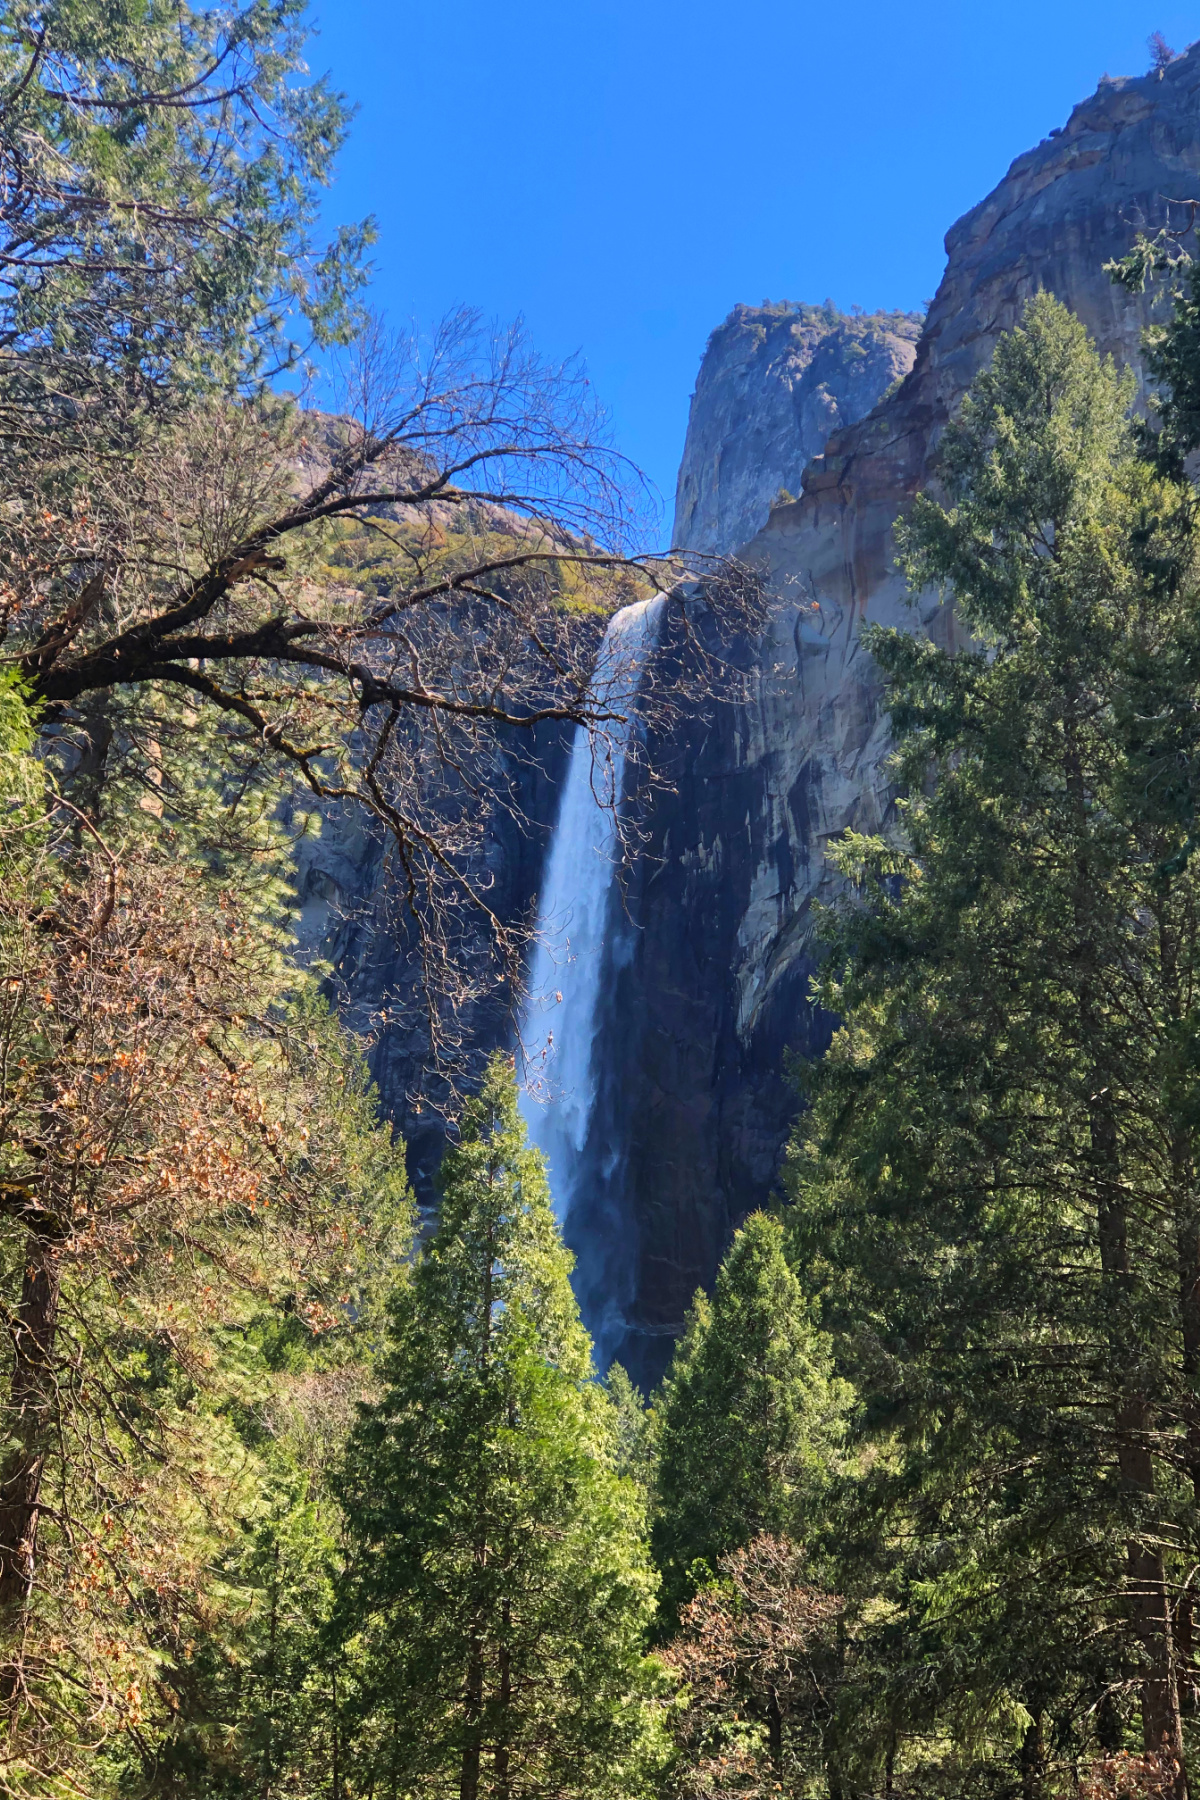
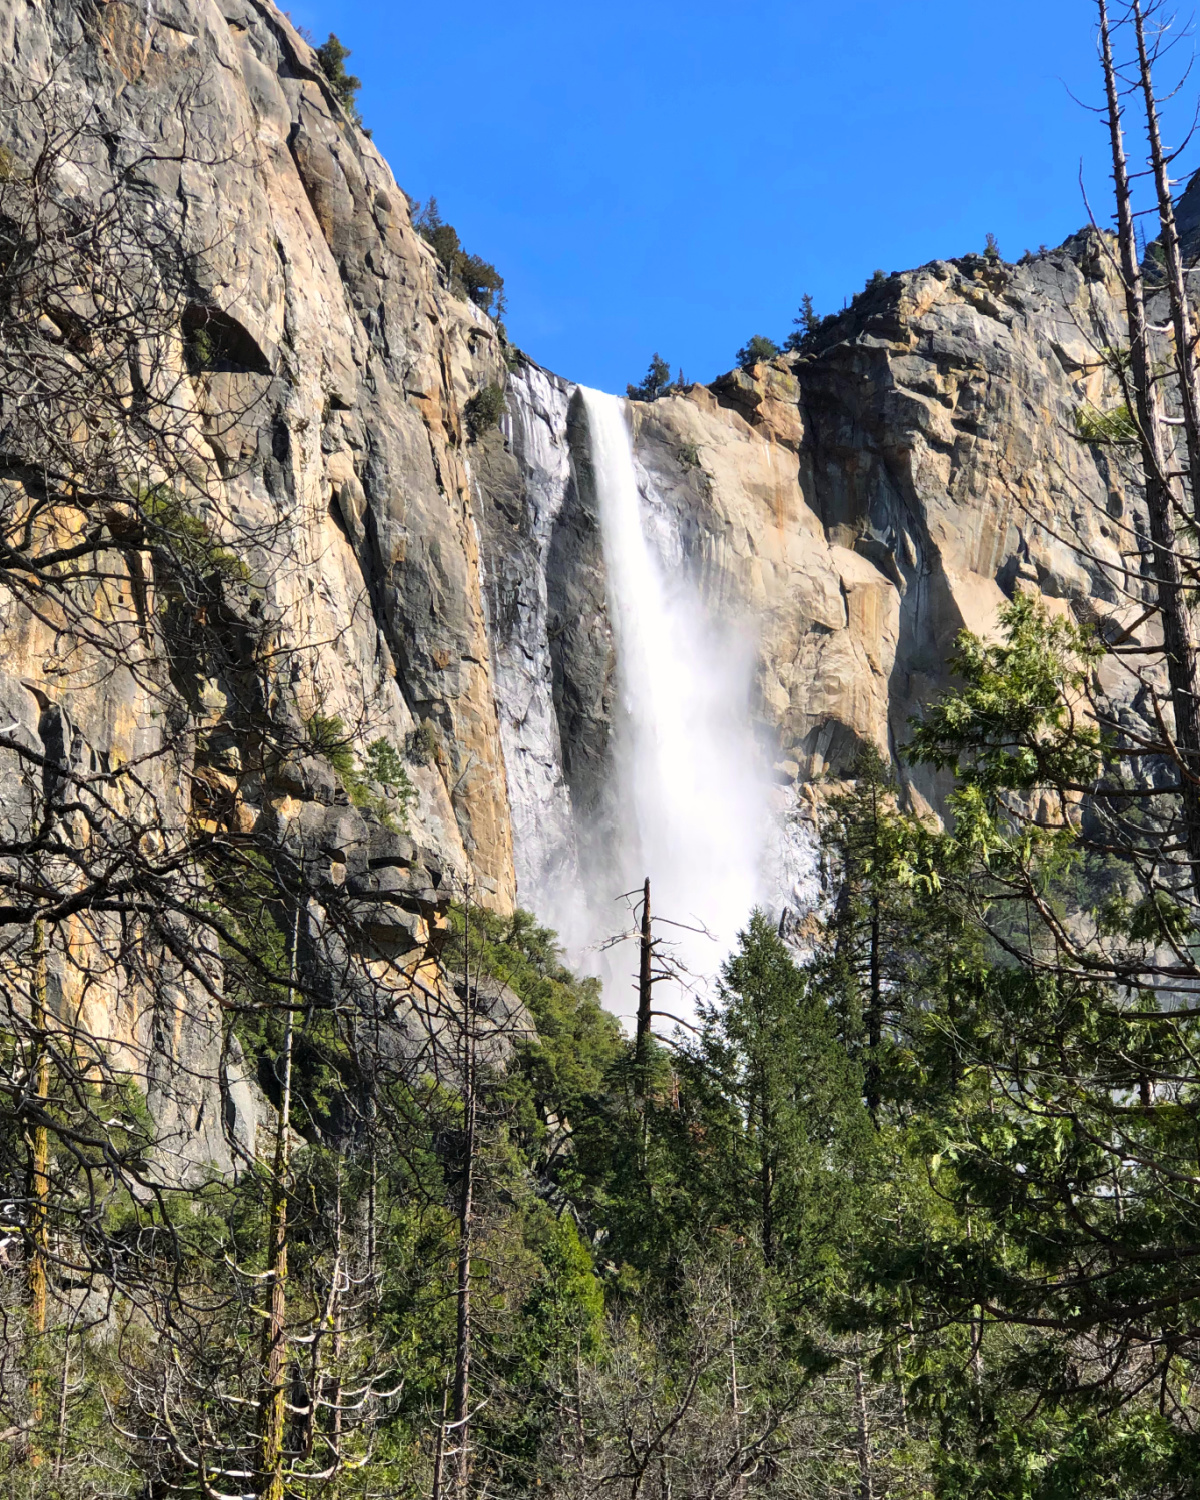
Bridalveil Fall is one of the easiest waterfalls to visit in Yosemite National Park. It’s also one of the wettest, at least if you visit in the spring!
What to Expect at the Base of Bridalveil Fall
When we visited in April 2019, the waterfall was absolutely roaring. Bridalveil Fall drops 620 feet from the cliffs above Yosemite Valley, and all that water creates a surprising amount of mist at the bottom. I remember that the closer we walked to the waterfall, the wetter we got. By the time we reached the viewing area, we were practically taking a shower.
If you’re visiting in April, May, or early June, I would seriously consider bringing a rain jacket. We could have used an umbrella, too. LOL.
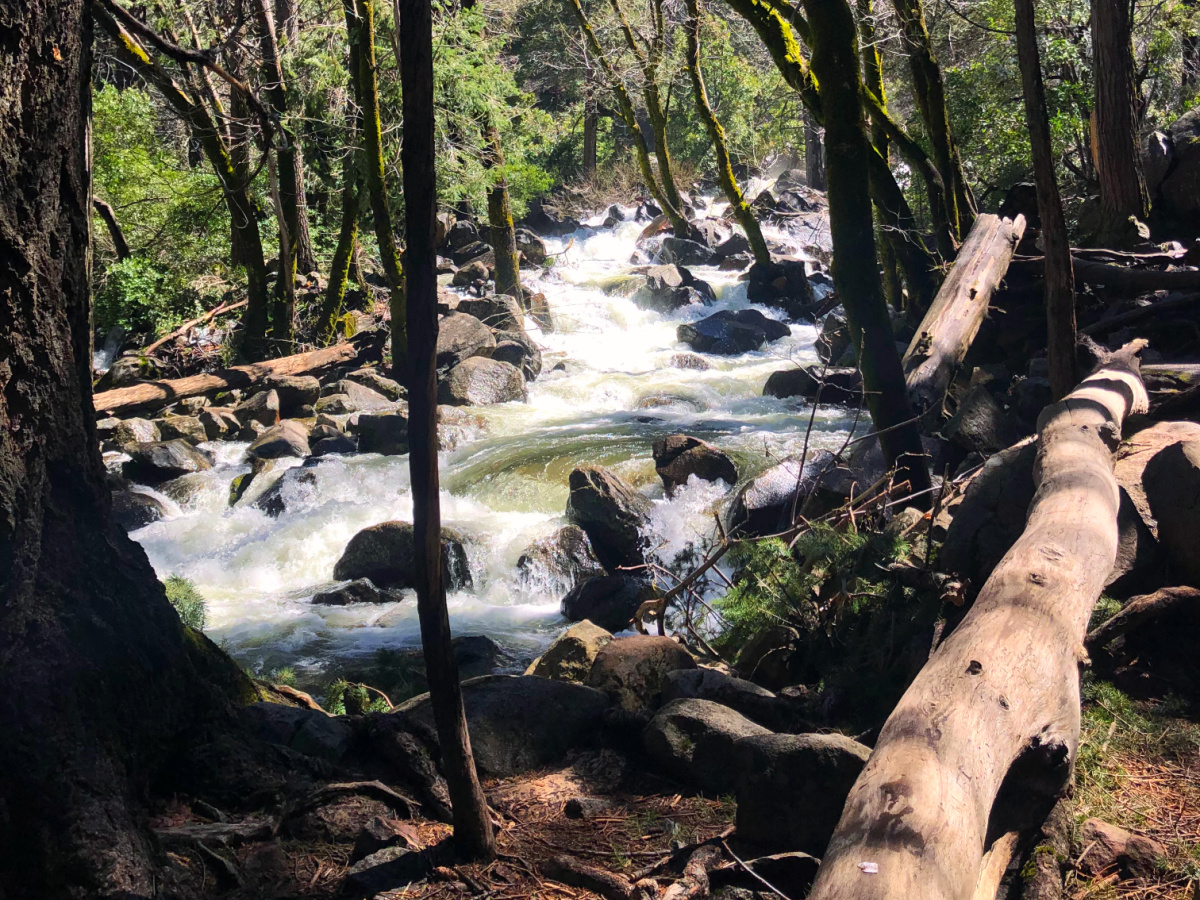
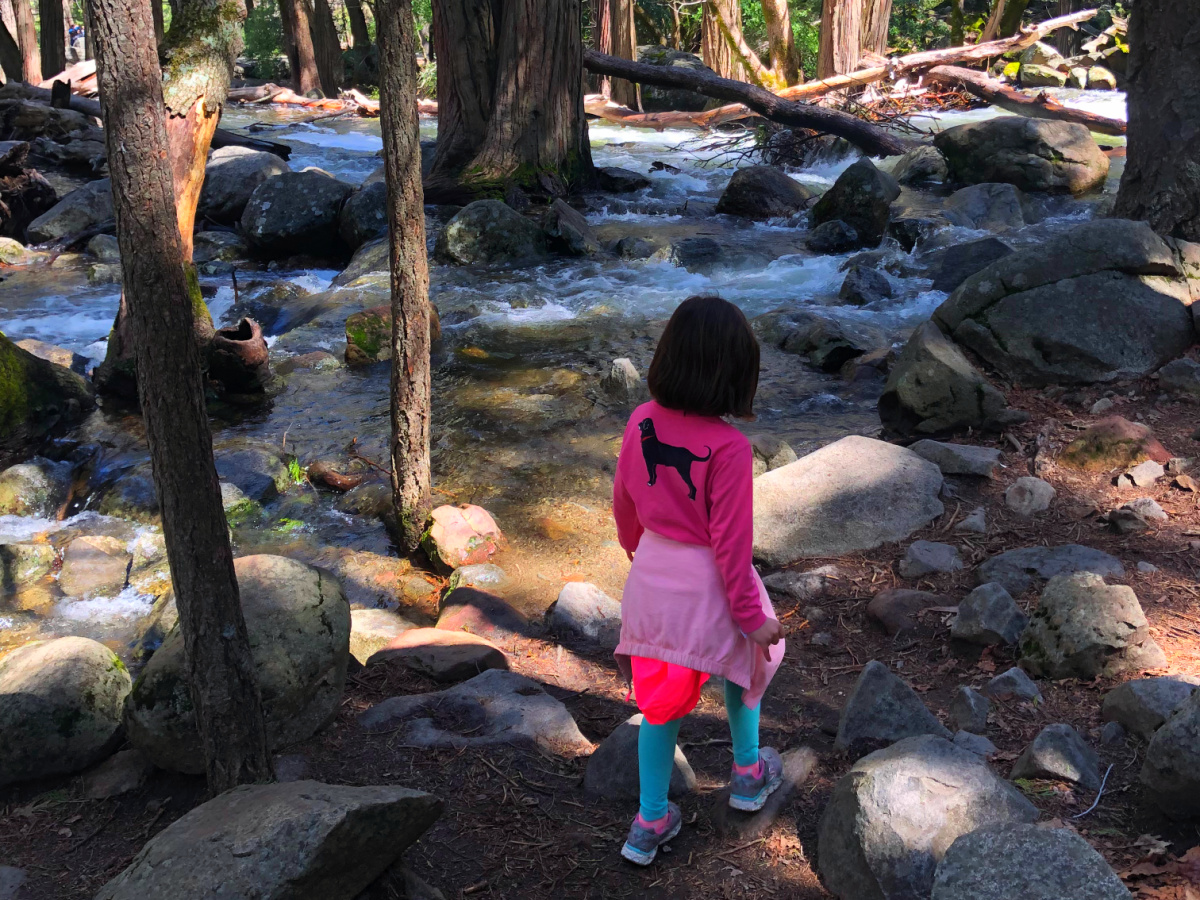
The walk itself is short, and the scenery is lovely. Bridalveil Creek runs through the area, and there are plenty of opportunities to photograph the waterfall from different angles. You don’t necessarily need to walk all the way to the closest viewpoint to enjoy it.
Recent renovations
One important thing to know is that the Bridalveil Fall area has changed since our visit. The National Park Service completed a major improvement project in 2023, including new pathways, viewing areas, and accessibility improvements. So the walking experience today is somewhat different from what we encountered in 2019.
Even with those improvements, I would still expect plenty of waterfall spray during peak spring runoff.
And here’s my somewhat unpopular opinion. As much as I enjoyed walking to the base of Bridalveil Fall, I actually prefer the view from Tunnel View.
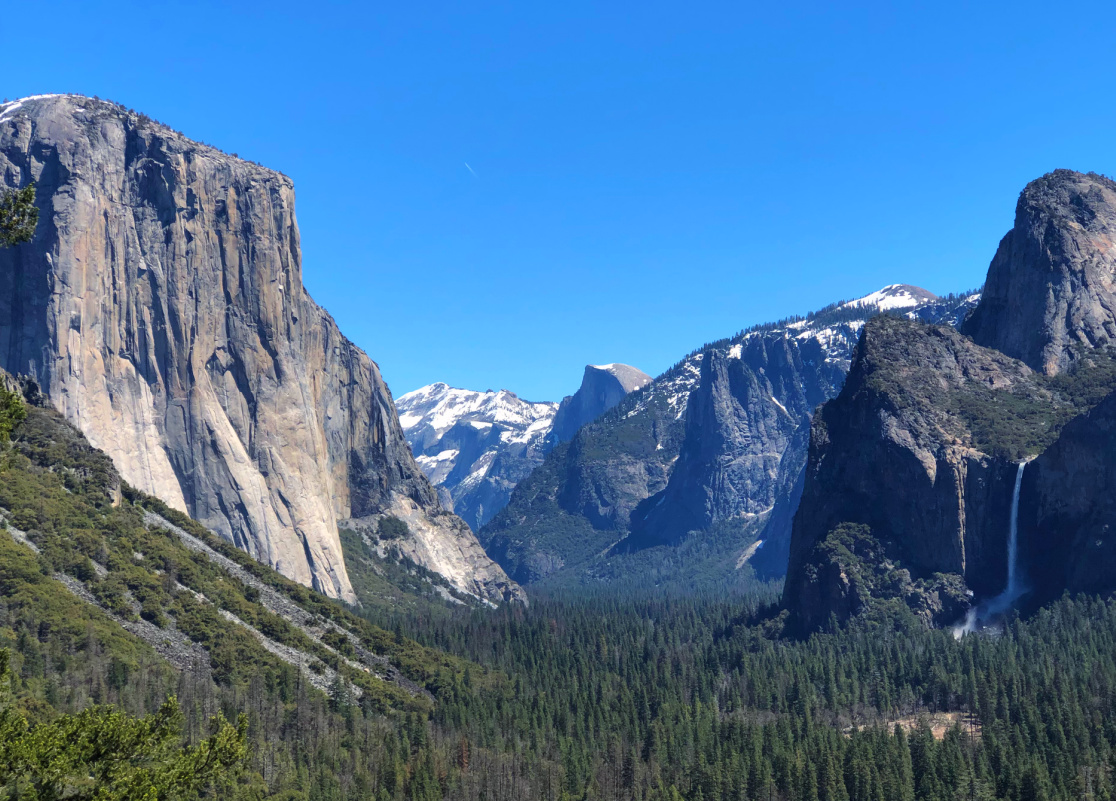
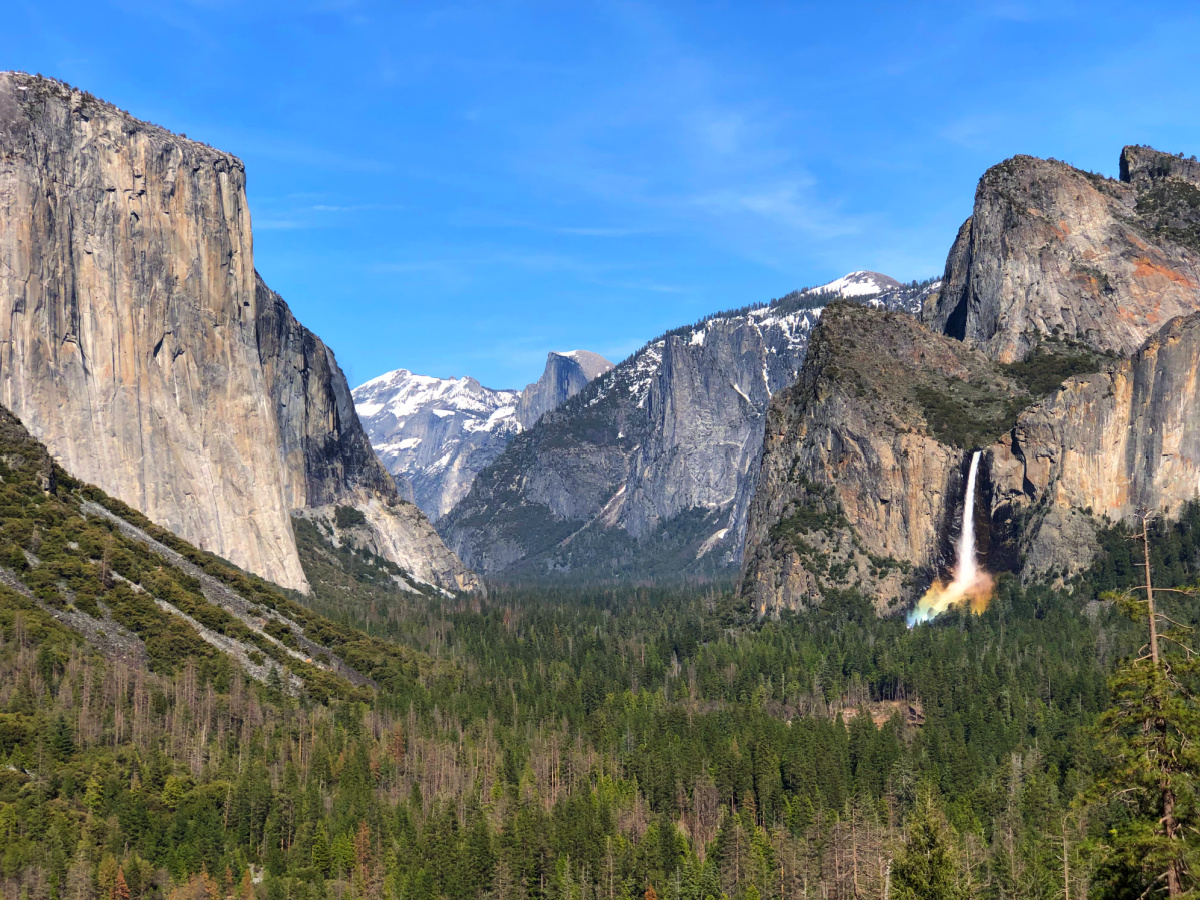
From there, you can see the entire waterfall spilling down the granite cliffs, with Yosemite Valley stretching out below. We happened to be at Tunnel View one afternoon when an enormous rainbow appeared near Bridalveil Fall. It was one of the prettiest things I’ve ever seen in Yosemite.
My tip: If you’re short on time, Bridalveil Fall is an excellent choice because the walk is so short. But make sure you also stop at Tunnel View for a completely different perspective of the waterfall.
3. Cook’s Meadow Loop
Distance: Approximately 1 mile loop Difficulty: Easy Accessibility: Mostly level paths, with paved and boardwalk sections
Cook’s Meadow is a great choice if you want to enjoy Yosemite Valley without spending your entire time looking straight up at waterfalls.
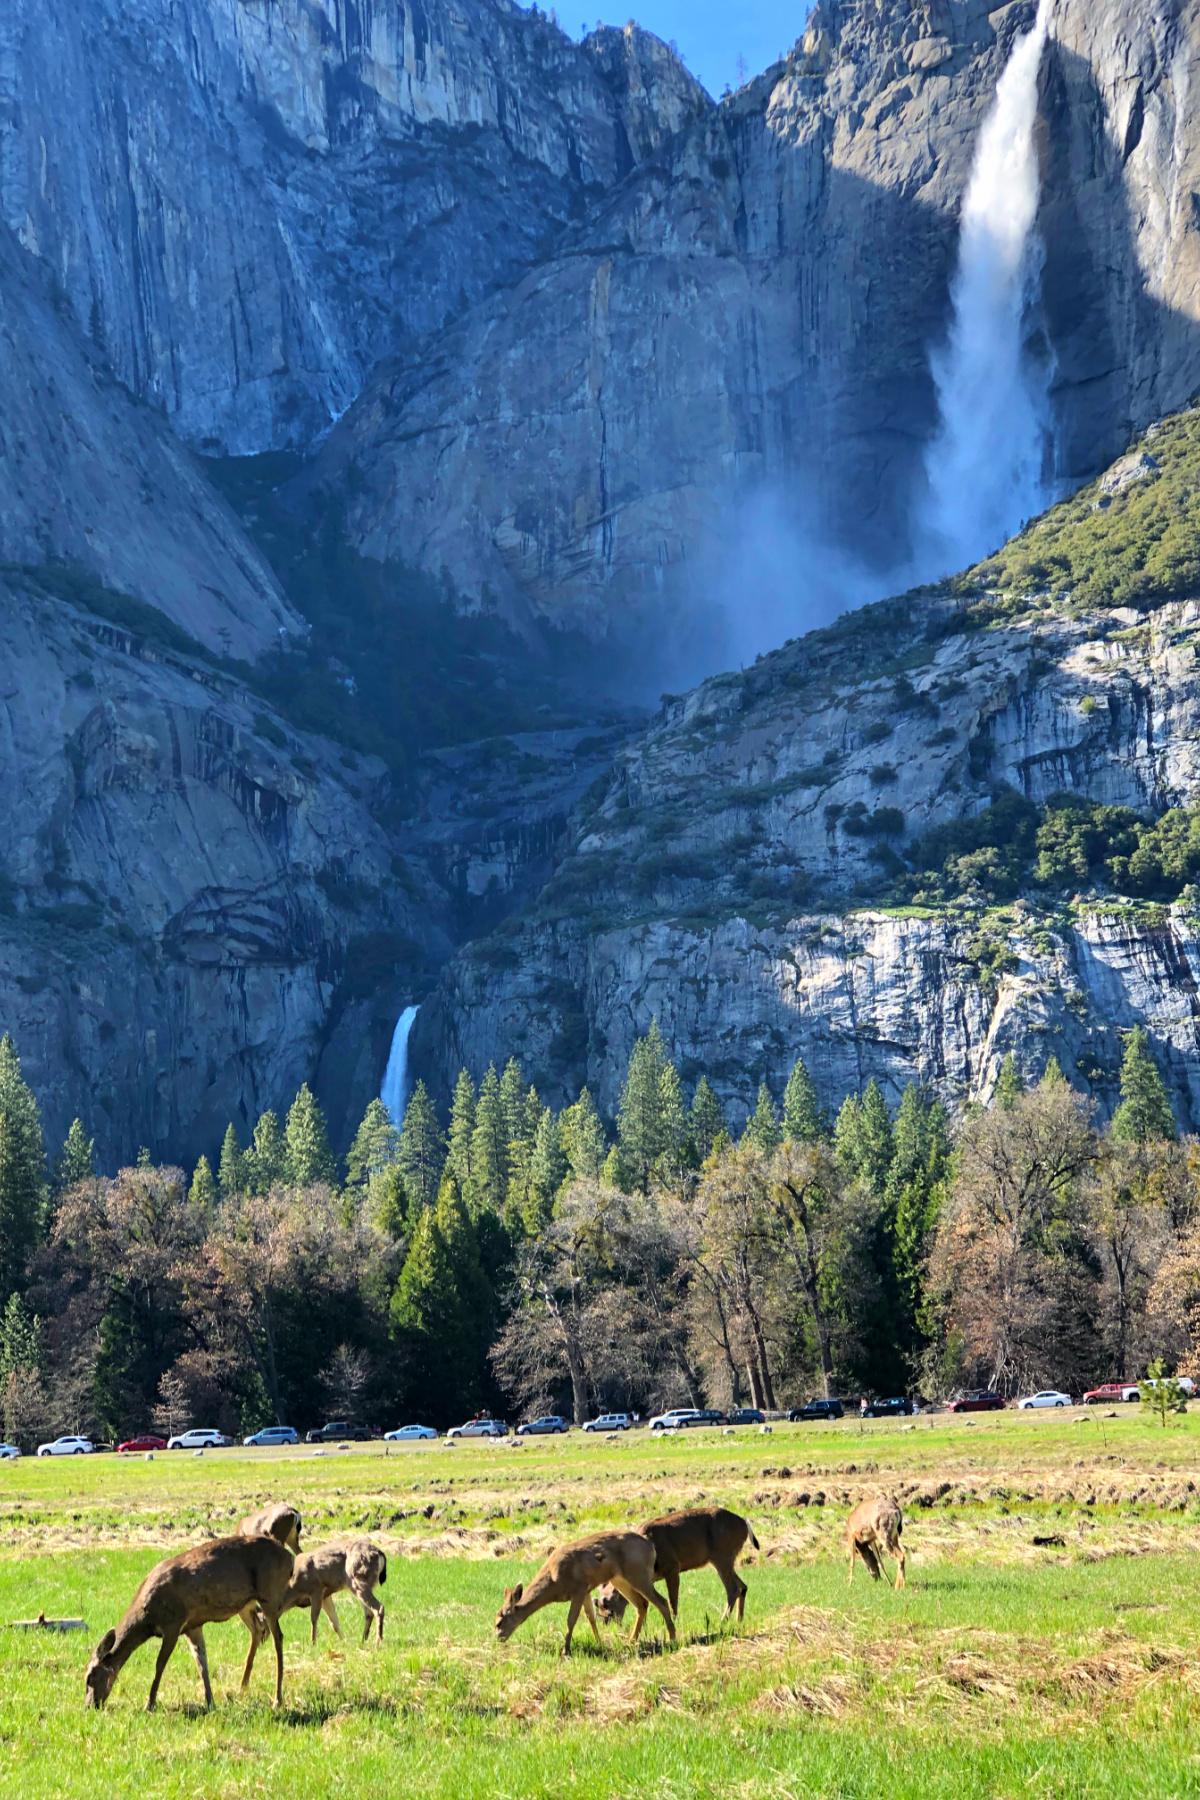
The loop takes you through an open meadow surrounded by some of Yosemite’s most famous landmarks. Depending on where you’re standing, you can see Yosemite Falls, Half Dome, Sentinel Rock, and the surrounding granite cliffs. It’s a wonderful area for photography, especially when the meadow is green in the spring.
The walking is relatively easy, and you can take your time. This isn’t a trail where you need to worry about reaching a particular destination before turning around.
Don’t Miss Sentinel Bridge
One of the highlights is Sentinel Bridge, which crosses the Merced River and has a beautiful view of Half Dome.
And Sentinel Bridge happens to be a pretty important place in my personal history.
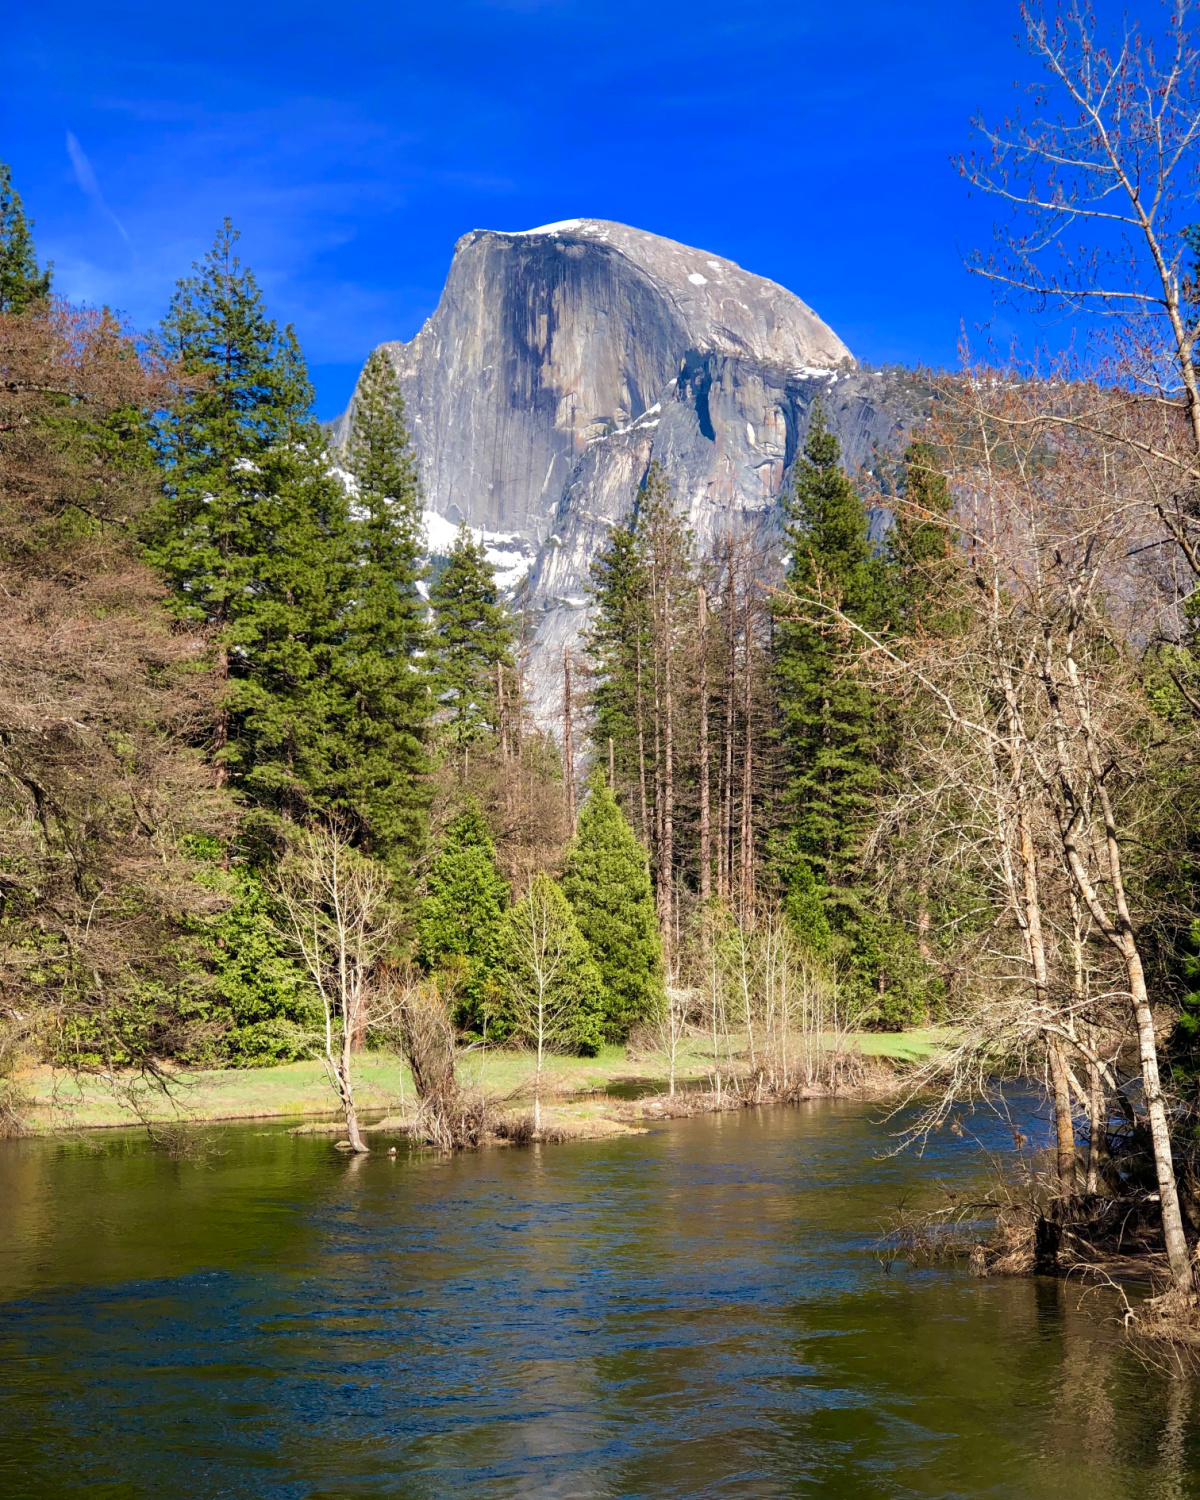
In October 2002, my husband proposed to me on that bridge, with Half Dome in the background. We had visited Yosemite together before, but that particular trip obviously became a little more memorable than most. LOL.
So yes, I might be slightly biased when I recommend stopping at Sentinel Bridge.
But even without the sentimental attachment, it’s a fantastic place to photograph Half Dome. When the Merced River is calm, you can sometimes catch a reflection in the water, too.
I particularly like Cook’s Meadow for families because there’s plenty to look at without needing to hike very far. And if someone in your group is getting tired, you can easily shorten your walk.
One thing to keep in mind is that Yosemite’s meadows are protected. Stay on the designated trails and boardwalks, even if you see a tempting spot for a photograph.
My tip: Bring your camera and don’t rush. Between Yosemite Falls, Half Dome, and the Merced River, there are quite a few places where you’ll want to stop. And definitely walk over to Sentinel Bridge!
4. Yosemite Valley Loop Trail and Valley Floor Walking Paths
Distance: Variable; the full Valley Loop Trail is approximately 13 miles Difficulty: Easy for shorter valley-floor walks; longer routes require more stamina Accessibility: Varies by route; many designated paved paths are accessible, but the entire Valley Loop Trail is not
I think one of the most underrated things to do in Yosemite is simply walk around Yosemite Valley.
Seriously. You don’t need to have a particular trail in mind.
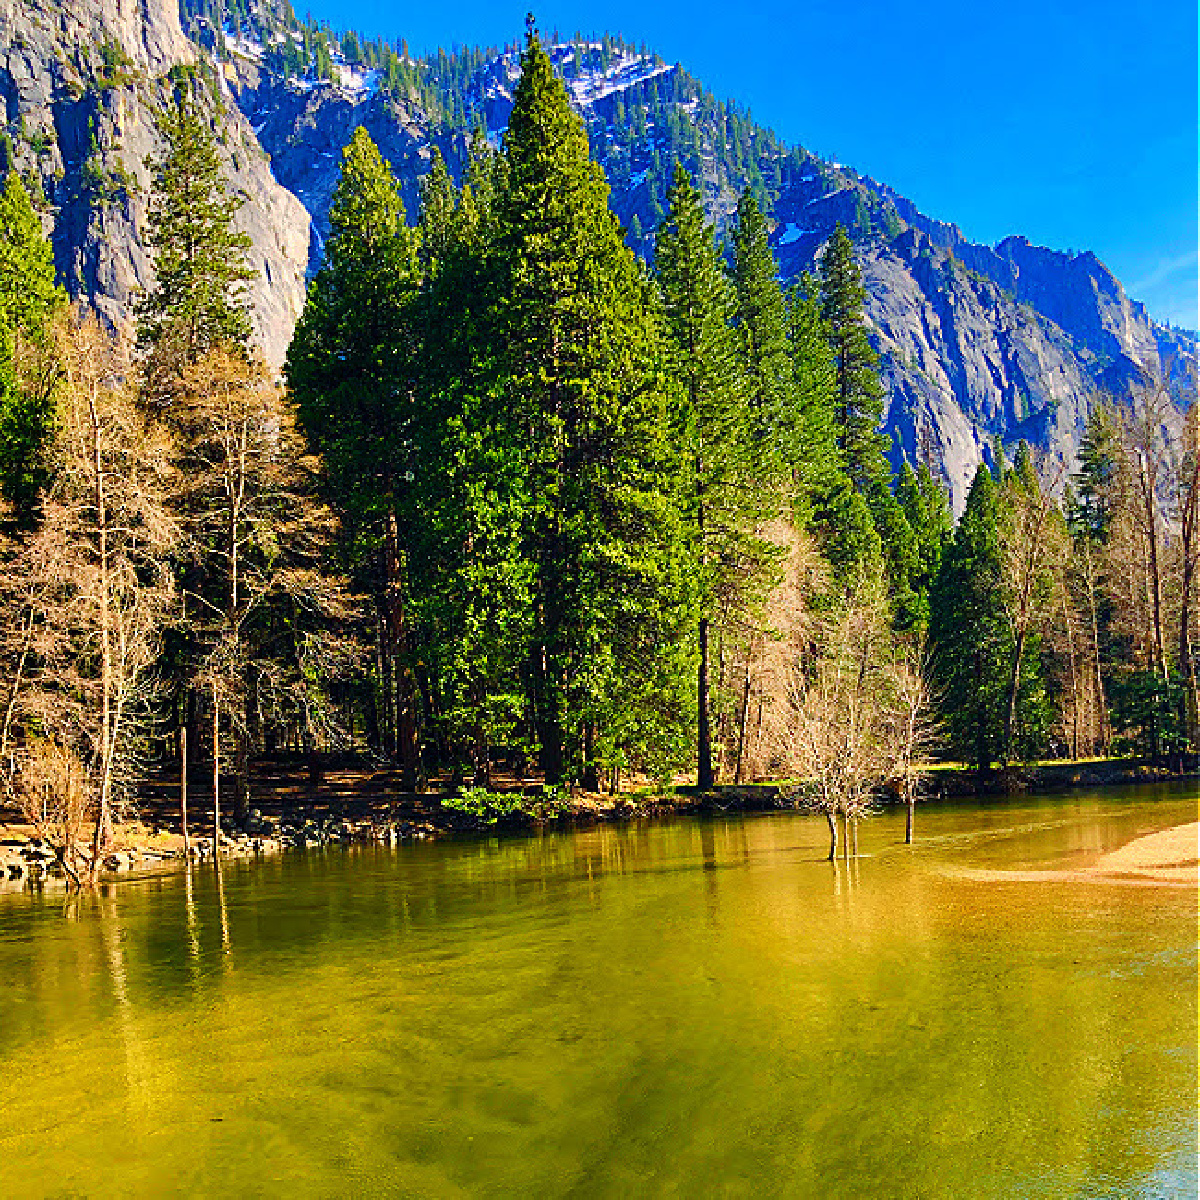
There are paved walking paths, bridges over the Merced River, wooded areas, open meadows, and plenty of places to sit and enjoy the scenery. During our April 2019 visit, we spent quite a bit of time doing exactly that.
And I loved it.
The official Yosemite Valley Loop Trail is approximately 13 miles long, with a shorter 6.5-mile option. Both are considerably longer than I would recommend for someone looking for a quick, easy hike.
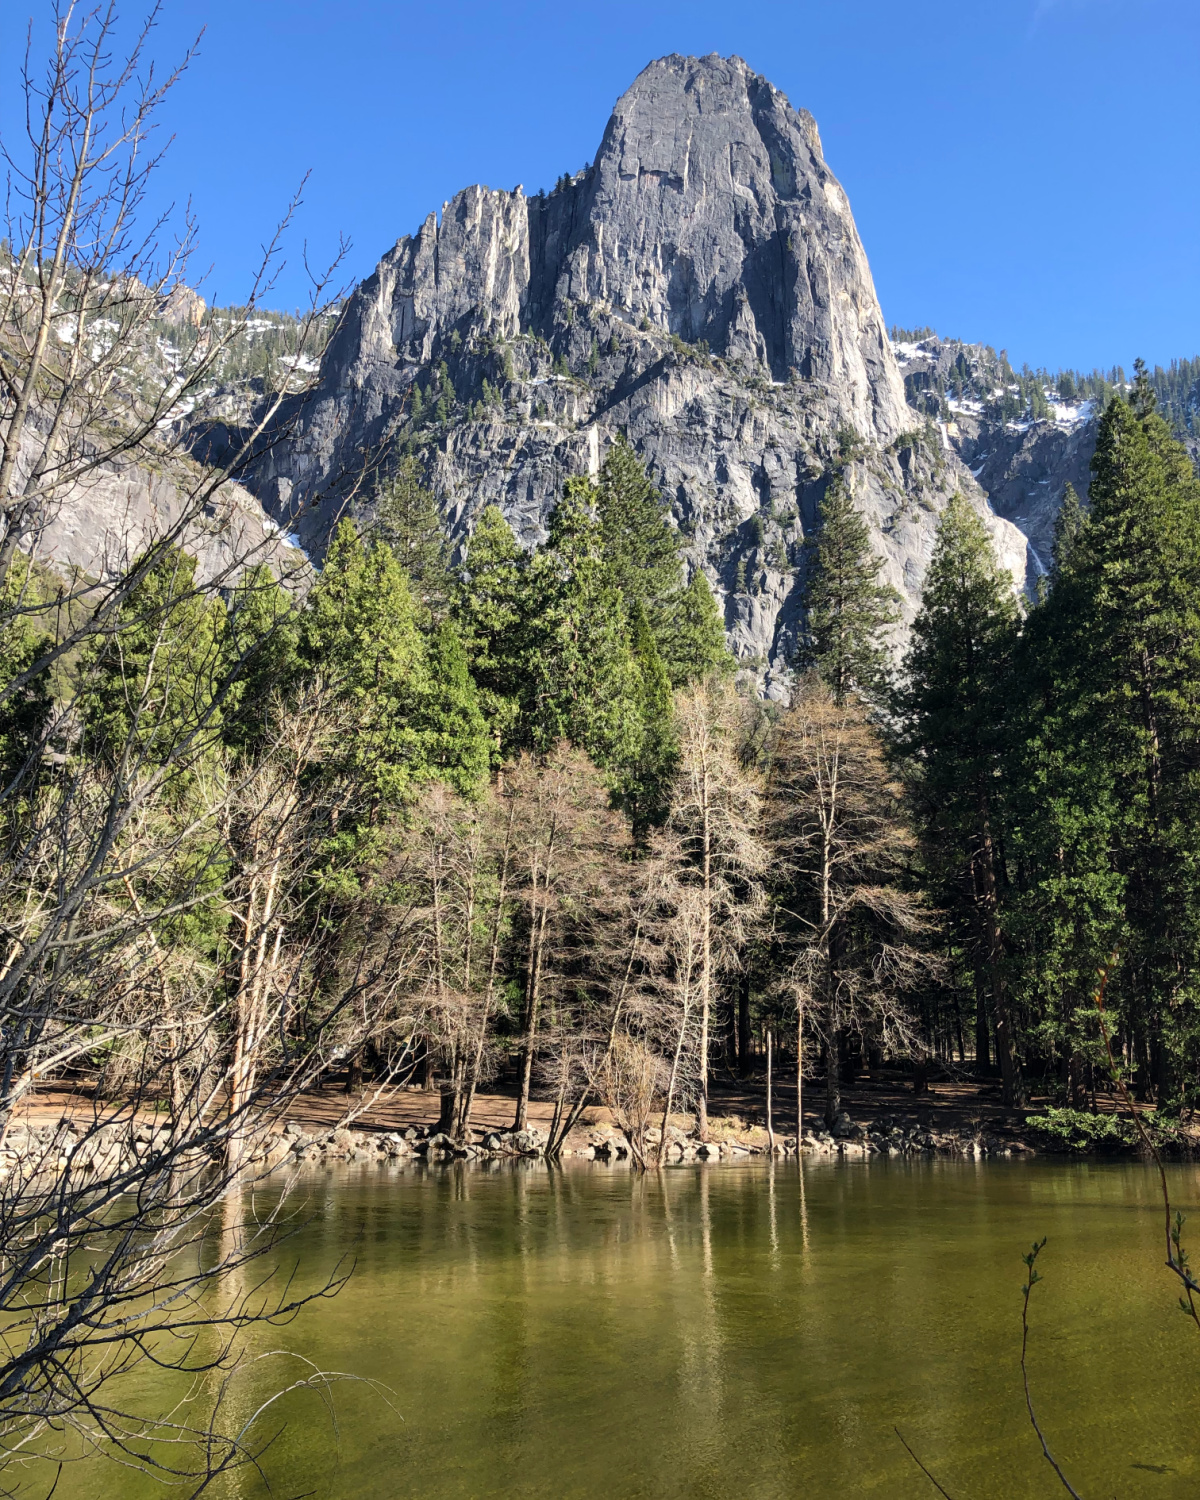
You Don’t Have to Hike the Entire Loop
But you certainly don’t have to walk the entire loop.
Instead, I would recommend choosing a section of the valley that looks interesting and exploring from there. You can walk along the Merced River, enjoy views of El Capitan, or find a quiet spot to sit and watch the water.
One of my favorite things about walking around Yosemite Valley is that the scenery changes constantly. You might start with a beautiful view of Half Dome, wander into a wooded area, and then come around a bend to find an entirely different view of the granite cliffs.
And the Merced River is particularly pretty in the spring.
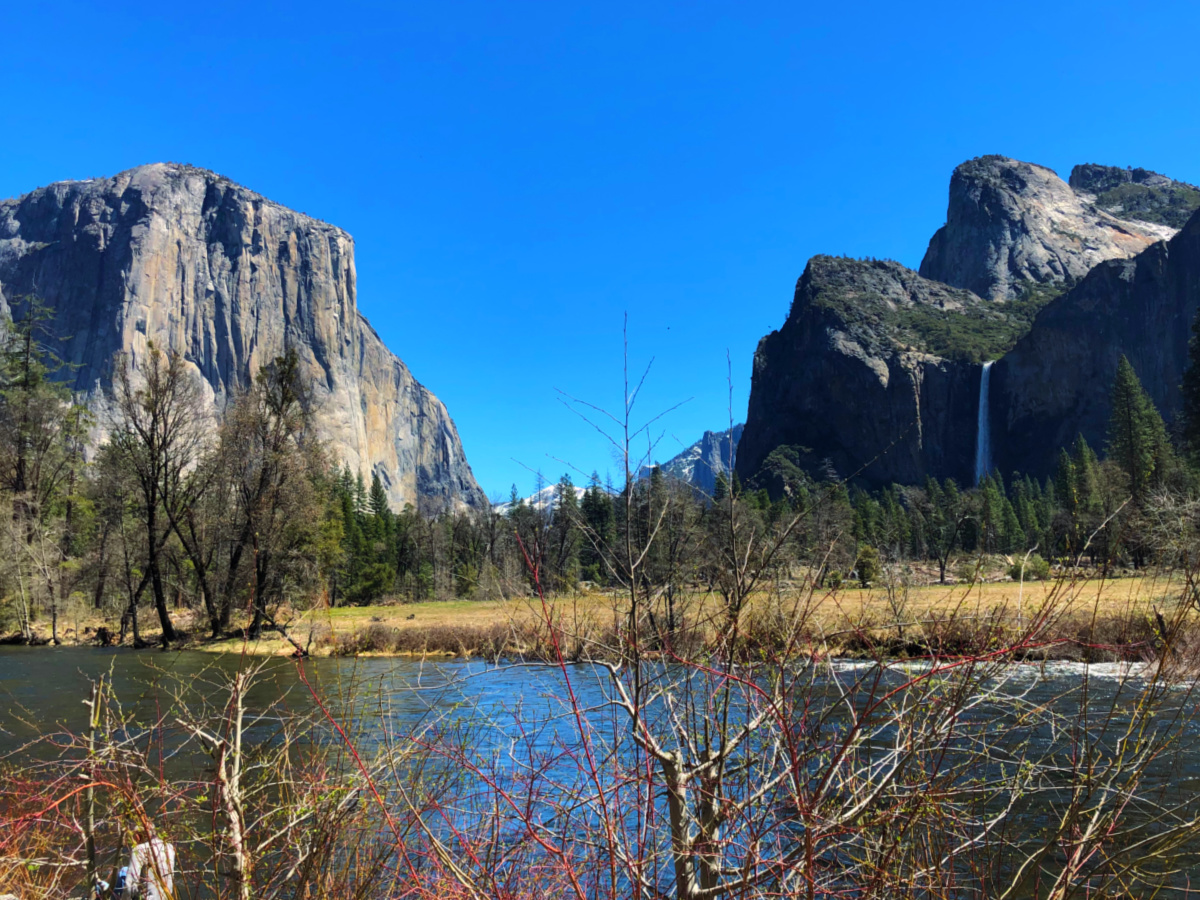
the Waterfalls are the main draw (in my opinion)
We visited when the waterfalls were flowing strongly, and there was plenty of water moving through the valley. Some of my favorite Yosemite photographs from that trip are simply pictures of the river, trees, and mountains.
This is also a good option if you’re traveling with younger children. You can walk for 20 minutes or two hours, depending on everyone’s energy level. There are plenty of places to take breaks, and you’re never committed to a difficult uphill climb.
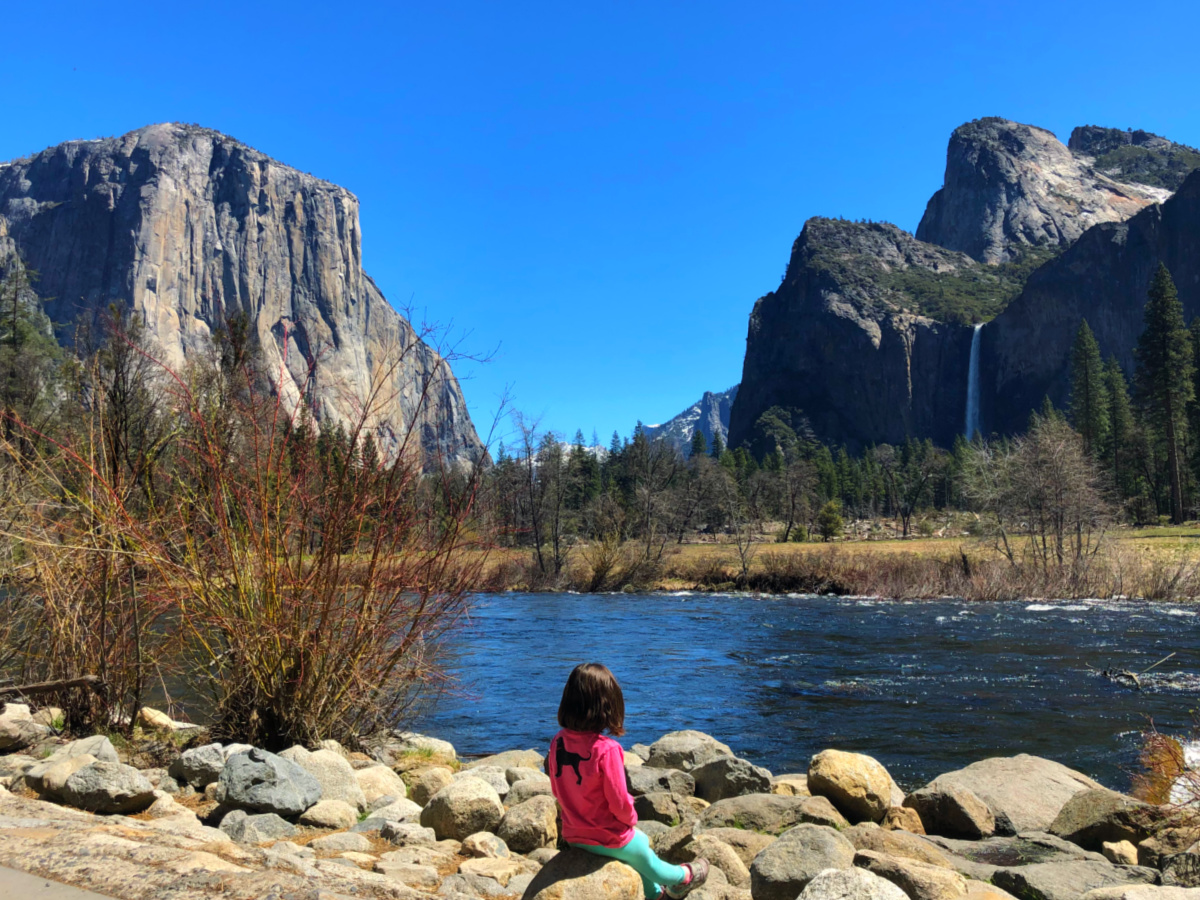
If your family enjoys biking, Yosemite Valley has more than 12 miles of designated paved bike paths. You can rent bicycles in the valley during the operating season, or bring your own. Just be aware that bicycles are restricted to roads and designated bike paths, not regular hiking trails.
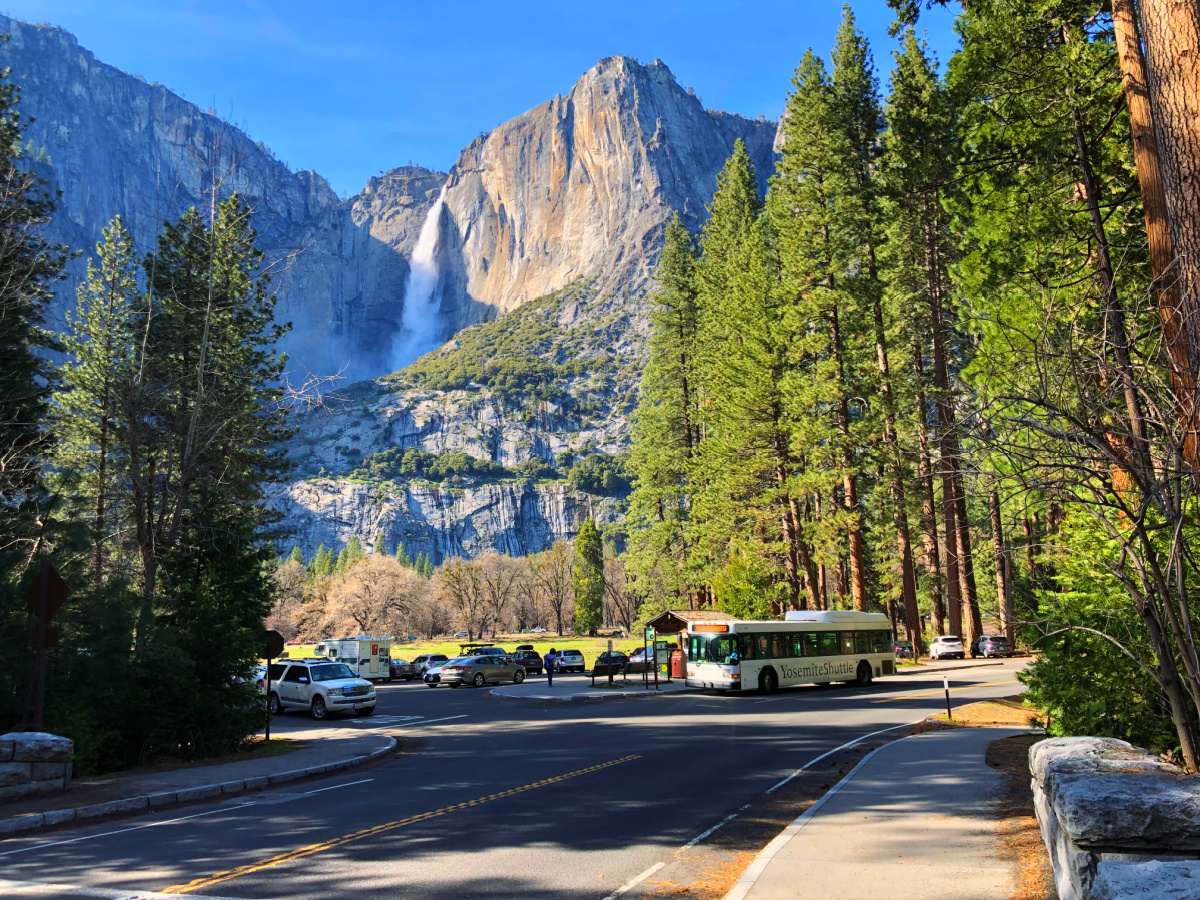
The free Yosemite Valley shuttle is another big advantage. It connects many of the most popular areas, so you can plan your walking around convenient shuttle stops rather than moving your car every time you want to explore somewhere new.
I would actually encourage you to leave some time in your itinerary for walking around the valley without a specific destination. Yosemite is one of those places where you can spend an hour doing absolutely nothing except looking at the scenery and still feel like it was an hour well spent.
My tip: Don’t confuse the full Valley Loop Trail with the shorter paved walking paths around Yosemite Valley. If you want an easy stroll with a stroller or wheelchair, stick to the designated accessible routes rather than assuming the entire loop is paved.
5. Mirror Lake Trail
Distance: Approximately 2 miles round trip to Mirror Lake; 5 miles for the full loop Difficulty: Easy to moderate, depending on the route Accessibility: The paved road to Mirror Lake is accessible, although there is some elevation gain
Mirror Lake is one of the Yosemite hikes I haven’t personally done yet, but I would absolutely put it on the list if you’re visiting in the spring or early summer.
The lake is located at the eastern end of Yosemite Valley, directly beneath Half Dome. On a calm day, the surrounding granite cliffs reflect in the water, which is where Mirror Lake gets its name. And if you’ve ever seen photographs of Half Dome reflected in the lake, you can understand why this is such a popular place to visit.
When Is the Best Time to Visit Mirror Lake?
There is one catch, though. Mirror Lake is seasonal.
During the spring snowmelt, there’s usually plenty of water. By late summer and fall, however, the lake can shrink considerably, sometimes leaving behind little more than a sandy area where the water used to be.
So if you’re visiting Yosemite in October, don’t expect the same experience you would have in May.
The easiest way to visit is to follow the paved road from the Mirror Lake trailhead. It’s approximately one mile each way, with a gradual uphill climb on the way to the lake. This is a good option for families who want to see something different without taking on a strenuous hike.
You can also walk the longer five-mile loop around Mirror Lake and Tenaya Creek. That route includes unpaved sections and takes considerably more time, so I would stick with the shorter walk if you’re looking for an easy afternoon.
Mirror Lake is accessible from the eastern end of Yosemite Valley, near shuttle stop 17. Keep in mind that you’ll need to walk from the shuttle stop to the trailhead, so your total walking distance may be a little longer than the advertised two miles.
My tip: If you’re visiting Yosemite in the spring, Mirror Lake is worth considering for the reflections alone. In the fall, when the water level is often much lower, I would probably choose one of the other valley walks unless you specifically want to explore this part of the park.
6. Happy Isles Nature Walk
Distance: Short walks, generally less than half a mile depending on the route Difficulty: Easy Accessibility: Some paved paths and bridges; conditions vary by section
Happy Isles is another place I haven’t visited personally, but it’s a good option to consider if you’re traveling with younger children or want a short nature walk near the Merced River.
The area is located at the eastern end of Yosemite Valley, where the Merced River divides into channels around several small islands. There are bridges, wooded paths, and places where you can stop to watch the water rushing over the rocks.
It’s a different experience from walking through Cook’s Meadow or standing beneath Yosemite Falls. Here, the river is the main attraction.
And in the spring, that river can be moving!
Yosemite’s waterfalls get most of the attention, but the Merced River is pretty impressive in its own right, particularly when the snow is melting in the mountains.
The walking around Happy Isles is relatively short, and you don’t have to commit to a long hike to enjoy the area. It’s also near the beginning of the Mist Trail, which leads toward Vernal Fall and Nevada Fall.
That’s worth knowing because the Mist Trail is considerably more challenging than the little nature walks around Happy Isles. If you’re planning to hike to the Vernal Fall Footbridge, which we’ll cover later, this is the general area where you’ll begin.
If you’re visiting with kids, make sure they stay on the designated paths and bridges. The river can be extremely dangerous during peak runoff, even when the water looks inviting.
My tip: Consider combining Happy Isles with Mirror Lake. Both are located toward the eastern end of Yosemite Valley, so you can explore this part of the park without spending the day driving between trailheads.
Easy Hikes in Mariposa Grove of Giant Sequoias
7. Mariposa Grove: Big Trees Loop and Grizzly Giant Loop
Distance: 0.3 mile for Big Trees Loop; approximately 2 miles for Grizzly Giant Loop Difficulty: Easy for Big Trees Loop; moderate for Grizzly Giant Loop Accessibility: Big Trees Loop is accessible under suitable conditions; Grizzly Giant Loop is not fully wheelchair accessible
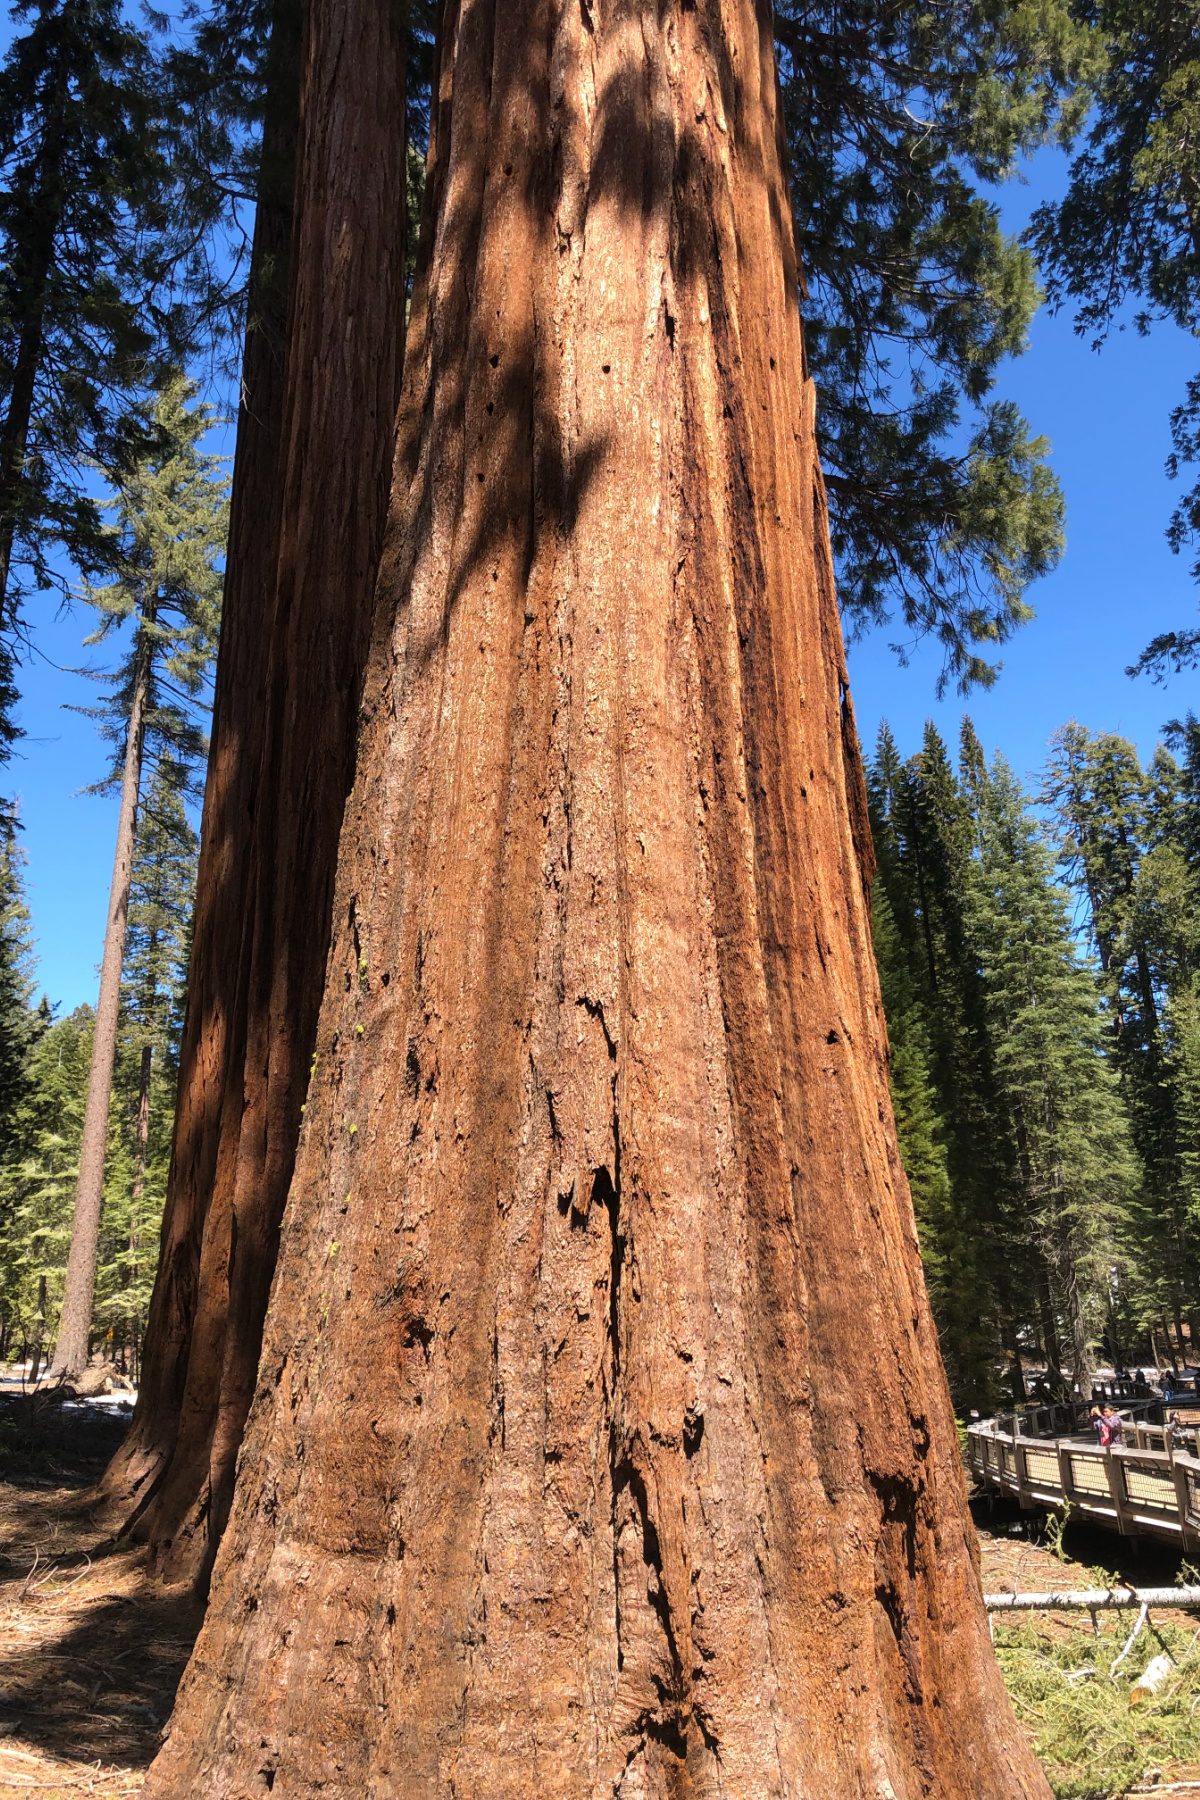
I have to tell you, Mariposa Grove is one of my favorite places in Yosemite National Park. And I think it’s a shame that so many visitors spend their entire vacation in Yosemite Valley without making the trip down to see the giant sequoias.
Because seriously, it’s like getting two national parks for the price of one!
In Yosemite Valley, you have El Capitan, Half Dome, gorgeous meadows, and waterfalls tumbling down enormous granite cliffs. Then you drive south to Mariposa Grove, and suddenly you’re surrounded by giant sequoias. It feels almost like you’ve stepped into Sequoia National Park, except you’re still in Yosemite.
Exploring the Giant Sequoias
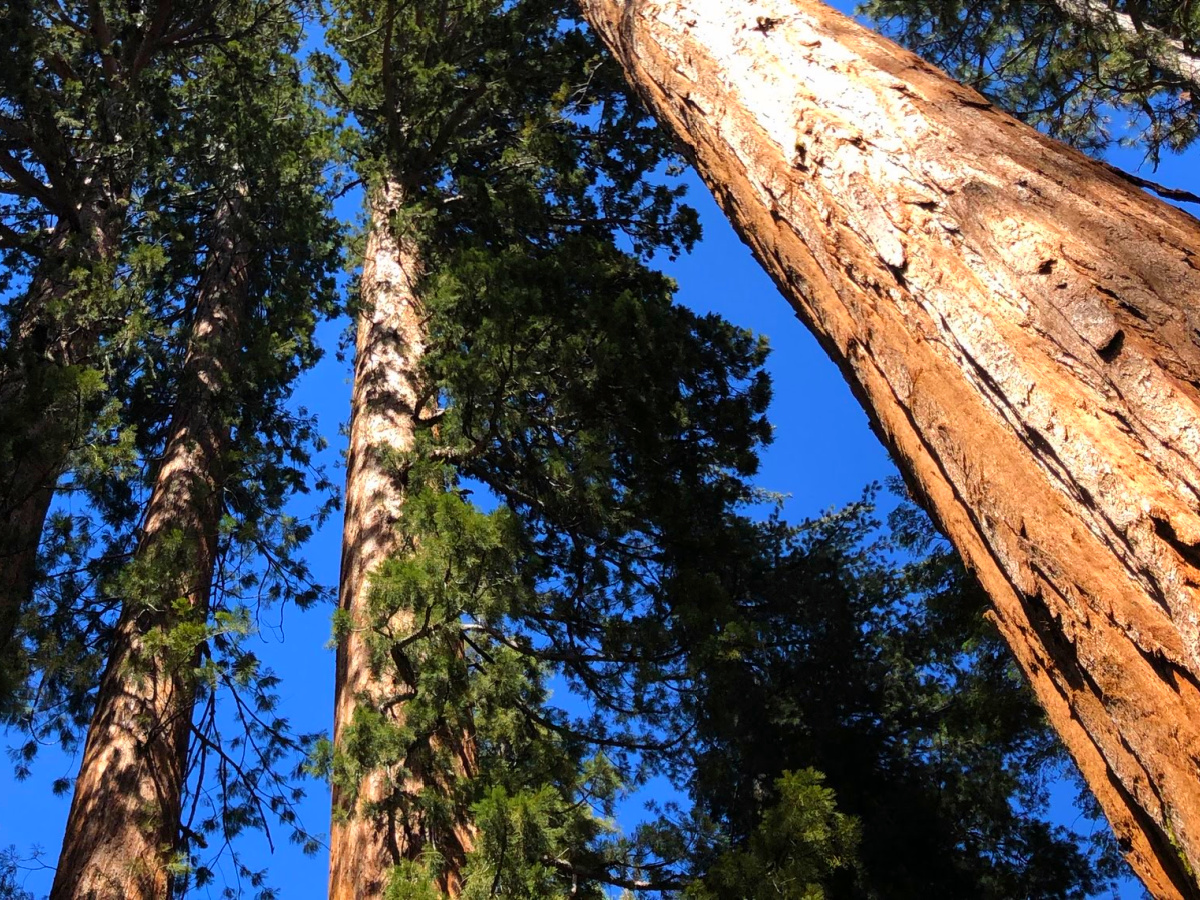
We visited Mariposa Grove in April 2019, and I was surprised by how much snow was still on the ground. The weather down in Yosemite Valley had been lovely, but Mariposa Grove is at a higher elevation, and spring takes a little longer to arrive.
Walking among those enormous trees with snow still scattered around the forest was pretty darn beautiful.
And if you’ve never stood next to a giant sequoia, photographs really don’t do them justice. The trunks are massive. Even when you try to get the entire tree into your camera frame, you usually end up cutting off the top. LOL.
There are several trails in Mariposa Grove, but I would concentrate on two if you’re looking for an easier experience.
Big Trees Loop
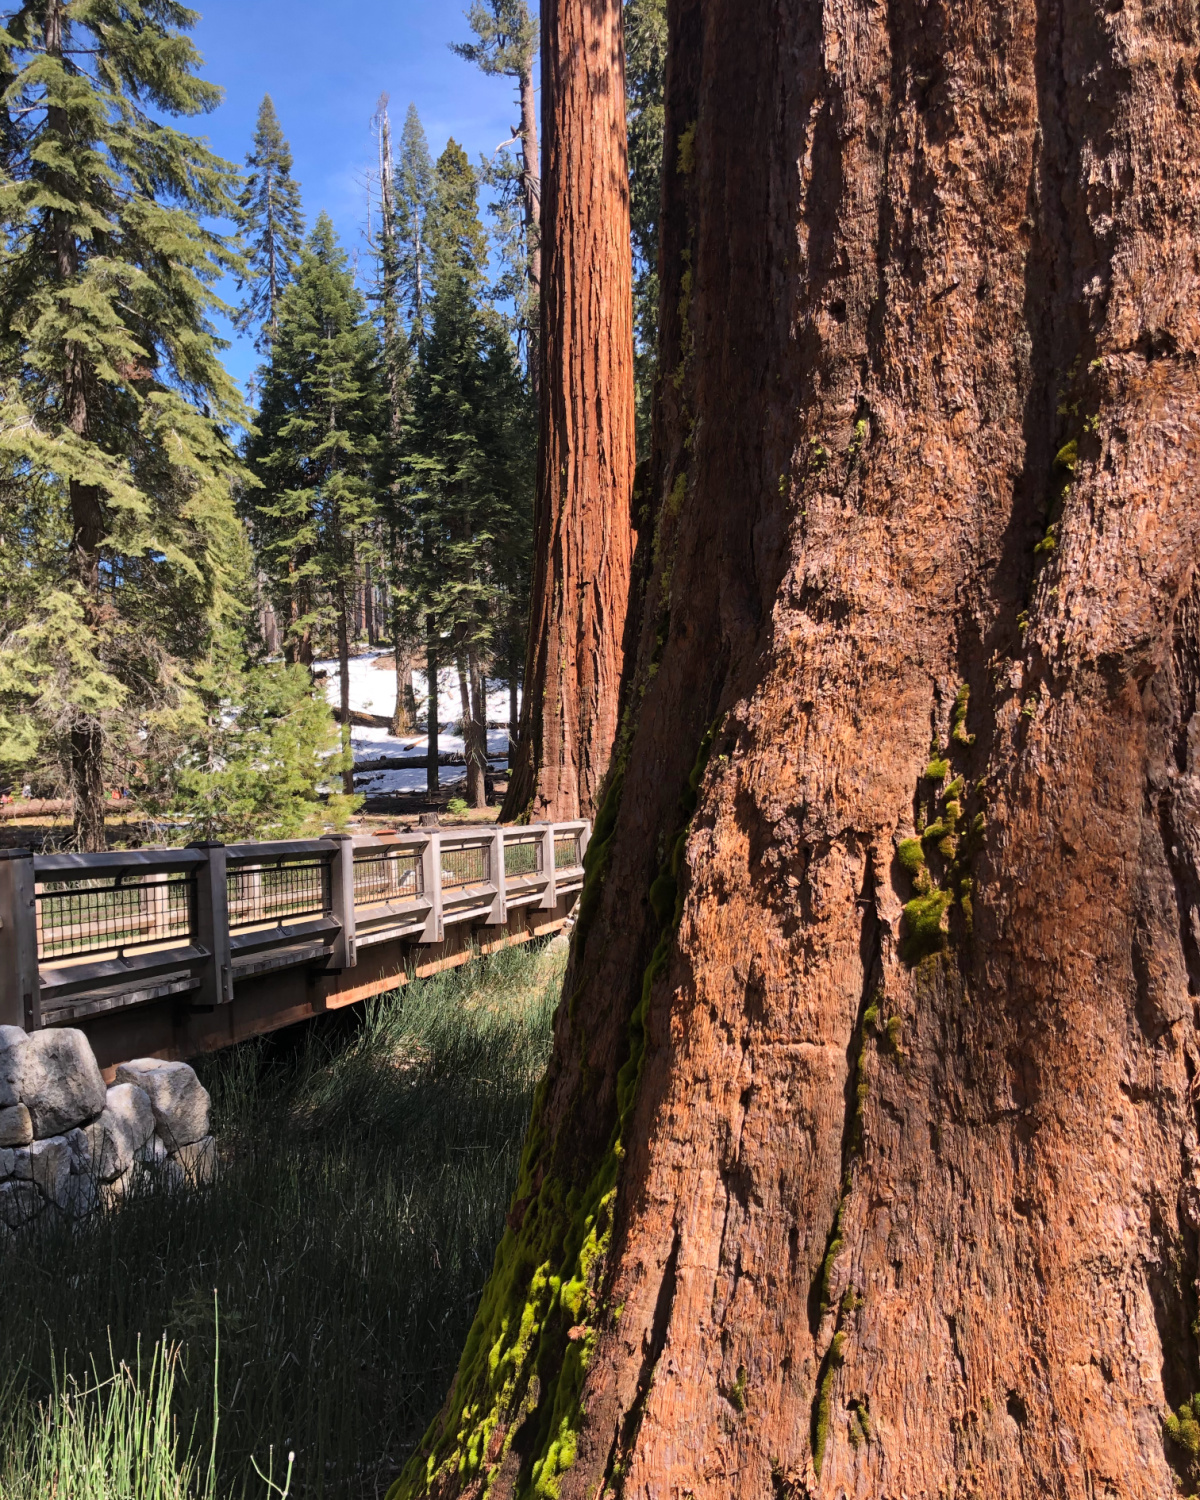
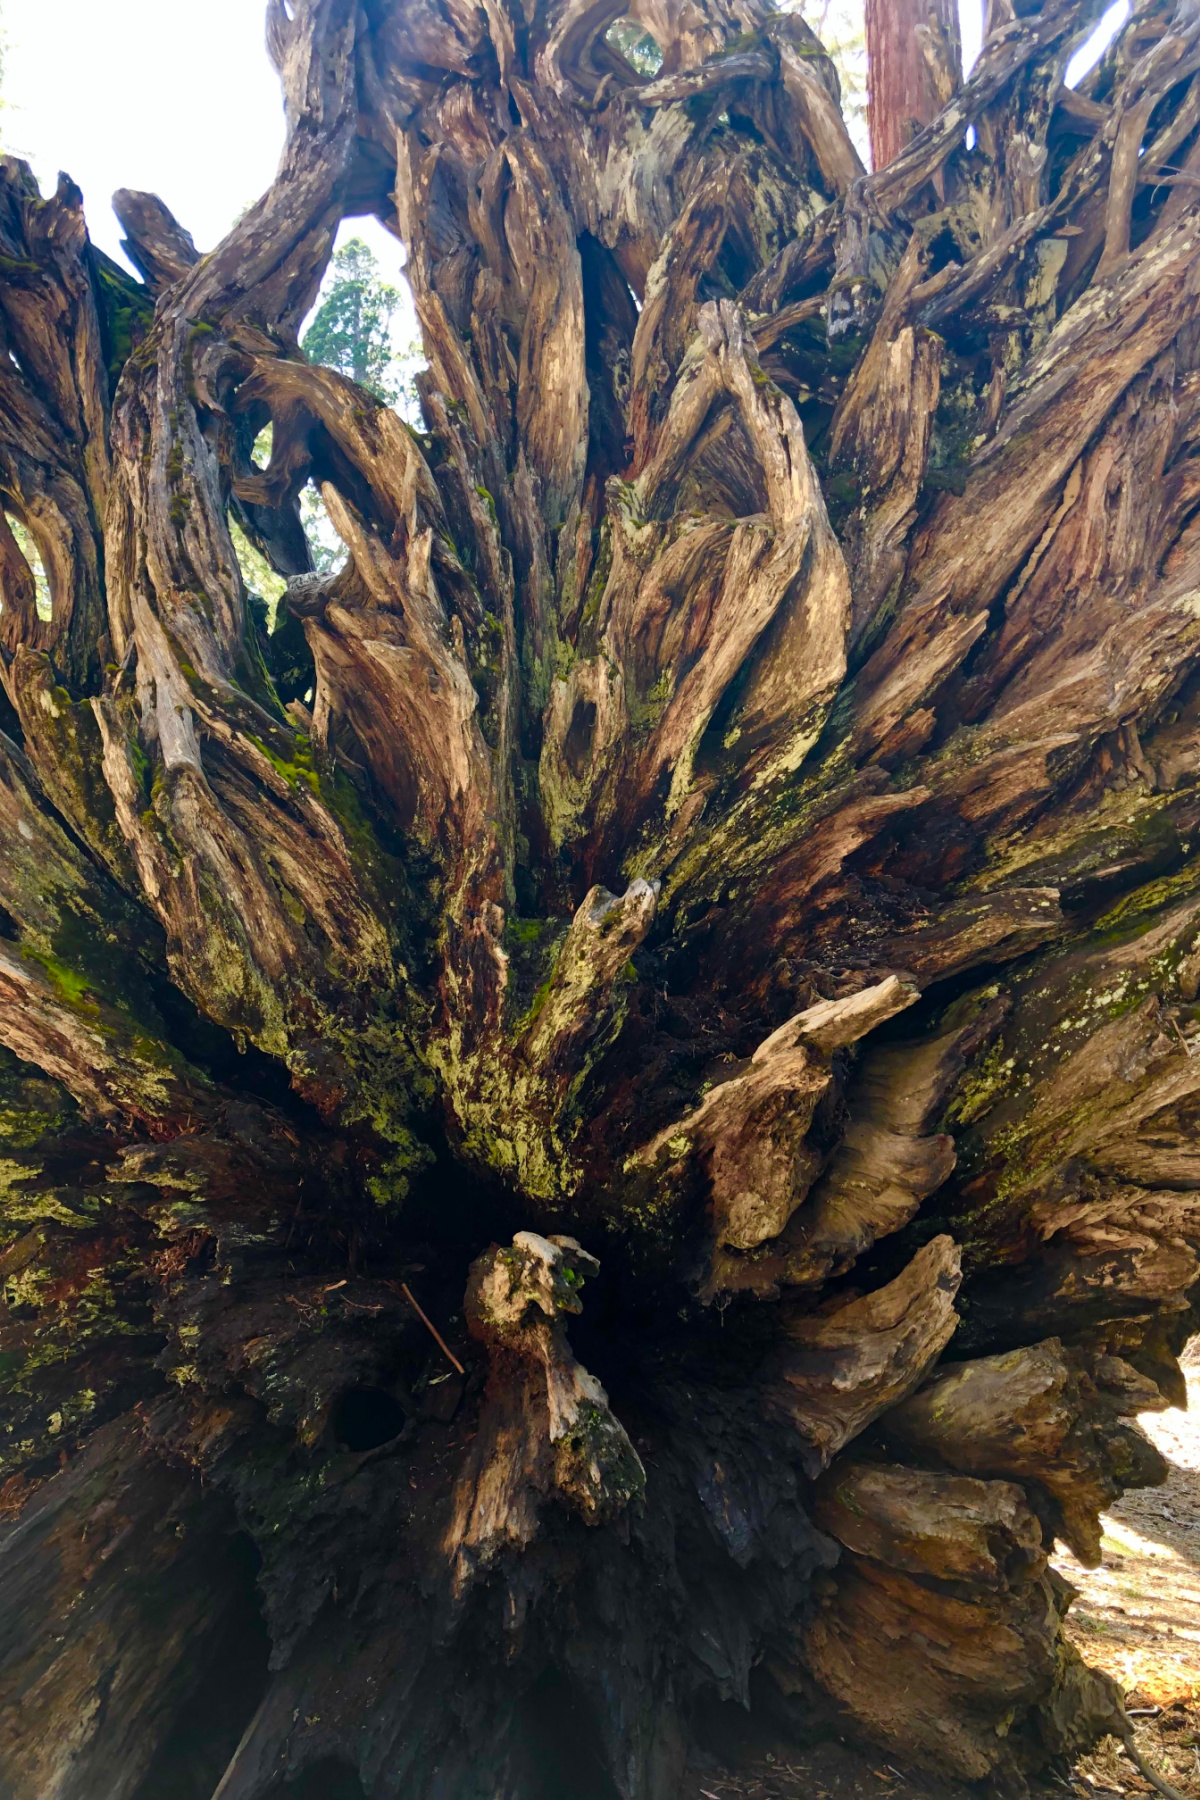
The Big Trees Loop is the easiest option, and it’s only about 0.3 mile long. It starts near the Mariposa Grove Arrival Area and takes you through a beautiful section of the grove, including the Fallen Monarch, an enormous sequoia that has been lying on the forest floor for generations.
This is a good introduction to the giant sequoias if you have younger children, are traveling with someone who has mobility limitations, or simply don’t want to spend several hours hiking.
The trail is designed to be accessible, although snow and ice can make conditions difficult during the colder months.
And honestly, you don’t have to walk very far into Mariposa Grove before the trees start making an impression.
Grizzly Giant Loop
If you’re comfortable walking a little farther and tackling some uphill sections, the Grizzly Giant Loop is approximately two miles round trip with about 300 feet of elevation gain.
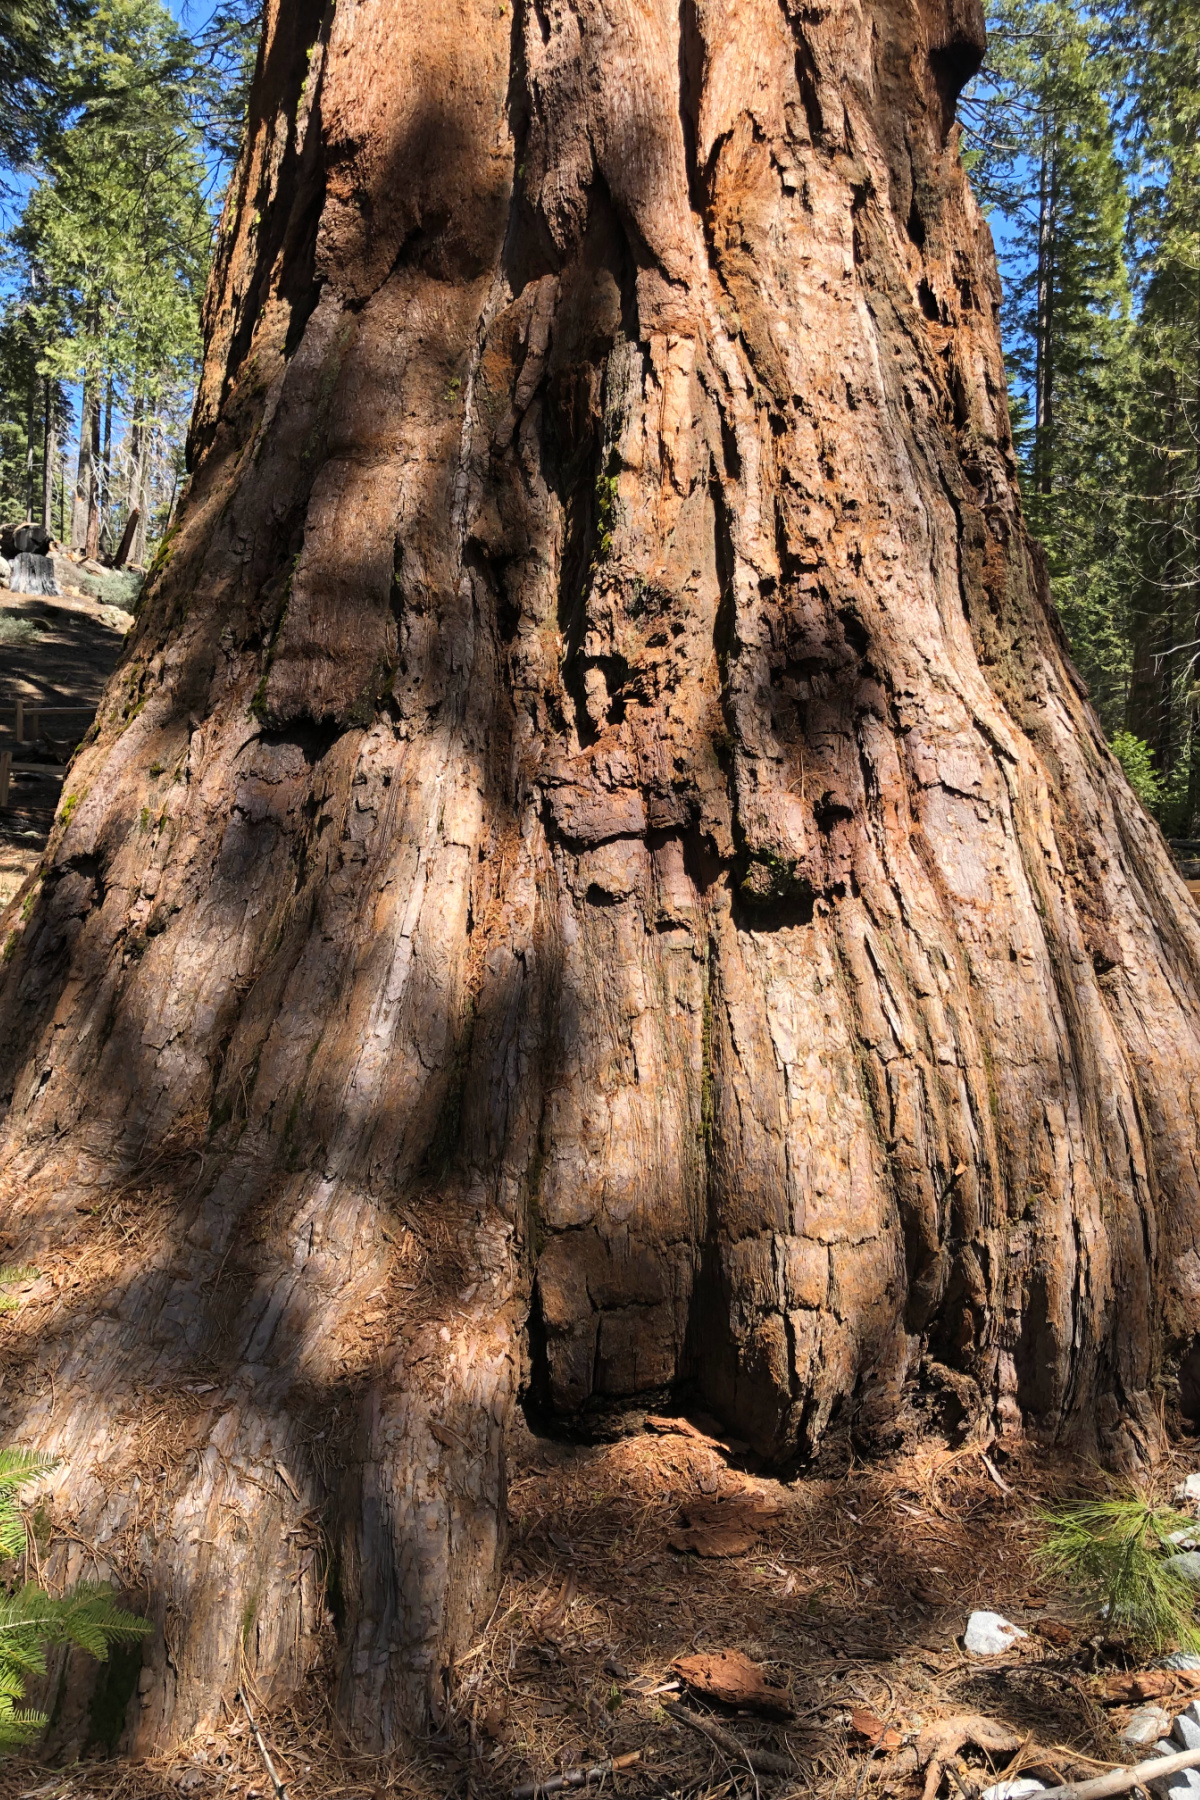
This trail takes you to the Grizzly Giant, one of the most famous trees in Yosemite, as well as the California Tunnel Tree.
The Grizzly Giant is estimated to be roughly 3,000 years old. Three thousand years! That’s one of those facts that’s difficult to wrap your head around when you’re standing in front of a living tree.
Because of the hills, I would classify this as an easy-to-moderate hike rather than a completely effortless stroll. If you have significant mobility limitations, the Big Trees Loop is the better choice.
Getting to Mariposa Grove
Mariposa Grove is near Yosemite’s South Entrance, approximately an hour’s drive from Yosemite Valley under normal conditions. You’ll want to plan at least part of a day for this excursion, especially if you’re staying in the valley.
There’s a large parking area at the Mariposa Grove Welcome Plaza, along with restrooms and visitor information.
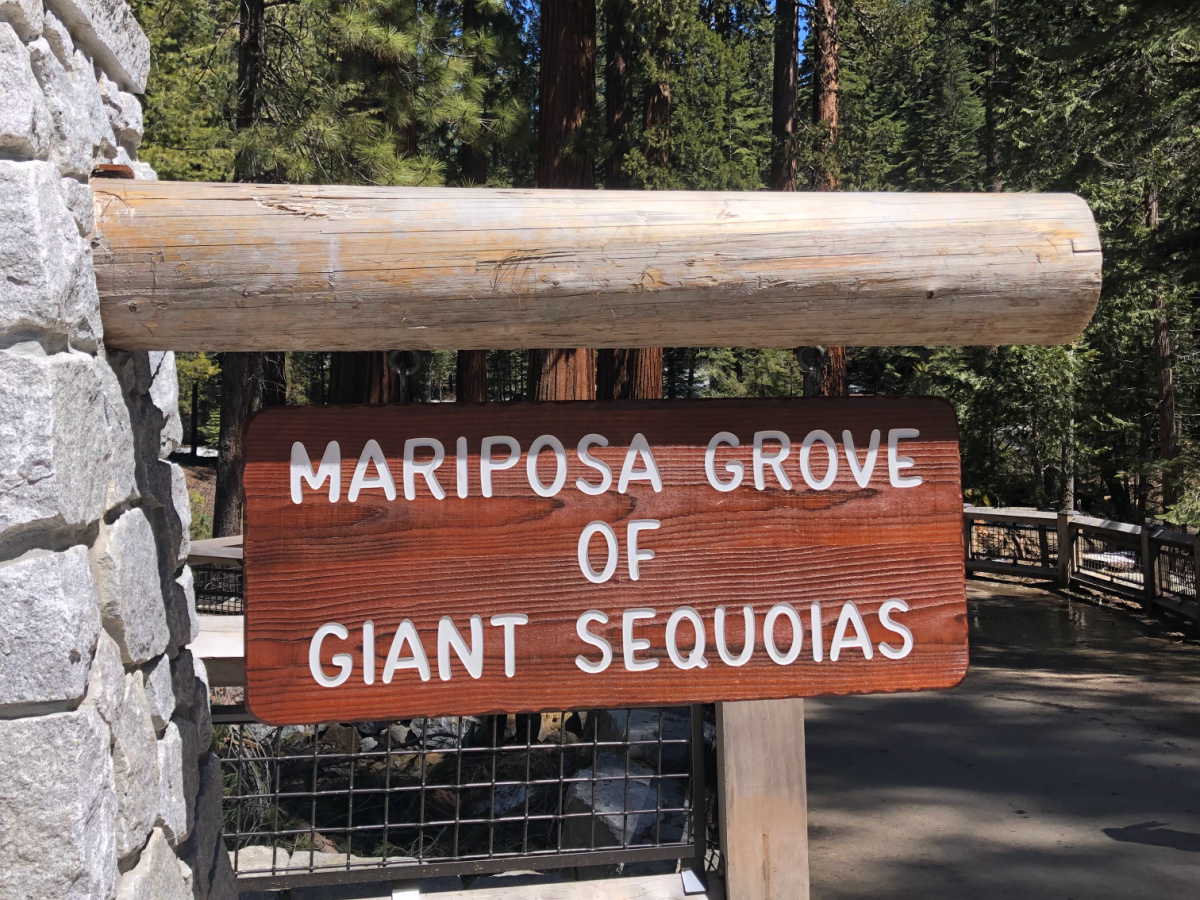
One important thing to understand is that parking at the welcome plaza doesn’t necessarily mean you’re right at the hiking trails.
During the normal operating season, visitors take a free shuttle from the welcome plaza to the Mariposa Grove Arrival Area, where the main trails begin. This is a separate shuttle system from the one that operates in Yosemite Valley.
When the shuttle isn’t running, visitors may need to walk approximately two miles each way just to reach the grove. That’s an additional four miles before you’ve even started exploring the sequoias, so definitely check the shuttle schedule before your visit.
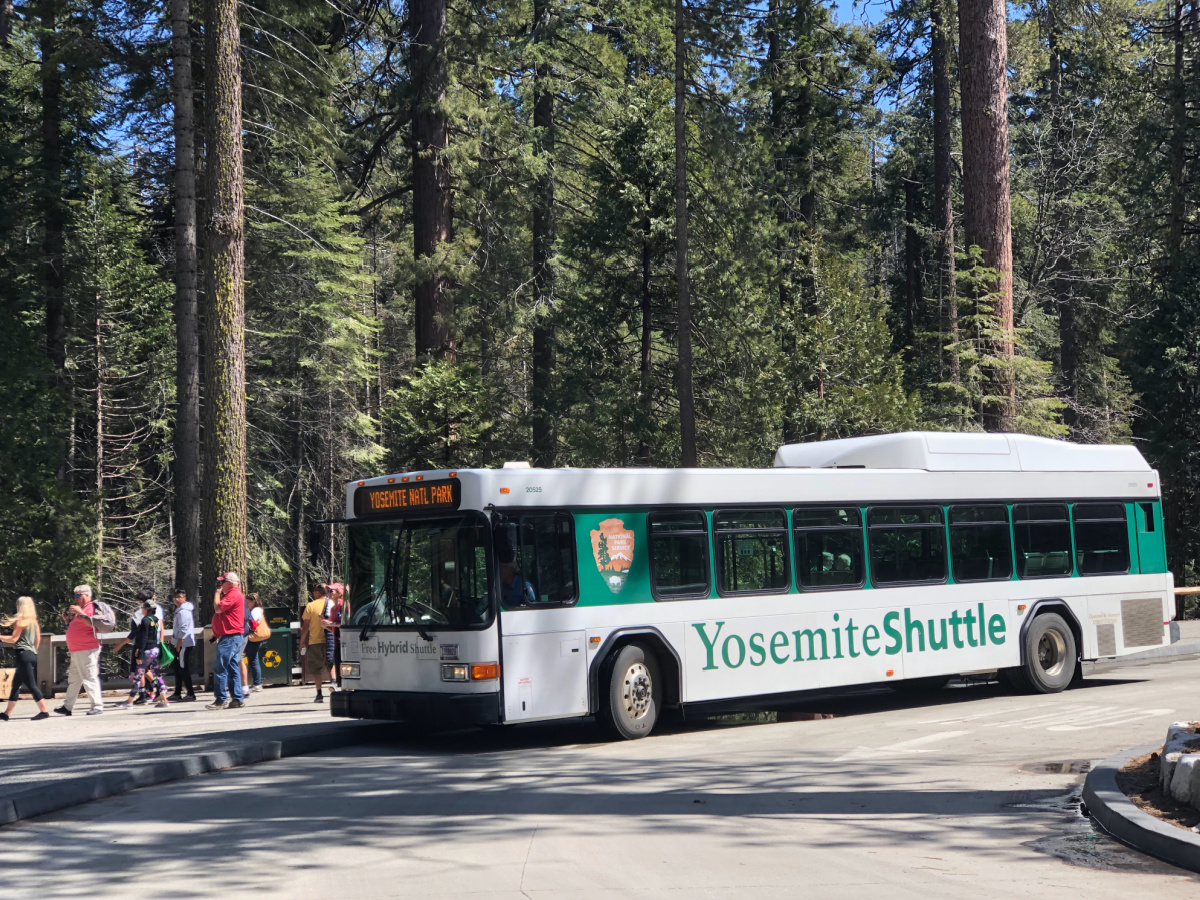
This is especially important in April and May, when snow can still affect access.
One other suggestion: If you’re driving back to Yosemite Valley afterward, stop at Tunnel View.
You’ll be coming back toward the valley from the south, and it’s a convenient opportunity to enjoy that famous panorama again. I love seeing Tunnel View at different times of day because the lighting changes so much. You might get a completely different view from the one you saw earlier in your trip.
My tip: Don’t skip Mariposa Grove just because it’s farther away from Yosemite Valley. It’s one of the most memorable places in the park, and the giant sequoias are worth the drive. Just make sure you understand the shuttle situation before you go, particularly during the spring.
Easy Hikes Along Glacier Point Road
8. Glacier Point Overlook Walk
Distance: Approximately 0.5 mile round trip Difficulty: Easy Accessibility: Paved paths with some slopes; accessible viewing areas
If you want to see Yosemite Valley from above without hiking nearly five miles uphill, Glacier Point is the place to go.
And believe me, I know exactly how much work it takes to get up there on foot. LOL.
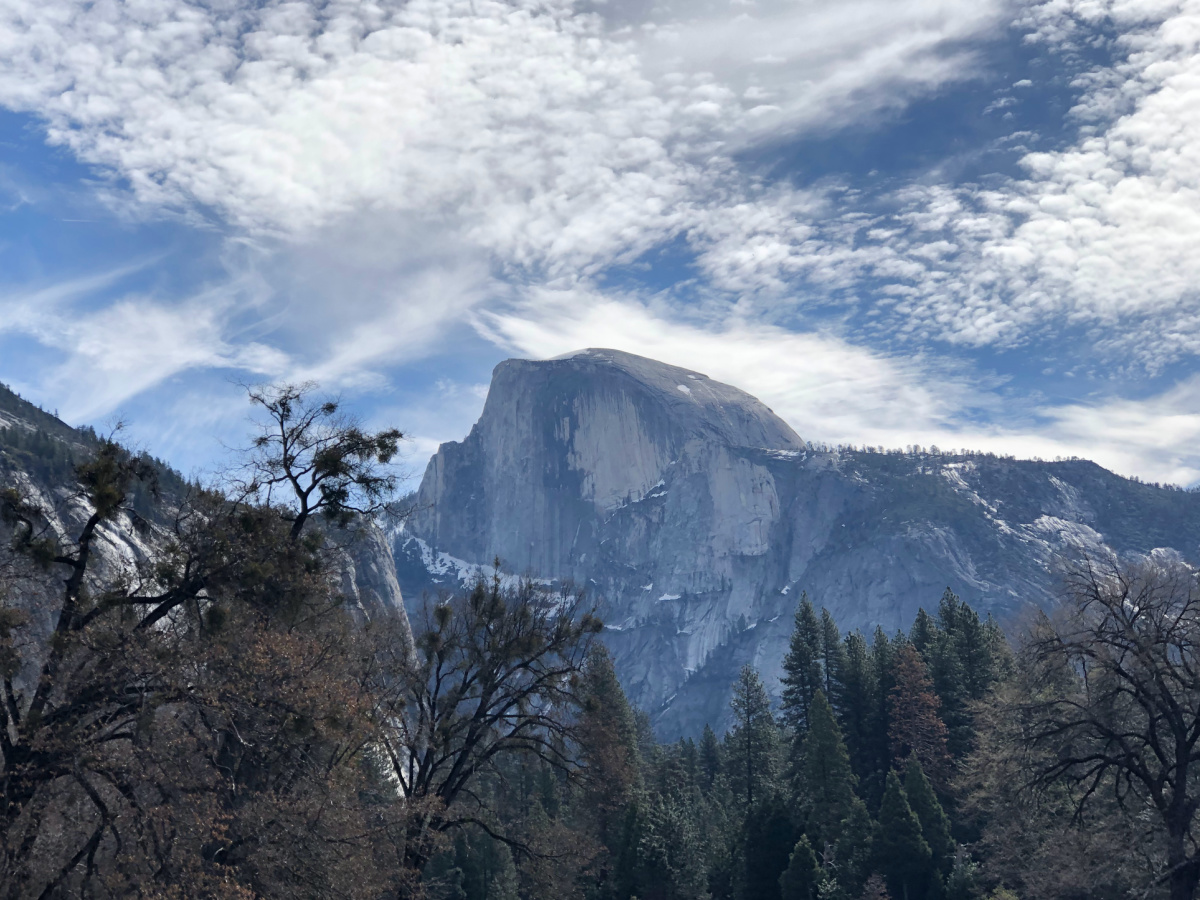
Years ago, I hiked the Four Mile Trail from Yosemite Valley to Glacier Point. Despite its name, the hike is actually closer to 4.8 miles one way, with about 3,200 feet of elevation gain. I was younger, in much better hiking shape, and absolutely loved the challenge.
These days? I’d happily drive to Glacier Point and save my knees.
Getting to Glacier Point Without Hiking Uphill
Fortunately, you can do exactly that when Glacier Point Road is open. From the parking area, it’s a relatively short walk to some of the most spectacular overlooks in Yosemite National Park.
And the views are incredible.
You’re standing approximately 3,200 feet above Yosemite Valley, looking out toward Half Dome, Yosemite Falls, and the mountains stretching into the distance. You can also see Nevada Fall and Vernal Fall from portions of the overlook area.
It’s an entirely different perspective from what you see when you’re walking around the valley floor.
The main walking paths are paved, although there are some slopes. Visitors using wheelchairs or strollers can access designated viewing areas, so you don’t have to tackle a difficult hike to enjoy the scenery.
One important thing to remember is that Glacier Point Road is seasonal. It typically opens sometime in late spring or early summer, depending on snow conditions, and closes again when winter weather arrives.
During our April 2019 trip, the road wasn’t open, which is something you’ll want to keep in mind if you’re planning a spring vacation.
Also, Glacier Point isn’t particularly close to the other easy hikes in Yosemite Valley. Even though you’re looking directly down into the valley, driving there takes considerably longer than you might expect. Plan on roughly an hour from Yosemite Valley, depending on traffic and road conditions.
My tip: If Glacier Point Road is open during your visit, make time for this overlook. You get many of the same spectacular views that people work incredibly hard to reach on the Four Mile Trail, without the exhausting climb.
Easy Hikes Along Tioga Road and in Tuolumne Meadows
If you’ve only visited Yosemite Valley, you might be surprised by how different the scenery looks along Tioga Road.
Instead of towering valley walls and waterfalls, you’ll find alpine lakes, enormous granite formations, open meadows, and mountain scenery that feels completely different from the lower elevations of the park.
I haven’t explored these particular trails yet, largely because Tioga Road wasn’t open during our April 2019 visit. But I wanted to include them because they’re excellent options for visitors traveling to Yosemite in the summer or early fall.
Just remember that Tioga Road is seasonal. It typically opens sometime between late May and July, depending on snow conditions, and closes again in the fall or early winter.
If you’re visiting Yosemite in April, you should generally plan on these hikes being inaccessible by car.
9. Olmsted Point Trail
Distance: Approximately 0.5 mile round trip Difficulty: Easy, with some uneven granite surfaces Accessibility: Accessible views near the parking area; the trail itself has uneven terrain
Olmsted Point is one of those places where you can enjoy a pretty spectacular view without putting in much effort.
Located along Tioga Road, Olmsted Point offers a completely different perspective of Half Dome from the one you’re probably used to seeing in Yosemite Valley.
From this side of the park, you can look across the granite landscape toward the back of Half Dome and down into Tenaya Canyon.
And unlike the famous valley viewpoints, the surrounding landscape is much more open. You’ll see broad stretches of exposed granite, scattered trees, and enormous boulders that were left behind by glaciers thousands of years ago.
The walk from the parking area to the main overlook is short, although parts of the route cross uneven granite. This isn’t the same kind of smooth, paved walking experience you’ll find at Lower Yosemite Fall.
If you’re traveling with someone who has mobility limitations, there are still impressive views from the parking area and accessible viewing locations without needing to complete the trail.
Another thing worth mentioning is the elevation. Olmsted Point sits at approximately 8,400 feet above sea level, so even a short walk might feel a little more tiring than you’d expect if you’re not accustomed to higher elevations.
Take your time, drink some water, and enjoy the scenery.
My tip: Olmsted Point is an easy stop to add while driving Tioga Road. You don’t need to budget an entire morning for it, but I would definitely allow time to get out of the car and appreciate the views.
10. Soda Springs and Parsons Memorial Lodge Trail
Distance: Approximately 1.5 miles round trip Difficulty: Easy Accessibility: Mostly gentle terrain, but portions are unpaved and uneven
If you’re looking for an easy hike in Tuolumne Meadows, the walk to Soda Springs and Parsons Memorial Lodge is a great place to start.
Tuolumne Meadows sits at approximately 8,600 feet in elevation, and the landscape is quite different from Yosemite Valley. Instead of walking beneath enormous cliffs, you’ll be surrounded by wide-open alpine meadows, mountain peaks, and the Tuolumne River.
The trail begins near the Lembert Dome parking area and crosses the meadow toward Soda Springs, where naturally carbonated mineral water bubbles up from the ground. It’s not a geyser or anything particularly dramatic, but it’s an interesting geological feature.
Nearby is Parsons Memorial Lodge, a historic stone building dating back to 1915. It’s associated with Yosemite’s early conservation history and is worth a stop if you’re interested in the park’s past.
The walking is relatively gentle, although the trail isn’t consistently paved. And at this elevation, even an easy walk can feel a little more strenuous than you might expect.
My tip: If you’re driving Tioga Road, allow some extra time to explore Tuolumne Meadows rather than simply passing through. It’s a wonderful opportunity to experience Yosemite’s high country without tackling a major hike.
11. Tenaya Lake Shore Walk
Distance: Flexible; short shoreline walks or longer walks of approximately 2–3 miles Difficulty: Easy on shorter sections Accessibility: Some accessible lakeside areas; shoreline conditions vary
Tenaya Lake is another place I’d love to explore on a future summer visit to Yosemite.
Located along Tioga Road at approximately 8,150 feet, the lake is surrounded by enormous granite formations and beautiful mountain scenery. And unlike some of Yosemite’s more famous destinations, you don’t have to hike several miles just to reach the water.
There are parking areas near the lake, and you can enjoy the scenery by exploring short sections of the shoreline.
Tenaya Lake stretches almost a mile from end to end, with sandy areas, granite rocks, and gorgeous views across the water. If you’re looking for an easy outing, I’d recommend choosing a section of shoreline and walking as far as you’re comfortable rather than trying to circle the entire lake.
Some areas are easier to access than others, and the shoreline isn’t one continuous paved path. Visitors using wheelchairs or strollers should use designated accessible areas.
Tenaya Lake is also a popular place for picnicking and relaxing during the summer. Just remember that it’s an alpine lake, so the water can be extremely cold!
My tip: Bring a picnic lunch and enjoy the scenery before continuing along Tioga Road toward Tuolumne Meadows. You don’t need to spend hours hiking to appreciate this beautiful part of Yosemite.
One More Hike Worth Considering: Vernal Fall Footbridge
12. Vernal Fall Footbridge via the Mist Trail
Distance: Approximately 1.6 miles round trip from the trailhead Difficulty: Moderate, with about 400 feet of elevation gain Accessibility: Paved for much of the route, but steep; not wheelchair accessible
I’ve hiked toward Vernal Fall twice. Once in the spring of 1998 and again in October 2002. And based on those two experiences, I have a pretty strong preference for spring.
The first time, Vernal Fall was absolutely roaring. There was water everywhere, and the Merced River was rushing through the canyon below the trail. I loved that hike!
Then I went back with David in October.
I remembered this enormous waterfall from four years earlier, so I was pretty excited to see it again. Except there was hardly any water coming over the edge.
Well, that was disappointing. LOL.
Of course, the amount of water flowing over Vernal Fall depends on the season and the year’s snowpack. But if you’re planning this hike specifically because you want to see an impressive waterfall, I would aim for April, May, or early June.
How Difficult Is the Hike to Vernal Fall Footbridge?
Now, technically, the hike to the Vernal Fall Footbridge isn’t an easy hike. It’s more of an easy-to-moderate challenge, depending on your fitness level.
The footbridge is about 0.8 mile uphill from the Mist Trail trailhead, and you’ll gain approximately 400 feet of elevation along the way. That’s a noticeable climb, especially if you’ve spent the rest of your Yosemite vacation wandering around relatively flat walking paths.
The trail follows the Merced River through a beautiful canyon before reaching the bridge, where you can look upstream toward Vernal Fall.
Getting there takes a little more effort than some of the other hikes on this list. You can take the Yosemite Valley shuttle to Happy Isles, but you’ll still have to walk from the shuttle stop to the trailhead. That additional distance isn’t included in the 1.6-mile round trip.
And although much of the route is paved, it’s definitely not wheelchair accessible.
If you’re feeling ambitious, you can continue beyond the footbridge toward the top of Vernal Fall. That’s where the Mist Trail gets considerably more difficult, with steep granite steps that can be wet and slippery.
I would save that section for a different day, particularly if you’re traveling with younger children or aren’t accustomed to hiking uphill.
Also, be extremely careful around the Merced River. The current can be dangerous during spring runoff, and the rocks near the water are often slippery.
My tip: I would treat the Vernal Fall Footbridge as a bonus hike rather than one of Yosemite’s truly easy trails. If you’re comfortable with a little uphill climbing, it’s a great way to experience a different part of the valley. And if you want to see Vernal Fall at its best, go in the spring!
Tips for Enjoying Yosemite’s Easy Hiking Trails
Use the Yosemite Valley Shuttle Whenever Possible
Parking in Yosemite Valley can be a headache, particularly during busy periods. Fortunately, the park has a free shuttle system that makes getting around considerably easier.
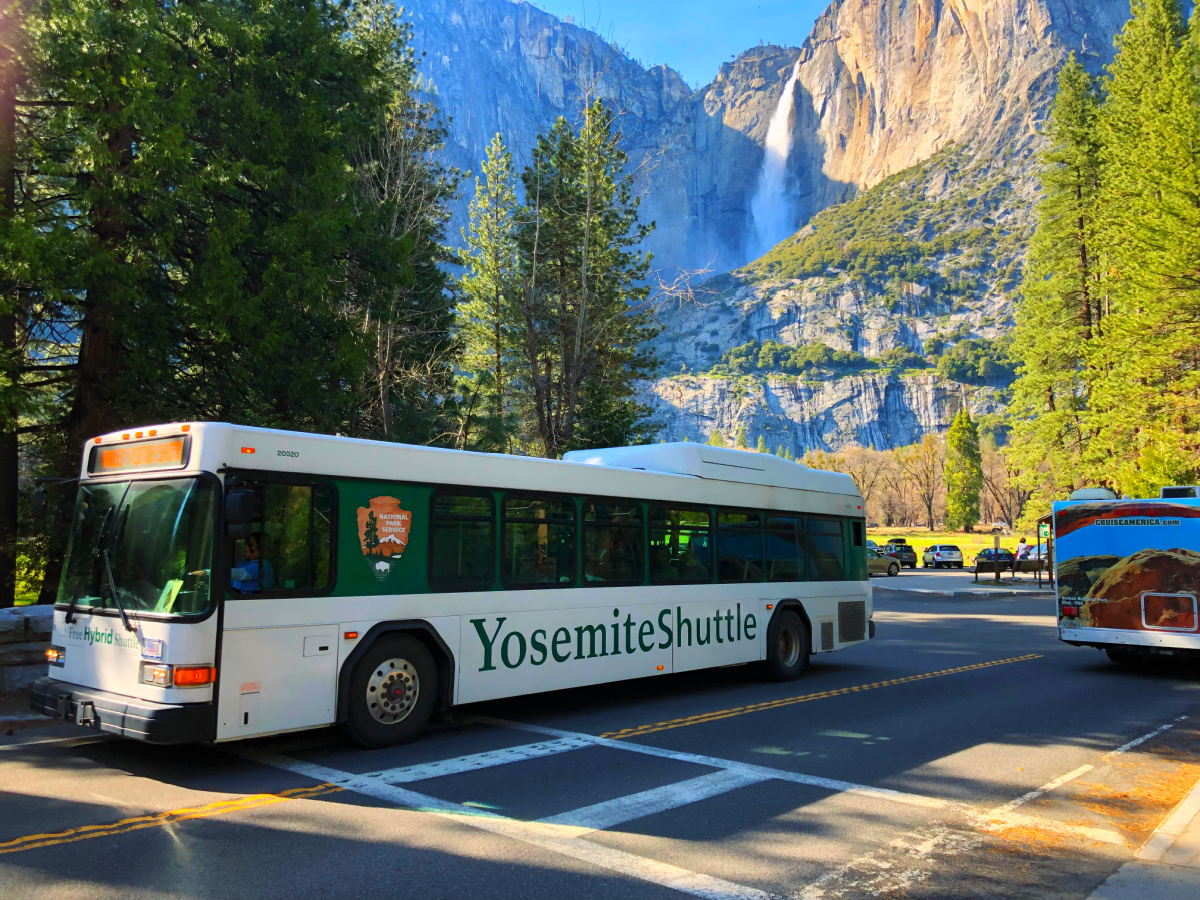
You can use the shuttle to reach many of the walking areas on this list, including Lower Yosemite Fall, Cook’s Meadow, Mirror Lake, and Happy Isles.
My suggestion is to find a parking spot and leave your car there while you explore the valley. You’ll spend less time driving around and more time actually enjoying Yosemite.
Just remember that the shuttle doesn’t go everywhere.
Bridalveil Fall isn’t served by the regular valley shuttle, and you’ll need to drive to Glacier Point and the Tioga Road attractions. Mariposa Grove also operates a separate seasonal shuttle from its welcome plaza.
Check the current shuttle routes before your trip, especially if you’re visiting outside the summer season.
Know the Difference Between Easy and Accessible
One of the best things about Yosemite is how many beautiful places you can visit without doing a strenuous hike.
Several of the valley’s walking paths are paved and relatively flat, which is wonderful for families with strollers and visitors with mobility limitations.
But an easy trail isn’t automatically wheelchair accessible.
For example, the Big Trees Loop in Mariposa Grove is designed to accommodate visitors with mobility limitations when conditions permit. The Grizzly Giant Loop, on the other hand, has enough elevation gain that it may not be appropriate for everyone.
And although the route to the Vernal Fall Footbridge is paved for much of the way, the uphill climb makes it considerably more challenging than a walk around Cook’s Meadow.
I would check the National Park Service’s accessibility information for any trail you’re considering, particularly if you’re traveling with someone who uses a wheelchair or another mobility device.
Don’t Underestimate Yosemite’s Spring Weather
I absolutely love Yosemite in the spring.
During our visits, the weather in Yosemite Valley has generally been wonderful for walking. Comfortable daytime temperatures, relatively low humidity, and cool evenings. And of course, the waterfalls are usually spectacular when the snowmelt gets going.
But spring in Yosemite can also be a little deceptive.
In April 2019, we were enjoying beautiful weather in Yosemite Valley, and then we drove to Mariposa Grove and found quite a bit of snow on the ground.
Same national park. Very different conditions.
That’s because Yosemite has an enormous range of elevations. You might be comfortable wearing a light jacket in the valley while higher sections of the park are still buried under snow.
Glacier Point Road and Tioga Road are often closed during the spring, sometimes well into May or June.
So if you’re visiting in April, I would concentrate on the Yosemite Valley hikes and check conditions carefully before planning anything at higher elevations.
Wear Good Shoes and Bring Water
You don’t necessarily need expensive hiking boots for Yosemite’s easier trails, but I would definitely wear comfortable shoes with decent traction.
Even the paved paths can be wet in places, especially near the waterfalls.
And you’ll probably end up walking farther than you planned.
You might start with a one-mile hike to Lower Yosemite Fall, decide to explore the nearby paths, and then walk over to another viewpoint because the scenery looks interesting.
Before you know it, you’ve been walking around Yosemite Valley for half the day.
Bring water, sunscreen, and a few snacks. If you’re visiting during the spring, I would also keep a lightweight rain jacket handy. Bridalveil Fall in particular can get you pretty wet when the waterfall is really flowing.
Leave Some Room in Your Itinerary for Wandering
I love planning national park vacations. Obviously. LOL.
But Yosemite is one of those places where I think it’s particularly important not to schedule every minute.
When we visited in April 2019, some of my favorite photographs came from places where we simply stopped because something caught our attention.
A beautiful stretch of the Merced River. A view of Half Dome through the trees. A meadow with Yosemite Falls in the background.
And there are so many walking paths around Yosemite Valley that you can spend hours exploring without ever setting foot on a difficult trail.
If you’re visiting with kids, I think this is especially important. Give them some time to explore, look at the enormous trees, and enjoy being outside without feeling like you’re racing to finish the next hike.
You can see an awful lot of Yosemite just by walking around and paying attention.
Final Thoughts on Easy Hiking in Yosemite
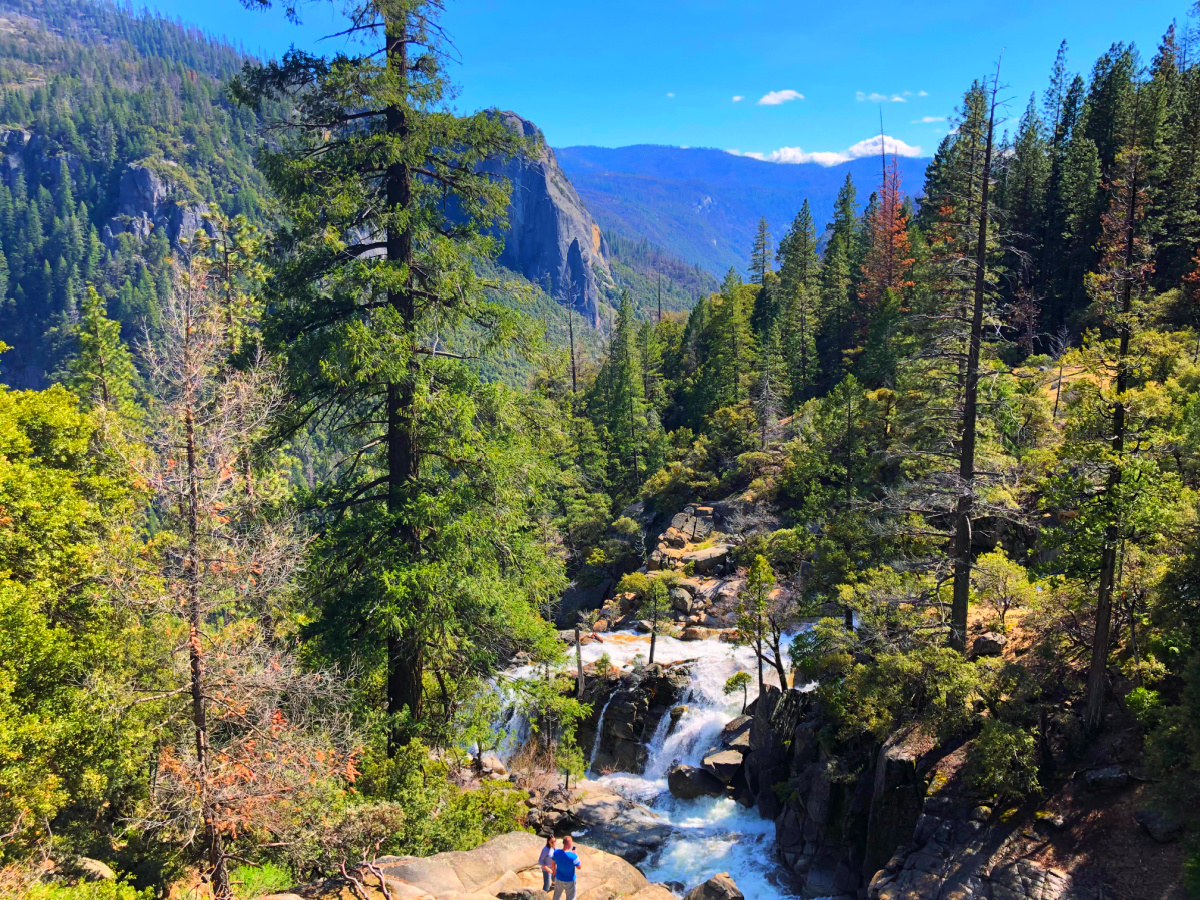
When I first visited Yosemite in 1998, I was much more interested in tackling the bigger hikes. I loved the challenge of climbing uphill, and I’m glad I got to experience places like Glacier Point and Vernal Fall that way.
But after three visits to Yosemite, I’ve come to appreciate just how much there is to enjoy without doing anything particularly strenuous.
Some of my favorite memories have nothing to do with completing a hike.
They’re from standing beneath Yosemite Falls in the spring, walking across Sentinel Bridge, photographing the Merced River, and wandering among the giant sequoias in Mariposa Grove.
If you’re visiting Yosemite for the first time, I would definitely prioritize Lower Yosemite Fall, Bridalveil Fall, and some time exploring the valley-floor walking paths.
And please try to make it to Mariposa Grove. The giant sequoias are absolutely worth the extra drive.
If you’re visiting when Glacier Point Road and Tioga Road are open, you have even more options for enjoying Yosemite without committing to a major hike.
As for me, I think my days of hiking nearly five miles straight uphill to Glacier Point are probably behind me.
And that’s perfectly fine.
I’ll happily take the shorter trails, enjoy the waterfalls, and spend a ridiculous amount of time taking pictures of Half Dome.
That’s a pretty wonderful Yosemite vacation, too.
Plan More of Your Yosemite National Park Vacation
If you’re planning a trip to Yosemite, I have a few more guides that can help you make the most of your visit.
- Visiting Yosemite National Park in April – What to expect from the weather, waterfalls, snow, and seasonal road closures during a spring visit.
- Best Waterfalls in Yosemite National Park (And How to See Them!) – A guide to Yosemite’s most beautiful waterfalls, including where to see them, when they’re flowing, and which ones are easiest to reach.
More National Park Adventures Without Hardcore Hiking
You don’t have to tackle strenuous trails to enjoy some of the most spectacular scenery in North America! If you enjoy exploring national parks at a more relaxed pace, check out these guides for more easy hikes, beautiful viewpoints, and incredible scenery.
- Best Easy Hikes in North Cascades National Park – Gorgeous mountain scenery, alpine lakes, and manageable hikes in one of Washington’s most underrated national parks.
- Canadian Rockies Without Hardcore Hiking – Discover incredible mountain scenery, turquoise lakes, and unforgettable viewpoints without committing to strenuous hikes.
- Best Easy Hikes in Mount Rainier National Park – Waterfalls, wildflower meadows, and spectacular views of Mount Rainier without taking on a major climb.
- Bryce Canyon in One Day: Best Viewpoints and Easy Hikes – A practical itinerary featuring Bryce Canyon’s spectacular overlooks and some shorter trails.
- Best Easy Hikes in Olympic National Park – Explore rainforests, waterfalls, lakes, and coastal scenery on some of Olympic’s most approachable trails.
- Best Easy Hikes in Zion National Park – Enjoy Zion’s towering sandstone cliffs and beautiful canyon scenery without hiking Angels Landing.