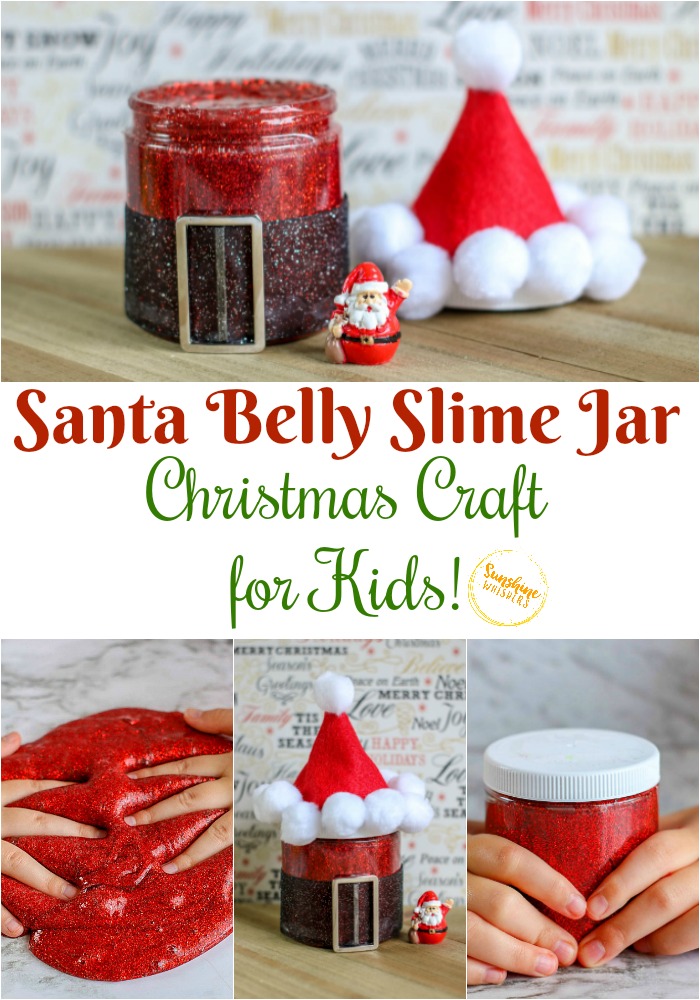
Santa Belly Slime Jar Christmas Craft For Kids
Santa Belly Slime Jar Christmas Craft For Kids
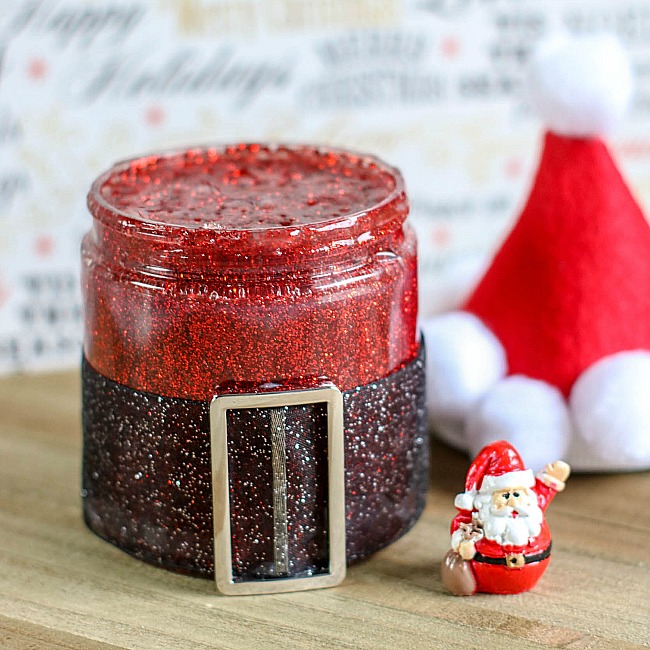
Your kids will love to either make or receive this super festive Santa belly slime jar Christmas craft and activity idea!
Oh, this Santa Belly Slime Jar is such a fun and festive idea for Christmas! Not only is the packaging super merry and bright, but– come on– it’s slime! Your kids will absolutely love either making this with you or receiving it under the Christmas tree this year.
Also, if you want a great idea for a gift your kids can make for their friends, this would be super fun!
What you will need:
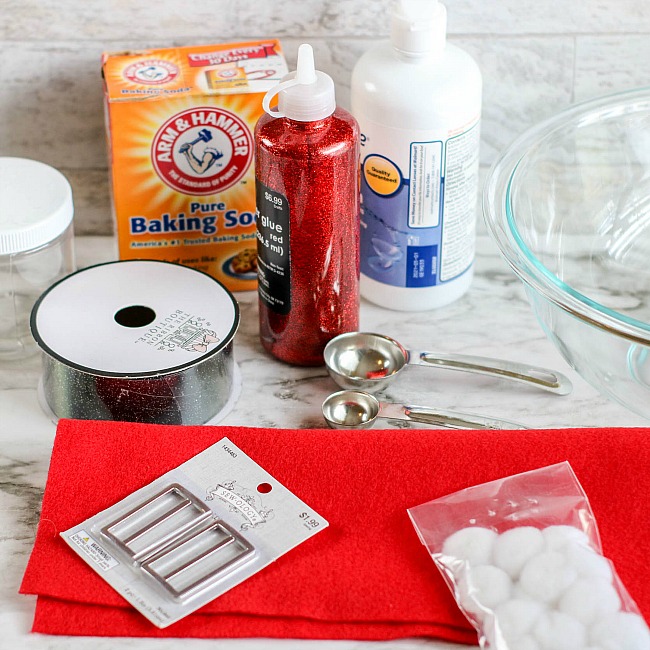
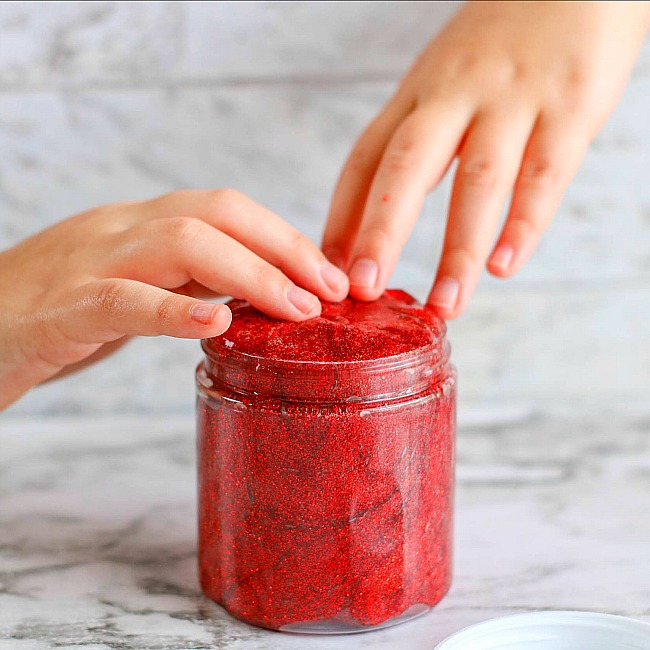
- 1 (8 ounce) plastic storage jar
- 1 (6 ounce) bottle Elmer’s Glue in red glitter
- About ¼ cup warm water
- ½ teaspoon baking soda
- 1½ tablespoon contact lens solution (containing boric acid)
For the jar, you will also need:
- 1 sheet red felt
- Large silver slide buckle
- Black ribbon (to fit buckle)
- White 1 inch pom poms
- Glue stick or hot glue
How To make The Slime:
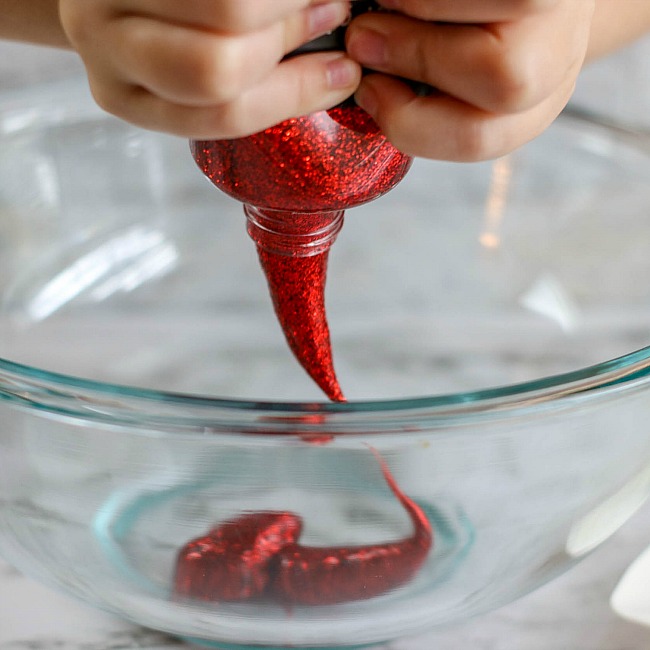
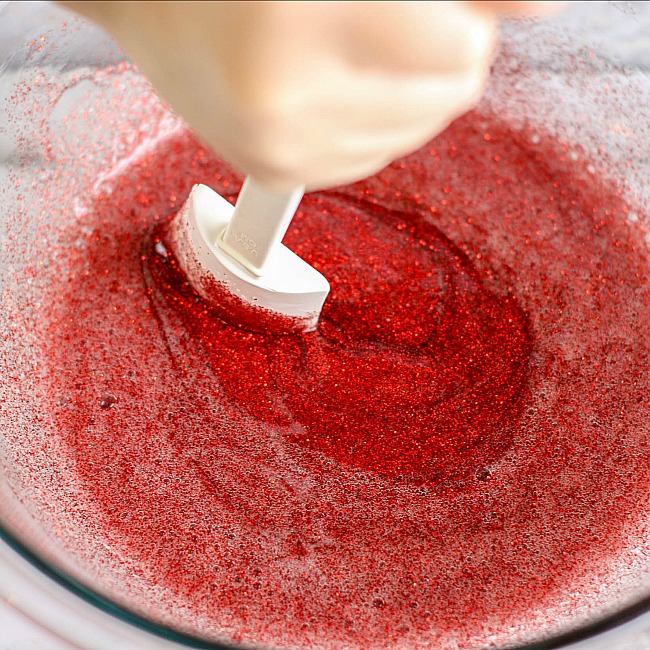
1. Empty the glue into a large bowl.
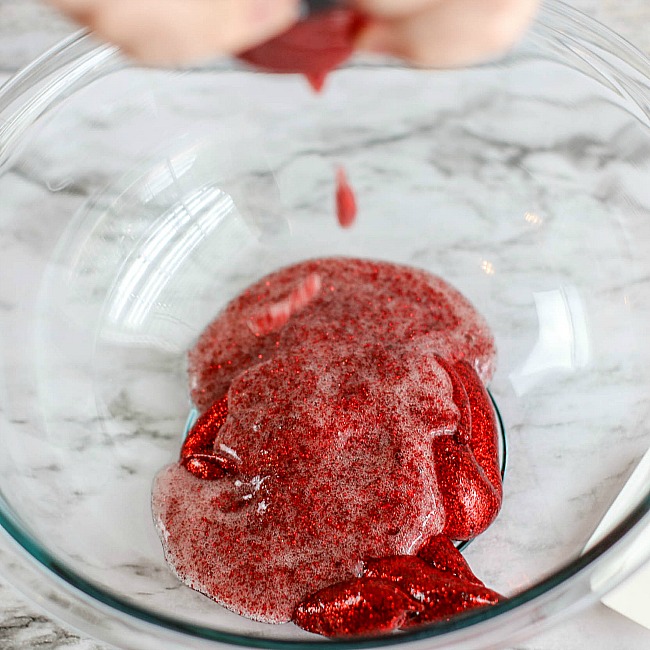
2. Fill the empty glue bottle about ⅓ full with warm water (about ¼ cup) and seal with the lid. Shake well to combine the remaining glue with the water. Pour into bowl with glue and stir to combine.
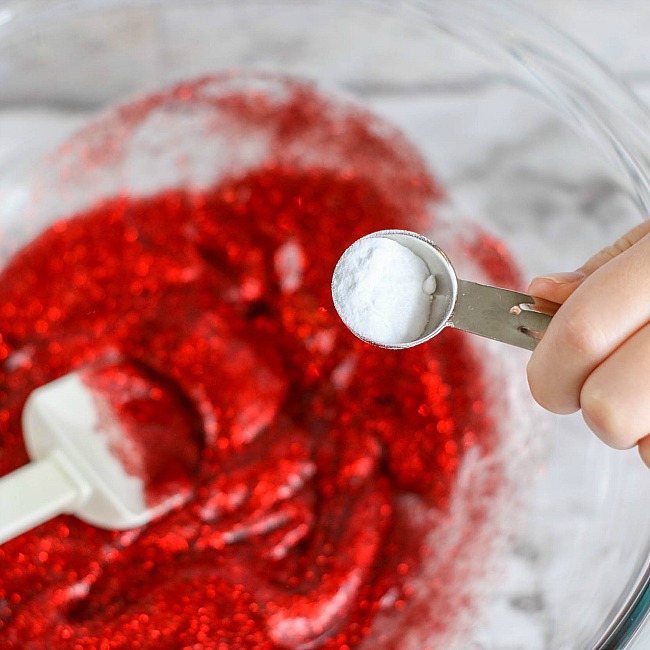
3. Add the baking soda to the glue and stir to mix thoroughly.
4. Add contact lens solution to the glue mixture and stir well. (Note: regular glue will require less contact lens solution than glitter glue. Add the contact lens solution slowly, mixing between additions, and add only enough to bring the glue together into a soft ball.)
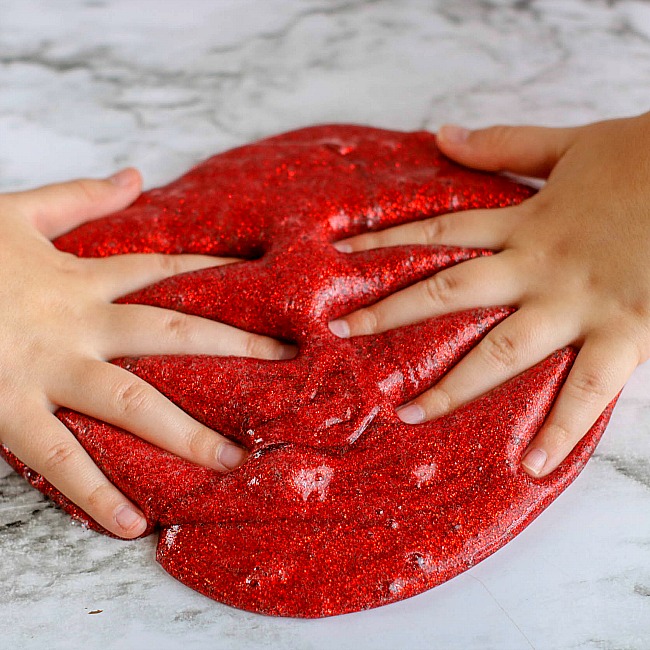
5. Remove the slime from the bowl allowing any excess liquid to remain in the bowl. The slime will be sticky. Begin to play with the slime, kneading it as you would bread dough, to bring the slime together. The slime is ready when no longer sticky.
6. Best if stored in an airtight container in the refrigerator when not in use.
How to create the Jar:
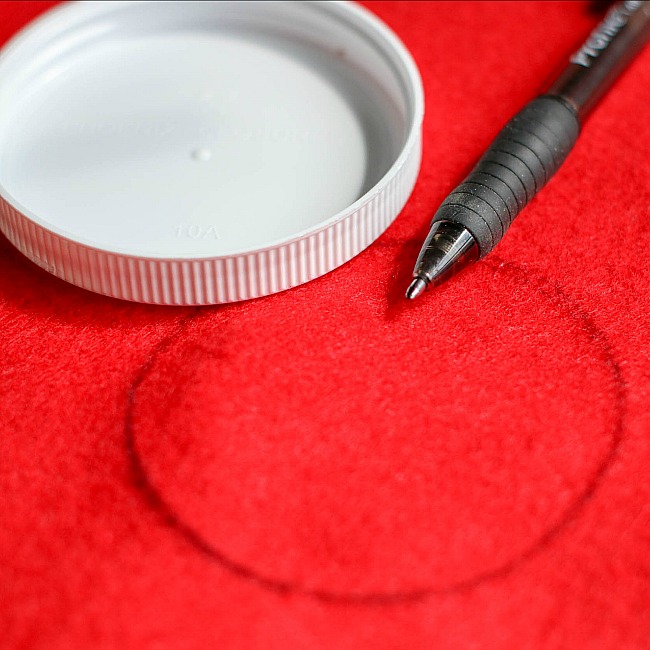
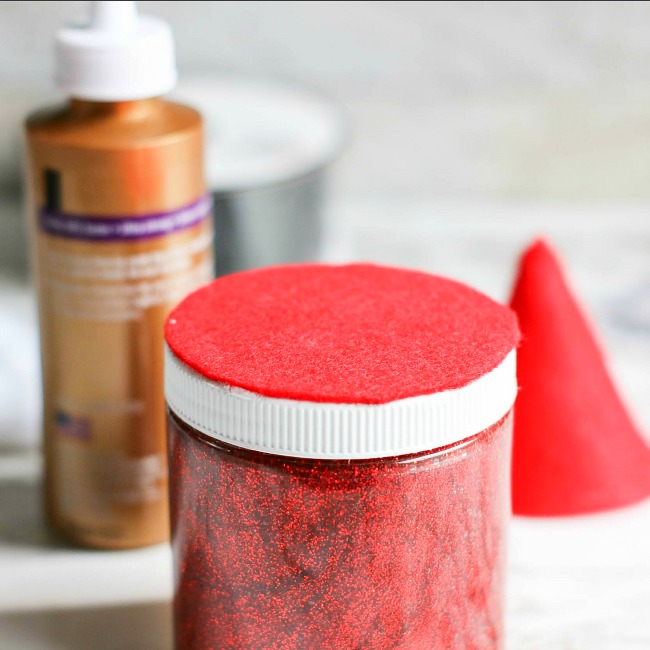
1. Trace the circumference of the lid on a piece of red felt. Cut it out. Glue to the top of the lid.
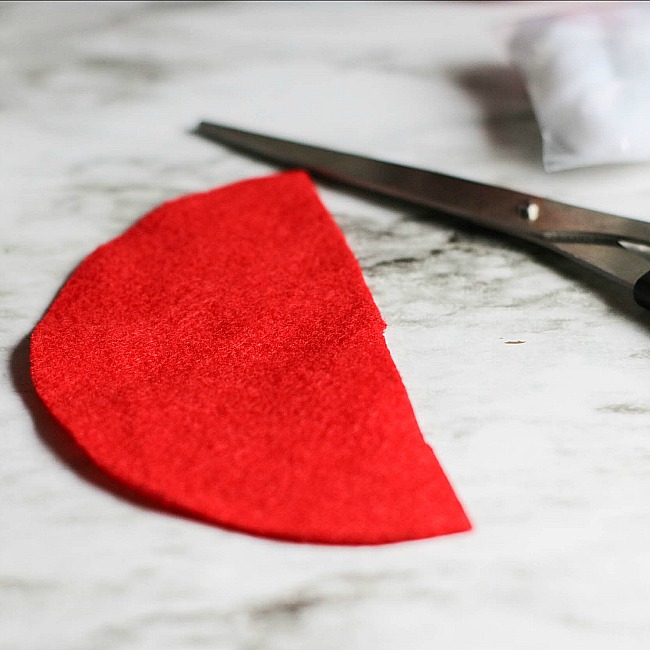
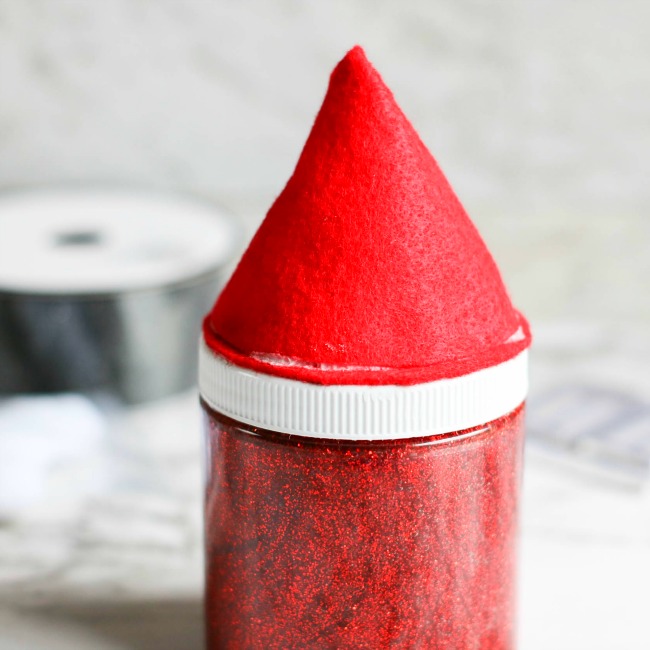
2. Cut a large circle (trace around a 28 ounce can) from the red felt and cut into two equal halves. Discard one half but twist the other into a cone. Secure with glue. Then, attach the hat to the lid with glue. Allow to dry completely before attaching pom poms.
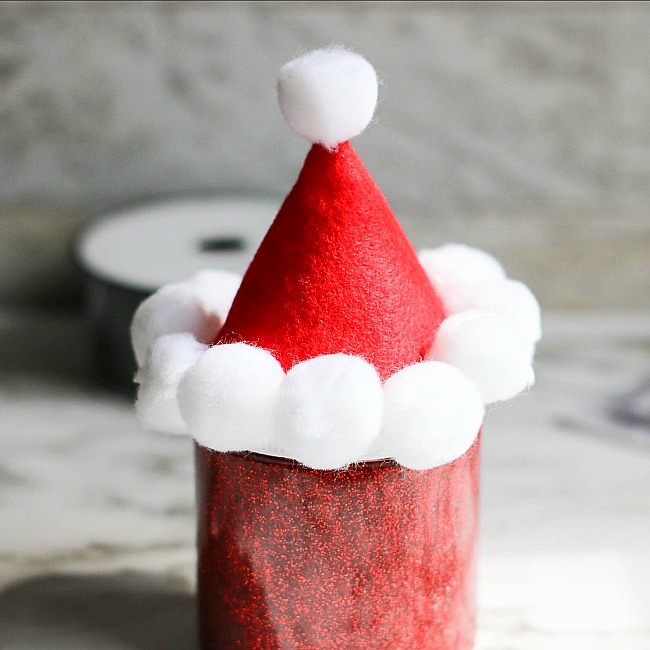
3. Attach pom poms around the edge of the lid and at the top of the hat. Allow to dry.
4. Measure the ribbon around the jar, allowing room to overlap slightly. Cut the ribbon to fit.

5. Add the buckle to the ribbon and then glue the buckle and the ribbon to the jar. (Tip: Put the lid on the jar prior to adding the “belt” so the belt will align in the back with the seam of the hat.)
Check out these Christmas Crafts for Kids too!
- 5 Minute Santa Clear Filled Ornament
- Easy Grinch Clear Filled Ornament
- Easy Frosty the Snowman Clear Filled Ornament
- Cinnamon Dough Ornaments
- Mason Jar Lid Frosty Ornament