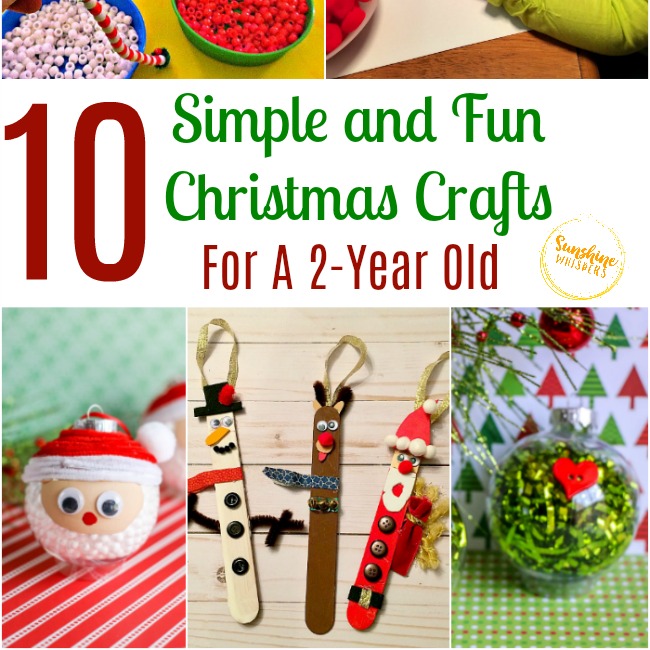
Haunted House Oil Pastel Craft For Kids {with FREE template!}
Haunted House Oil Pastel Craft For Kids {with FREE template!}
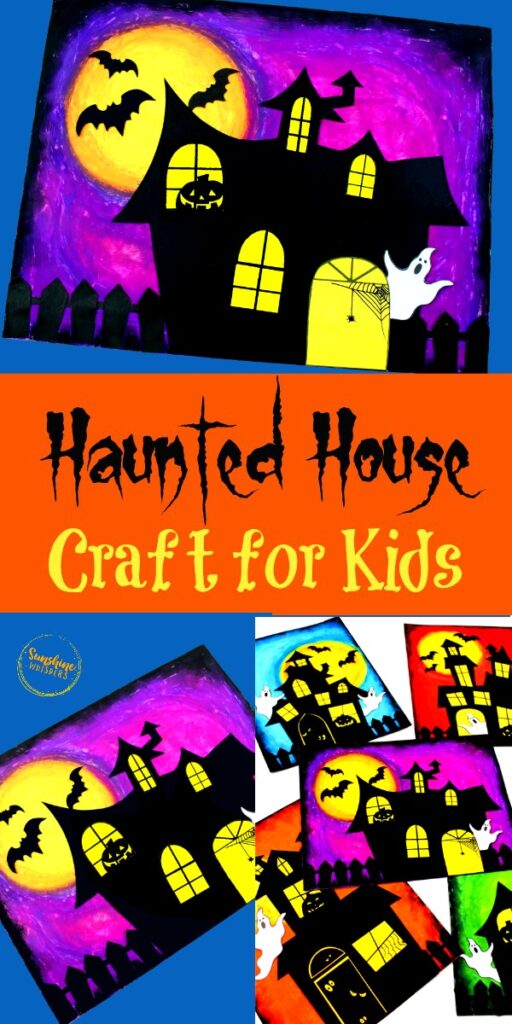
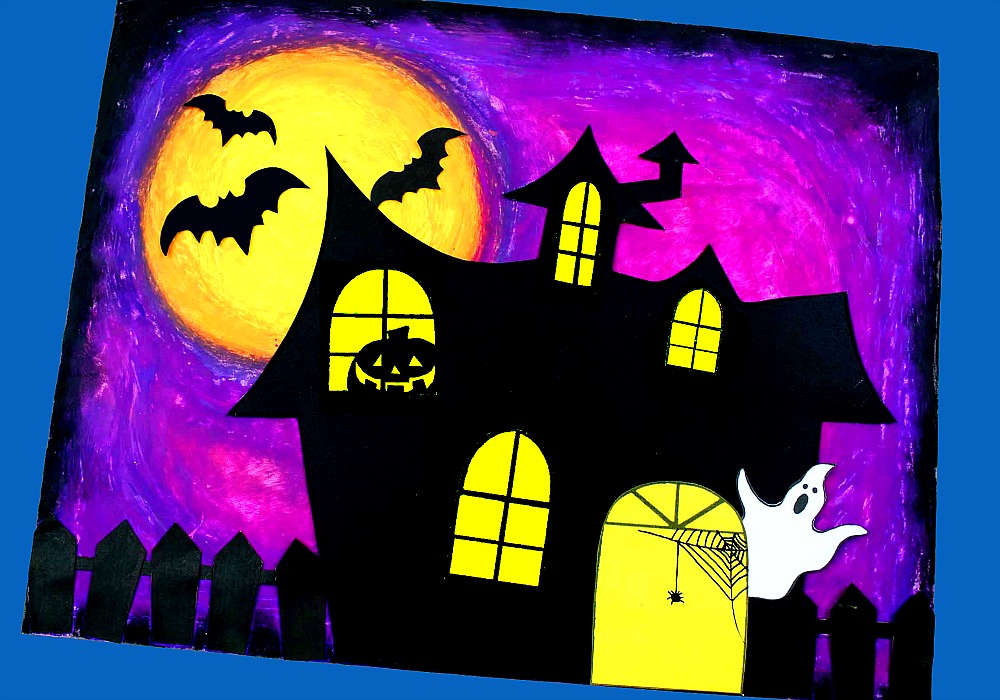
This Purple Haunted House Oil Pastel Craft for Kids uses oil pastels to create a super eerie and fun effect. Great for younger kids (with help) as well as older kids!
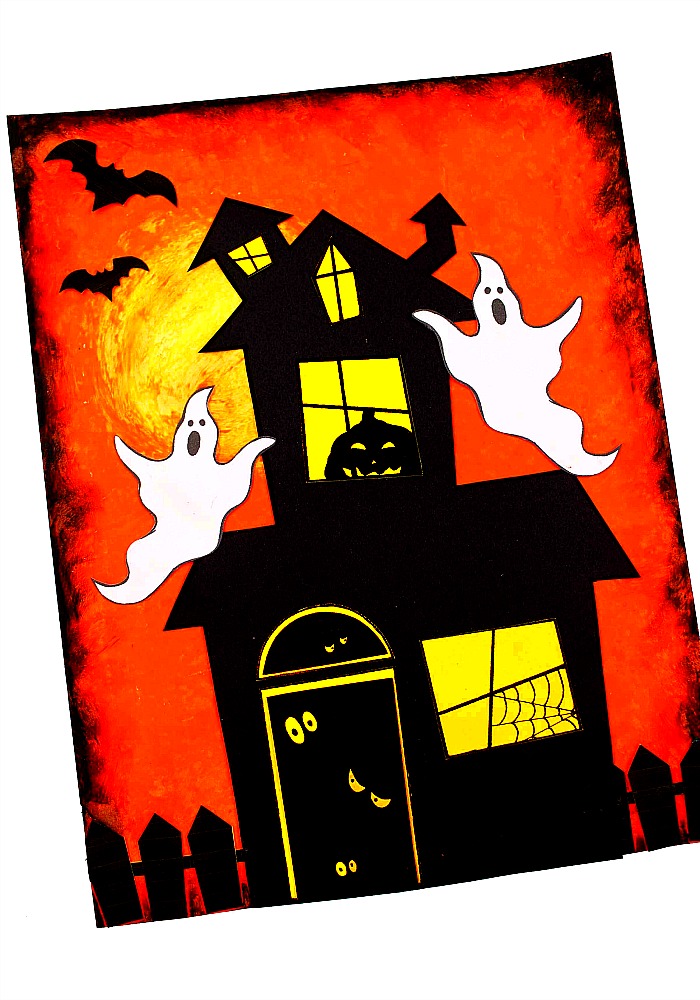
When we did the Orange Haunted House Craft for Kids I was super pumped because it uses a simple art technique that looks super spooky cool. Then I realized we could branch out with other color combinations too… and the result is this stunning Purple and Blue version. Imagine your spooky ghosts and goblins hob-knobbing on Halloween night with this fun Haunted House!
Either haunted house would be a really fun art project to do with your kids this season. It uses oil pastels and not paint, so it isn’t super messy. And even though it looks really complicated, thanks to the FREE Printable craft template, it’s actually quite a simple craft, but with a stunning visual effect.
Sunshine Whispers participates in the Amazon Associates and Amazon Influencer Programs. As an Amazon Associate we earn from qualifying purchases. We may earn money or products from the companies mentioned on this site and in this post.
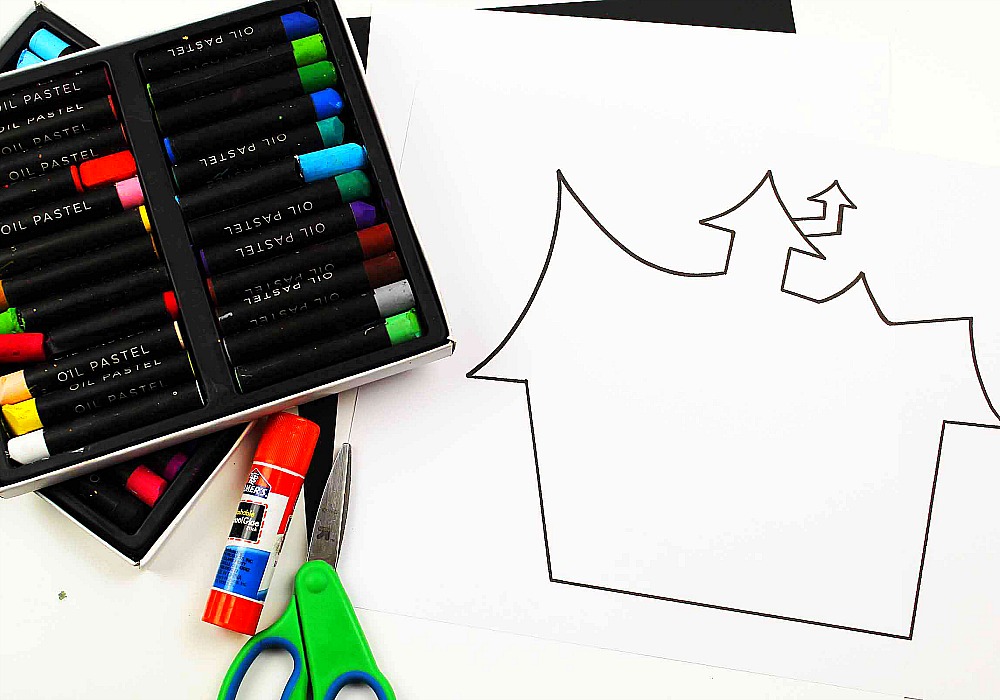
What Will You Need?
- Construction Paper (or cardstock)— Black, White, and either Yellow or Orange
- Oil Pastels (these ones are very highly rated)
- Scissors
- Glue (Elmer’s Glue or gluestick are both fine)
- FREE Haunted House Craft Template (click here to download)
Click The Photo To Grab These Cute Halloween Printables!

How to make this adorable Haunted House Craft For Kids
Step One: Download and print out the Haunted House Template
You will want to print out the first page in black, the second page in either yellow or orange, and the third page in white. Just print out one page at a time and feed the cardstock into the printer tray one page at a time.
Click here to download the printable!
Step Two: Carefully cut out all the pieces, following which color cardstock to print on.
You will have windows, the door, pieces of the fence, bats, and the ghosts. Once you cut out all the pieces set them aside. You will need them later.
Step Three: On a white piece of construction paper or cardstock, draw a circle (moon) with yellow pastels and then trace that
circle with orange.
If you want the moon to appear above the chimney of the haunted house, draw it in the upper left corner of the paper. Don’t try to be exact. The effect is supposed to be eerie so fuzzy lines are all good.
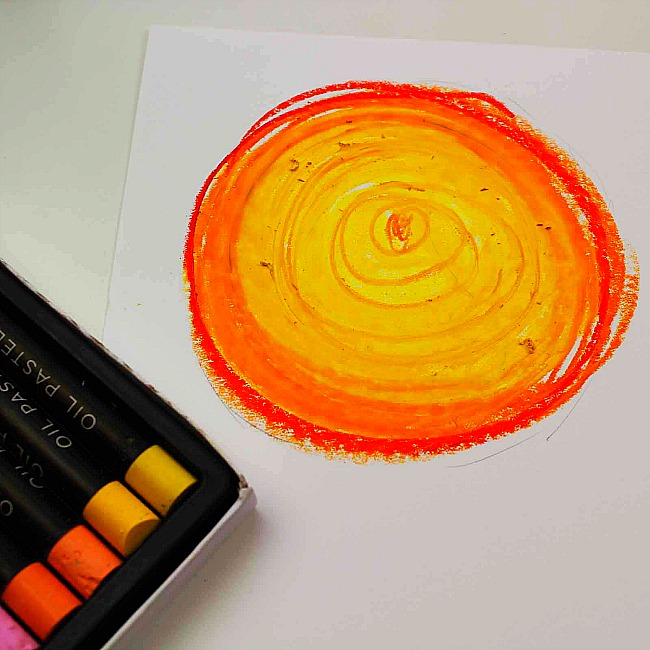
Once you draw the initial moon shape and are happy with it, blend the colors in!

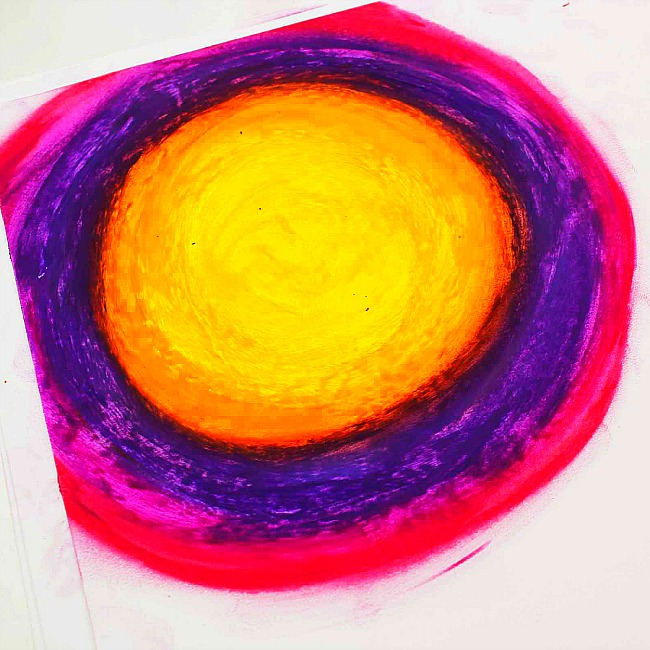
Step Four: Use your fingertips to smudge the colors together.
Your kids will love doing this part. The smudging is really fun. Just be sure to keep the yellow center.. yellow.
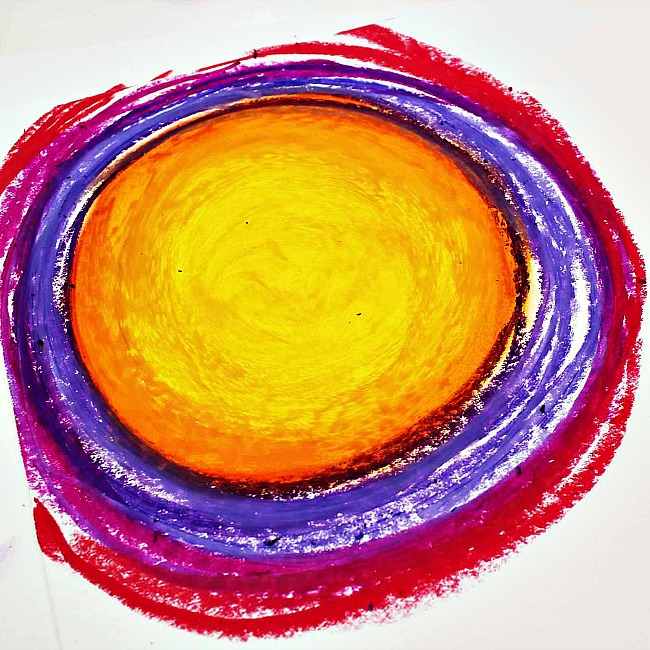
Step Five: Use shades of pink and purple to finish filling in the paper,
darker to lighter. Blend, blend and blend some more!
A good technique would be to color with purple first and then either use use pink, and finally red. Then blend them together to get the exact purple-y shade you want for the ring around the moon.
Next color the lion’s share of the paper (except the border) a combination of purple and pink, until you get the exact light purple shading you want.
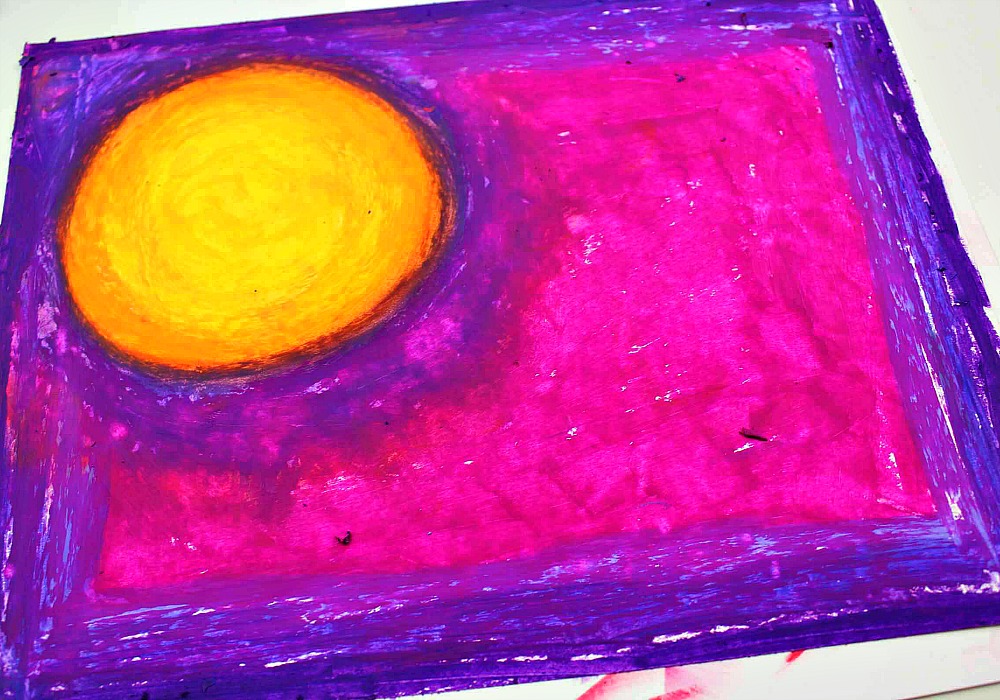
On the edges you should use purple (outer edge), a purple and blue blend, and then a purple and pink or red blend to give you three shades of purple framing the paper. This will frame your page very nicely.
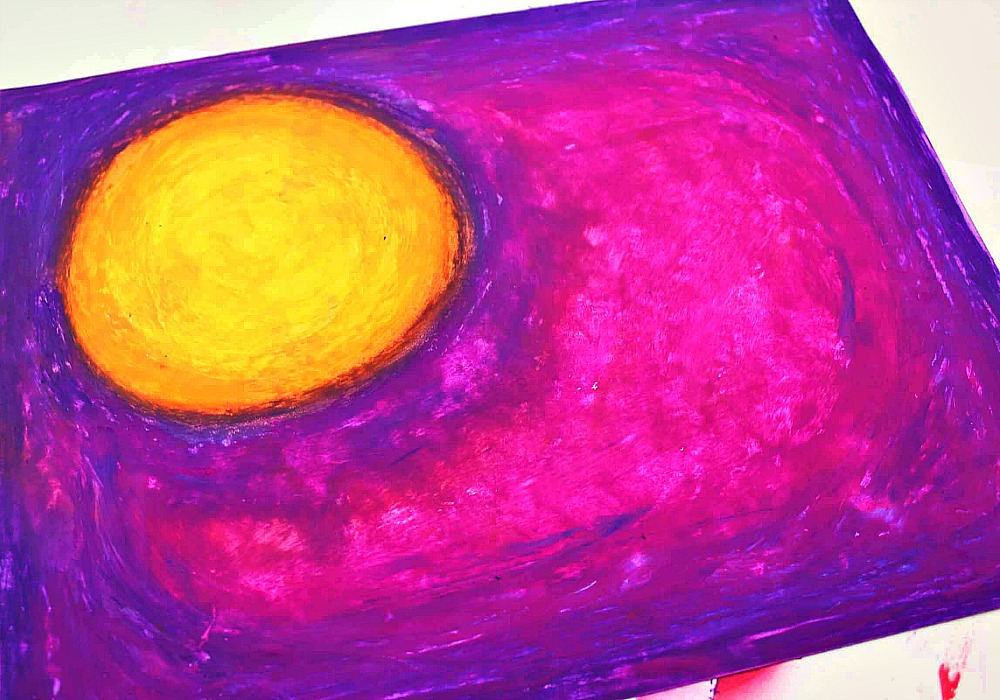
Step Six: Once finished, draw a border around the entire piece of paper with black oil pastel. Blend the black pastel towards the middle of the paper.
Check out this finished example. See how the black border gives the entire painting a spooky antique look? A great way to get this look is to take the black oil pastel and brush it back and forth against the actual edge of the paper. You can still get this look by coloring, but brushing the pastel is much more effective.

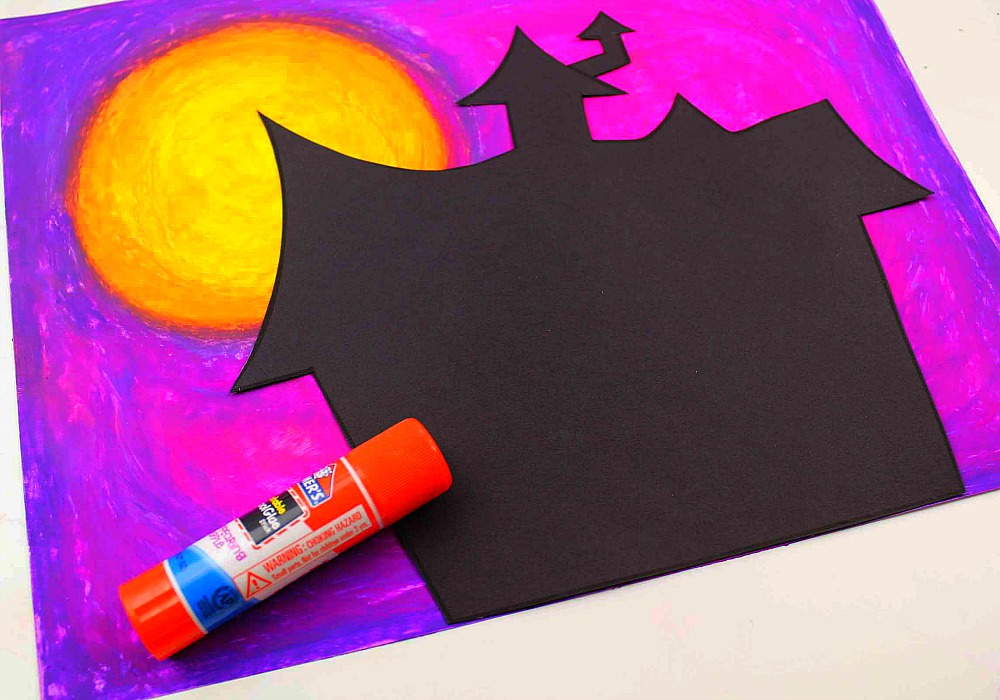
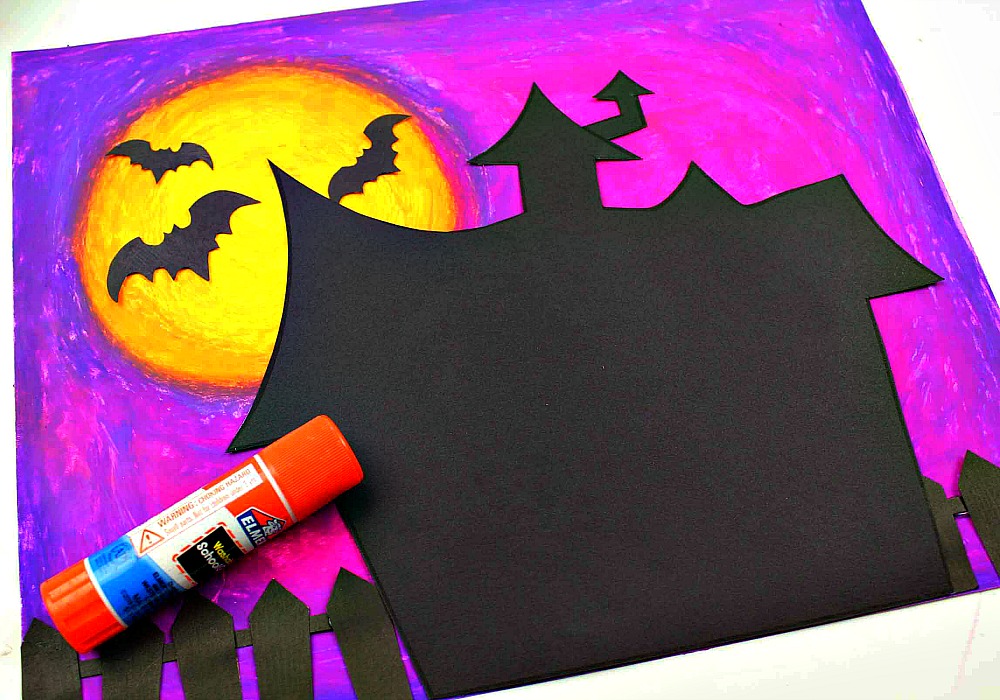
Step Seven: Glue the fence towards the bottom of the paper. Glue the house on top of the fence and the bats over the moon.
You could also glue the house first and then fit the fence around the house.
Step Eight: Glue the doors and windows onto the house followed by
any ghosts you want to add!
You can arrange them anyway you want, but if you want to use the really cute example, here you are!
The ghosts are the finishing touch!
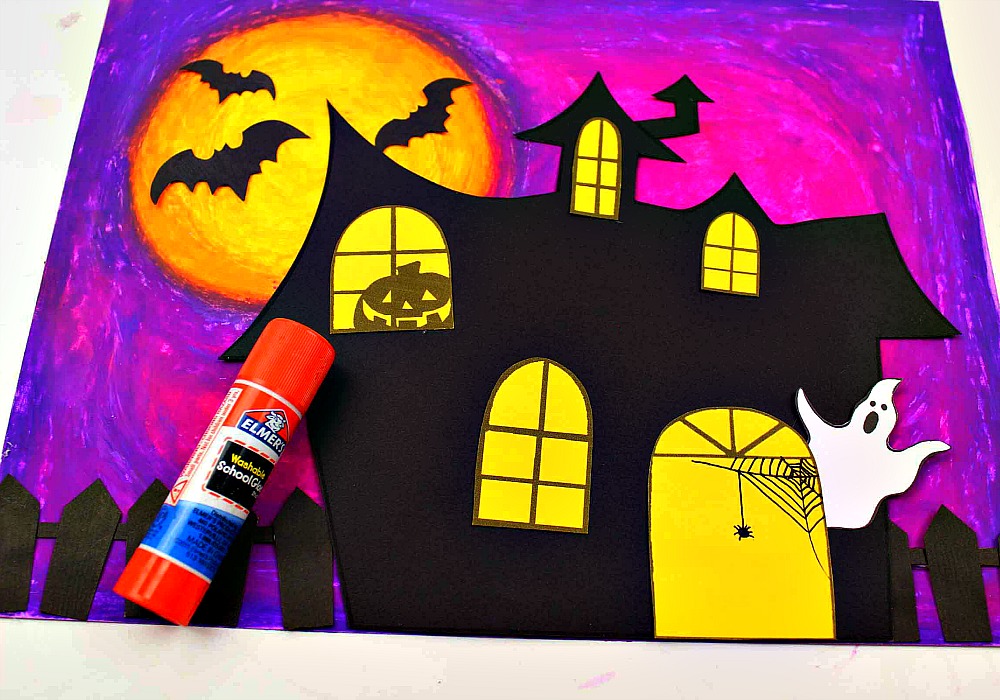
Here is the finished Haunted House oil pastel art project.
Make this project even more unique! Try different color combinations and add some glitter!!!
Here is another version of this fun craft in orange! (different template)– Click here or on the photo to get the craft tutorial and template for this one!
More Halloween Craft For Kids Ideas To Try!
- Dollar Store Pumpkin Craft
- Halloween Toilet Paper Roll Craft Ideas
- Mickey and Minnie No Carve Pumpkin Idea!
- Dollar Store Googly Eye No Carve Pumpkin Craft for Kids
- No Sew Bat Craft for Kids
- No Sew Ghost Craft for Kids
- Pumpkins on a Fence
- Spooky Spider Paper Plate Craft
- Bat Crafts for Kids!
Click The Photo To Grab These Cute Halloween Printables!